
-
질문 & 답변
카테고리
-
세부 분야
프로그래밍 언어
-
해결 여부
미해결
autocomplete-python traceback output 오류 해결법(Mac)
21.11.06 15:17 작성 조회수 195
0
답변을 작성해보세요.
1

달빛냥꾼
질문자2021.11.06
It seems related to importing Jedi.
1- Fix the import issue error:
https://stackoverflow.com/questions/63331116/python-3-6-8-jedi-importerror-cannot-import-name-traverse-parents
You can use
pip3 install -e git://github.com/davidhalter/jedi.git#egg=jedifor reinstalling Jedi
2- Use Jedi 0.17.2 (Release History) :
pip install jedi==0.17.2
python3 -m ensurepip --default-pip
<button class="copybtn o-tooltip--left" style="position:absolute;display:flex;top:0.3em;right:0.5em;width:1.7em;height:1.7em;opacity:0;transition:opacity 0.3s, border 0.3s, background-color 0.3s;padding:0px;outline:none;border-top-left-radius:0.4em;border-top-right-radius:0.4em;border-bottom-right-radius:0.4em;border-bottom-left-radius:0.4em;border:1px solid #e1e1e1;background-color:#f5f5f5" data-tooltip="Copy" data-clipboard-target="#codecell6"><img style="border:0px;max-width:100%;width:16.6875px;padding:0px" src="https://packaging.python.org/_static/copy-button.svg" alt="Copy to clipboard" /></button>If that still doesn’t allow you to run python -m pip:
Securely Download get-pip.py 1
Run
python get-pip.py. 2 This will install or upgrade pip. Additionally, it will install setuptools and wheel if they’re not installed already.Warning
Be cautious if you’re using a Python install that’s managed by your operating system or another package manager. get-pip.py does not coordinate with those tools, and may leave your system in an inconsistent state. You can use
pythonget-pip.py --prefix=/usr/local/to install in/usr/localwhich is designed for locally-installed software.
Ensure pip, setuptools, and wheel are up to date
While pip alone is sufficient to install from pre-built binary archives, up to date copies of the setuptools and wheel projects are useful to ensure you can also install from source archives:
python3 -m pip install --upgrade pip setuptools wheel
<button class="copybtn o-tooltip--left" style="position:absolute;display:flex;top:0.3em;right:0.5em;width:1.7em;height:1.7em;opacity:0;transition:opacity 0.3s, border 0.3s, background-color 0.3s;padding:0px;outline:none;border-top-left-radius:0.4em;border-top-right-radius:0.4em;border-bottom-right-radius:0.4em;border-bottom-left-radius:0.4em;border:1px solid #e1e1e1;background-color:#f5f5f5" data-tooltip="Copy" data-clipboard-target="#codecell8"><img style="border:0px;max-width:100%;width:16.6875px;padding:0px" src="https://packaging.python.org/_static/copy-button.svg" alt="Copy to clipboard" /></button>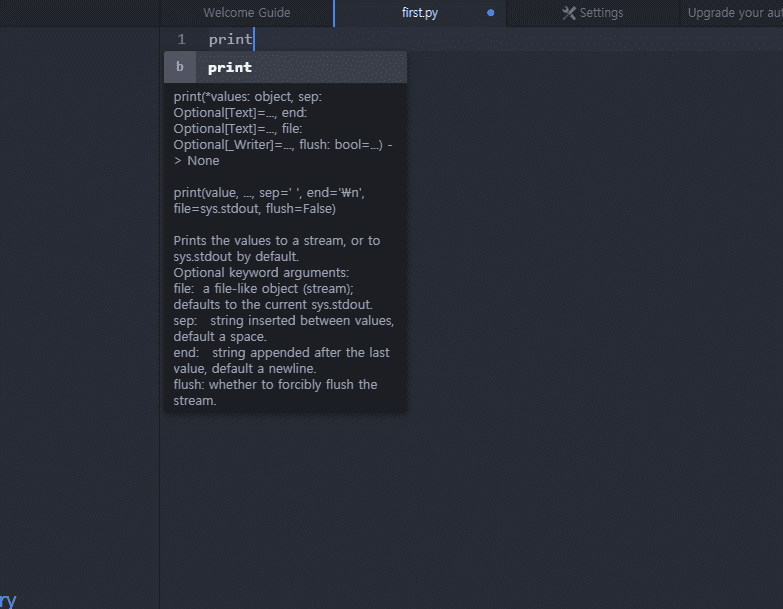


답변 1