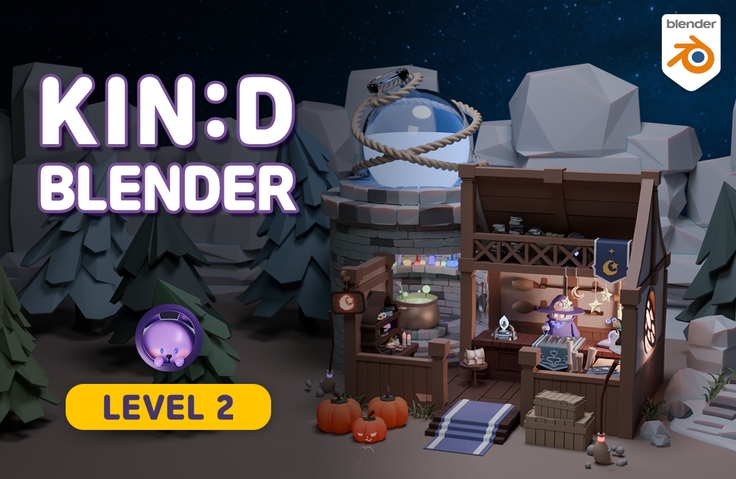
Friendly Blender - [LV.2] Modeling Practice

Experience the process of completing a substantial piece of work. Along with a sense of accomplishment, it will be a great help in improving your Blender skills. Let's build it together step by step! :)

(5.0) 28 reviews

211 learners

Level Basic

Course period Unlimited

Blender
Blender
3d-modeling
3d-modeling
3d-rendering
3d-rendering
3d
3d
Blender
Blender
3d-modeling
3d-modeling
3d-rendering
3d-rendering
3d
3d

Reviews from Early Learners

5.0

5.0

연준호

16% enrolled

I lose track of time following along after work. It's fun. You're the instructor who got me into Blender, so I can't forget you and came back. Now that it's come to this, I'm going to take all your other classes too.

5.0

pos0523

100% enrolled

I enjoyed this lecture as well~! You explained the modeling processes so kindly that I was able to follow along step by step. I had some difficulties, but you quickly answered my questions, so I was able to complete the course without any problems! Thanks to you, I feel much closer to Blender~! Thank you for creating such a great lecture!

5.0

김또띠

94% enrolled

In this class, I didn't just follow along blindly, but thought about it as I made it, so I gained confidence and tried making other things on my own😆😆😆 You can tell that you put a lot of thought and effort into making the class, and thanks to that, I really learned the basic functions. Your voice is also really nice (this is a precious talent in the countless online classes these days....), and the content is solid, so I recommend this class!

What you will gain after the course

  • Modeling methods using various features

  • Expressing materials using nodes

  • The overall process of creating a work

Gain confidence by completing one large-scale project!

This is a practical example lecture designed for the experience of applying, adapting, and expanding the Blender basics learned so far while modeling various objects to make them
your own.
It is also a process of learning and practicing new features that have not yet been covered.

Once you complete a large-scale project, you will gain confidence in 3D modeling.
It will be an opportunity for you to take a giant leap forward!

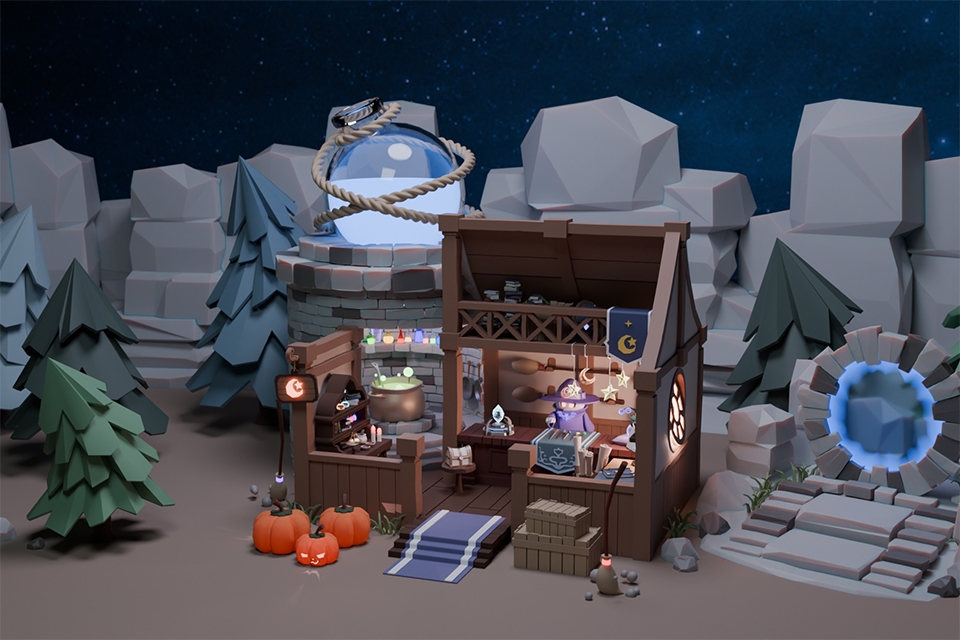
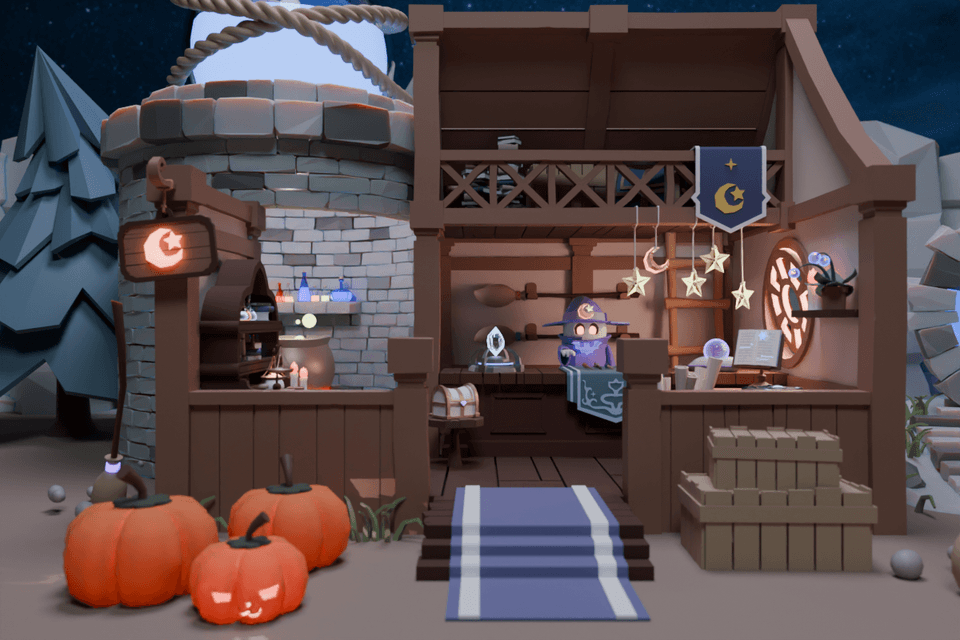
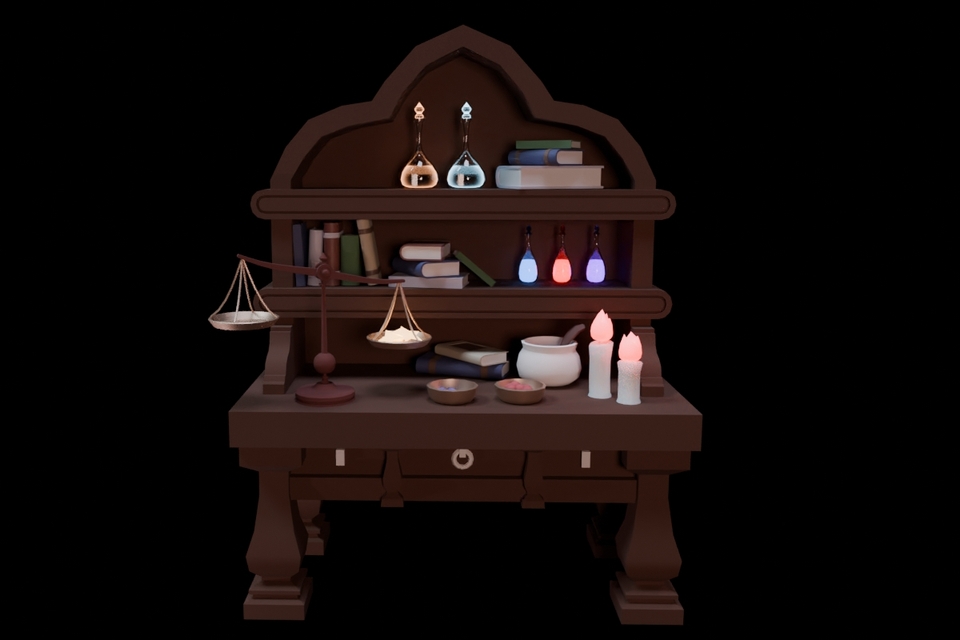
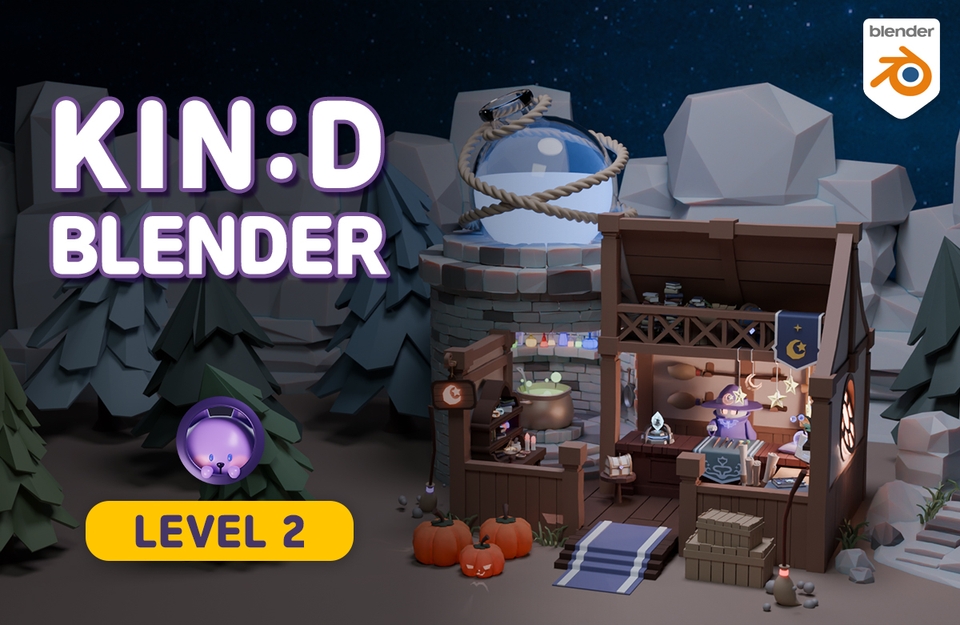
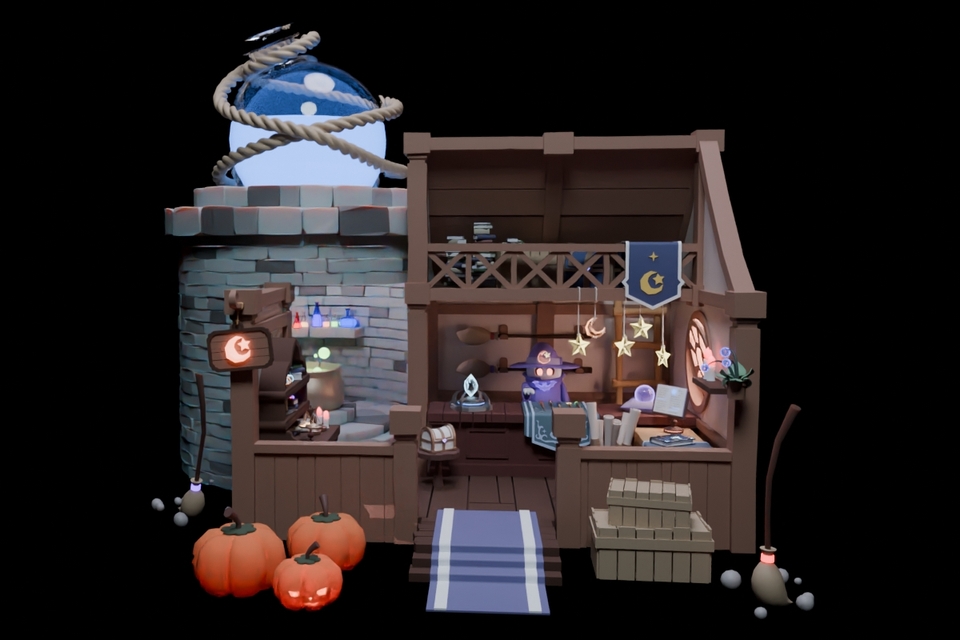
" Create a mysterious, fantasy-style magic shop! "


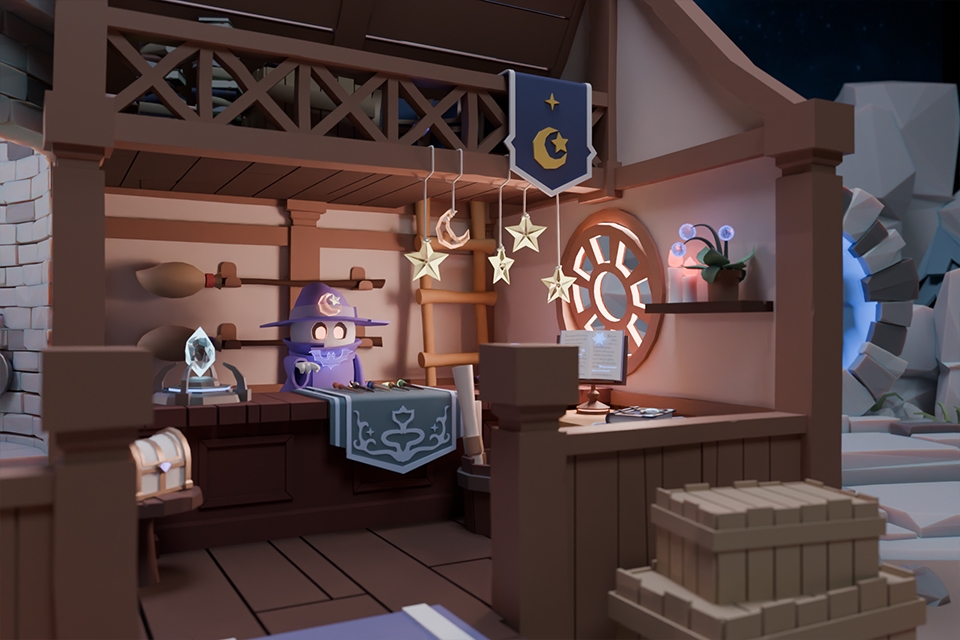
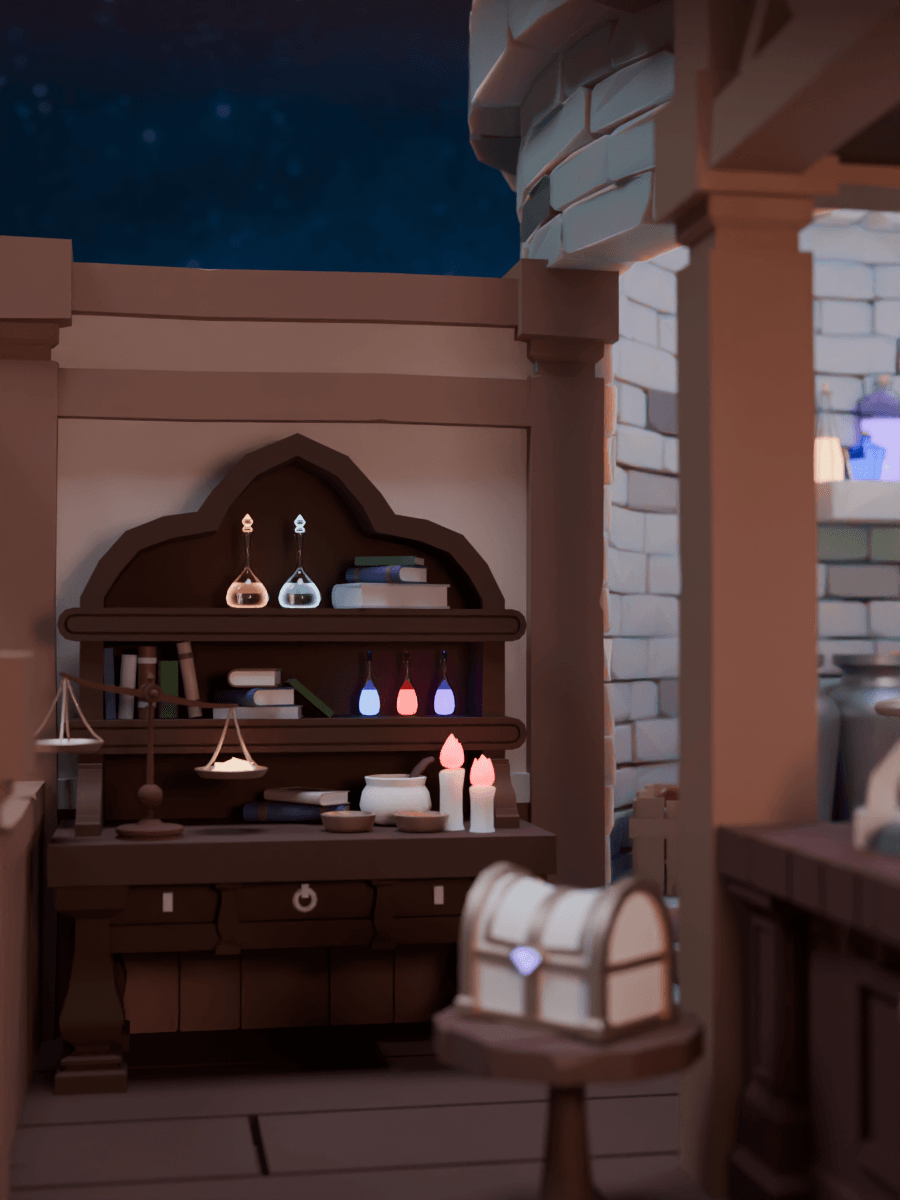
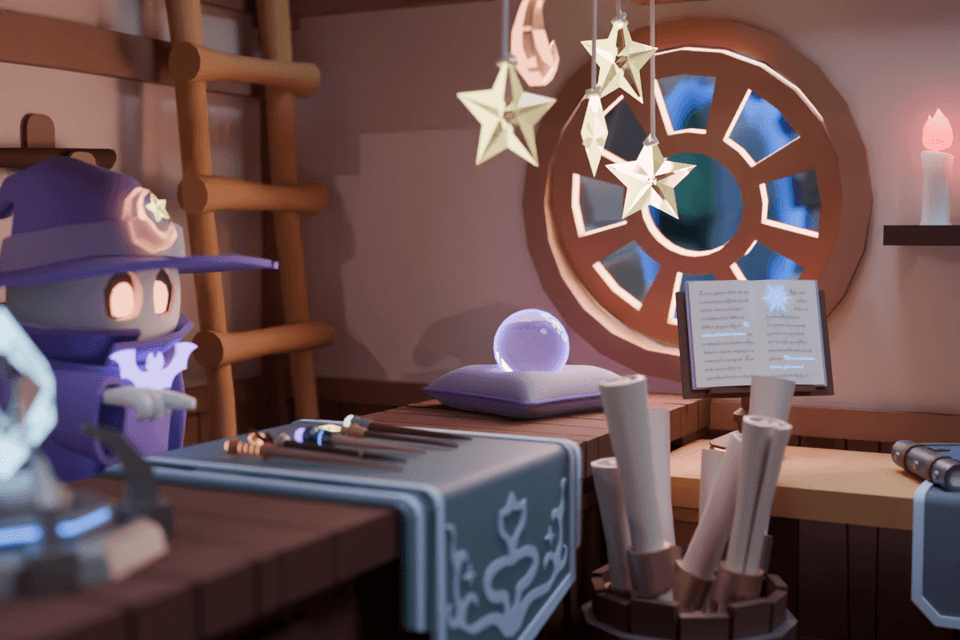
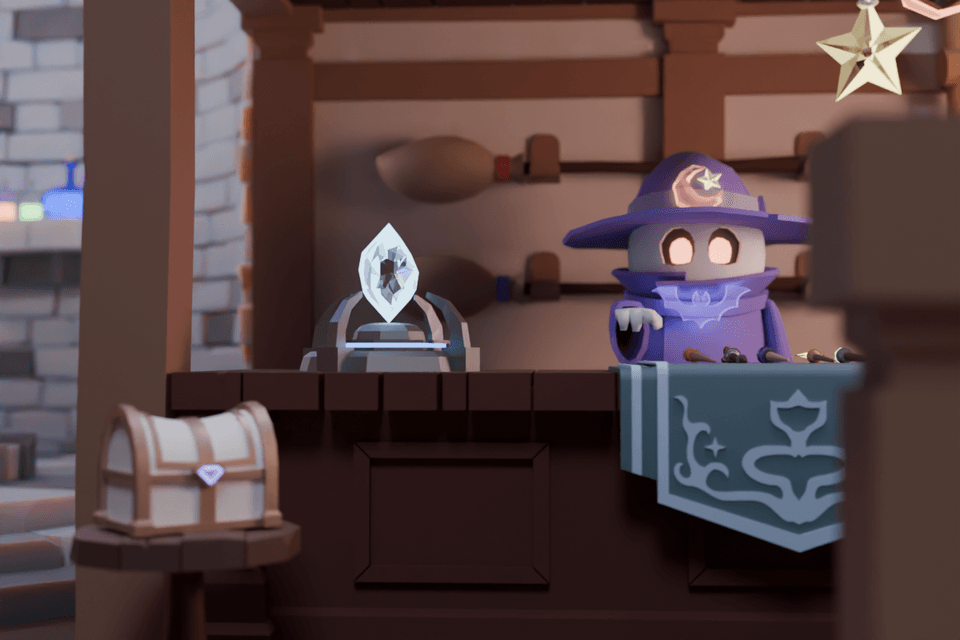
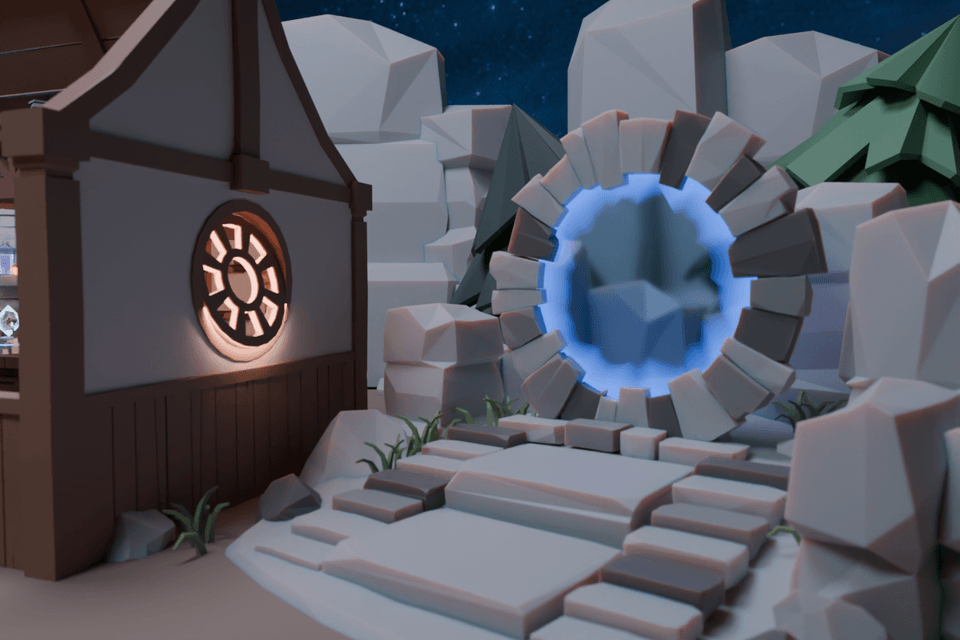
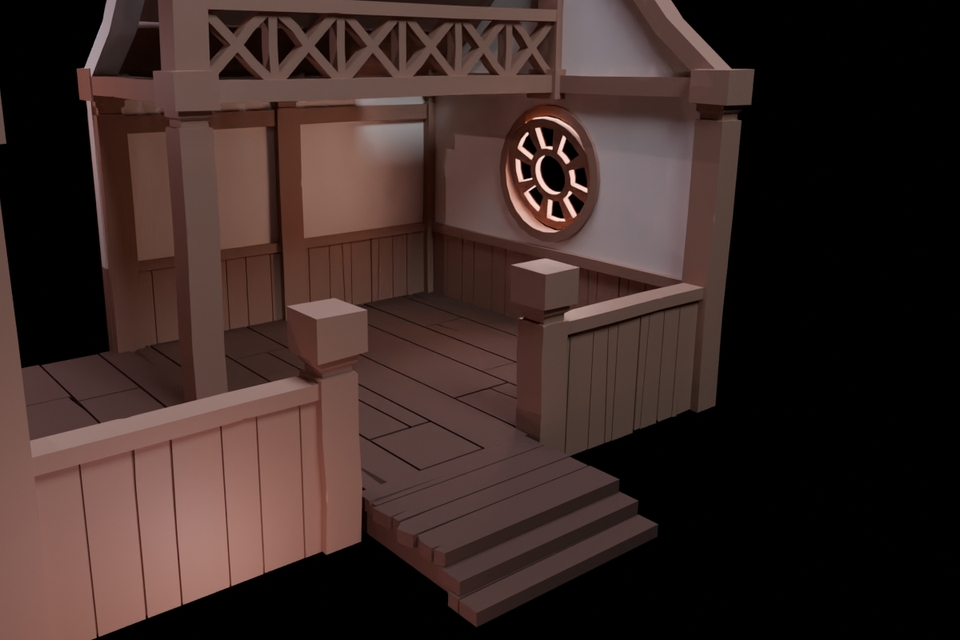
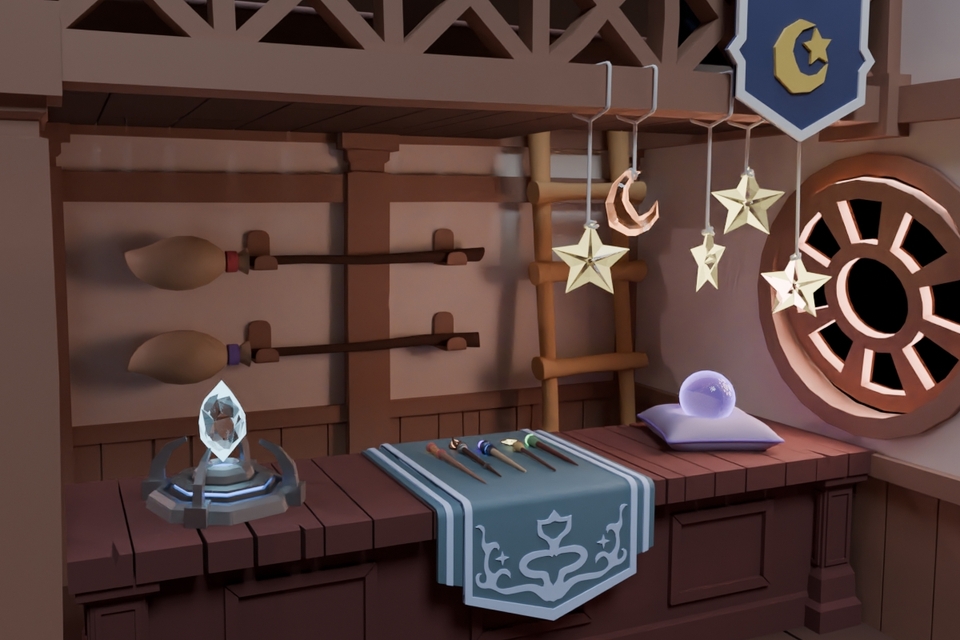
We have created a wizard's shop with the feel of a scene straight out of a game.
This is a time to explore and master various functions through low-poly style magic shop modeling.
I have prepared a process where you can practice modeling sufficiently, become familiar with it, and think for yourself about the best way to create.
Through this process, experience approaching modeling in your own style and gaining your own know-how.

Section 1: Structures

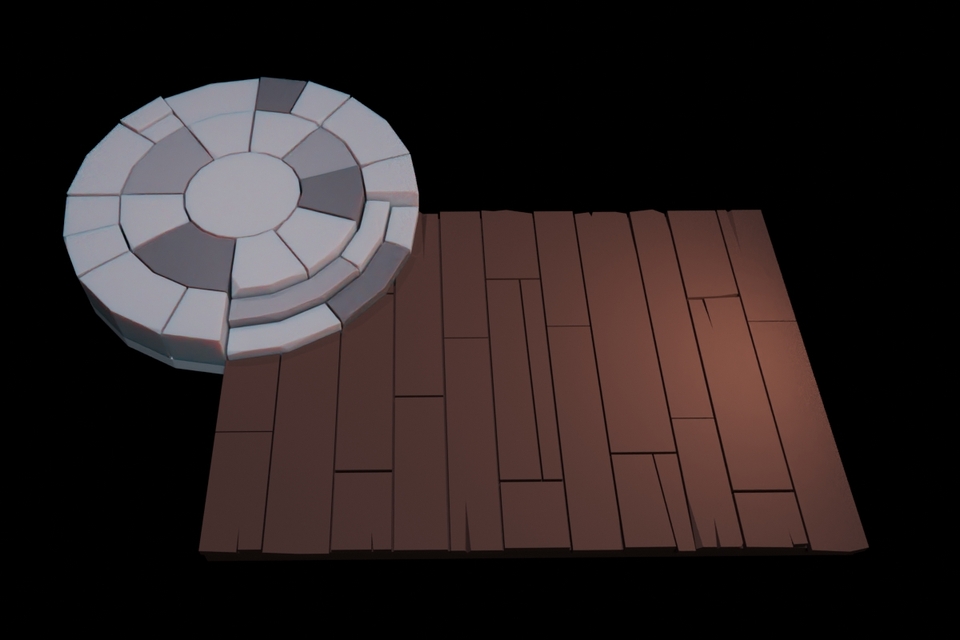
Floor

These are vintage-style wood and stone floors. How can we express these kinds of textures?

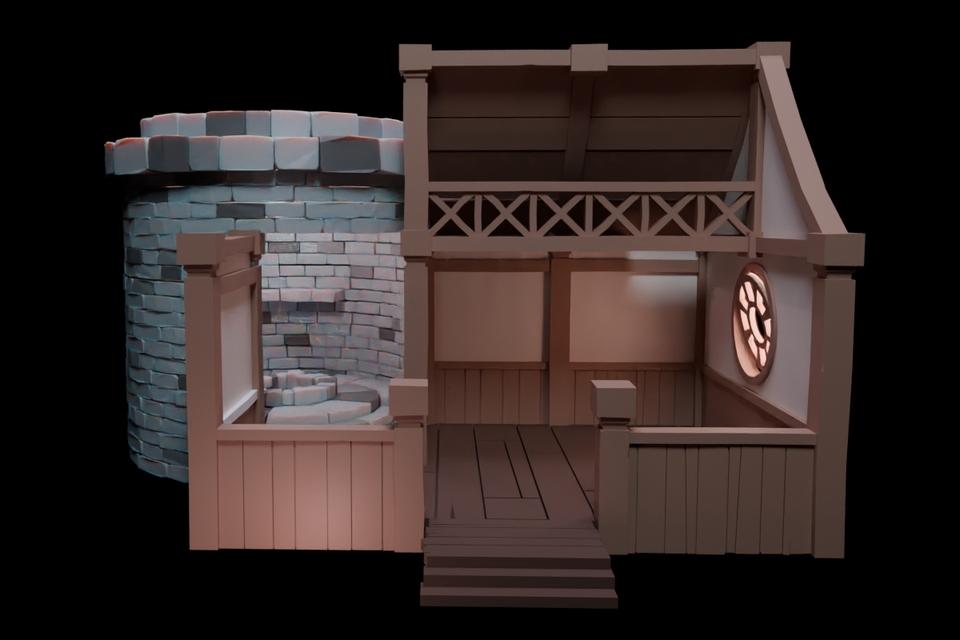
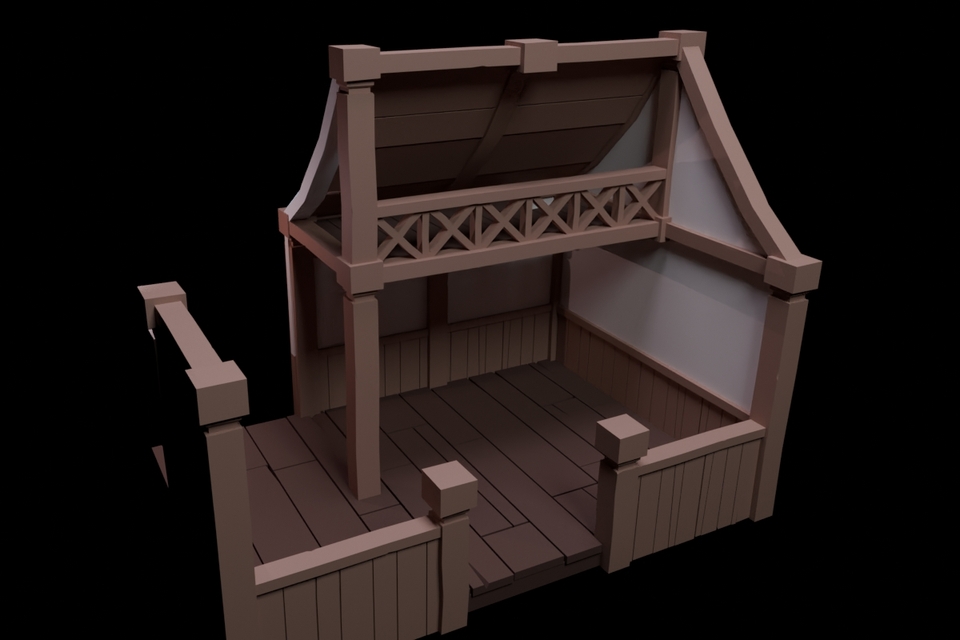
Walls, columns, beams

Erect walls to add a sense of space. For the planks next to the walls, I utilized the wooden floor I had already created.

Windows, Stairs

For the windows, I used the Boolean function. Similarly, for the stairs, I utilized objects that were previously created.

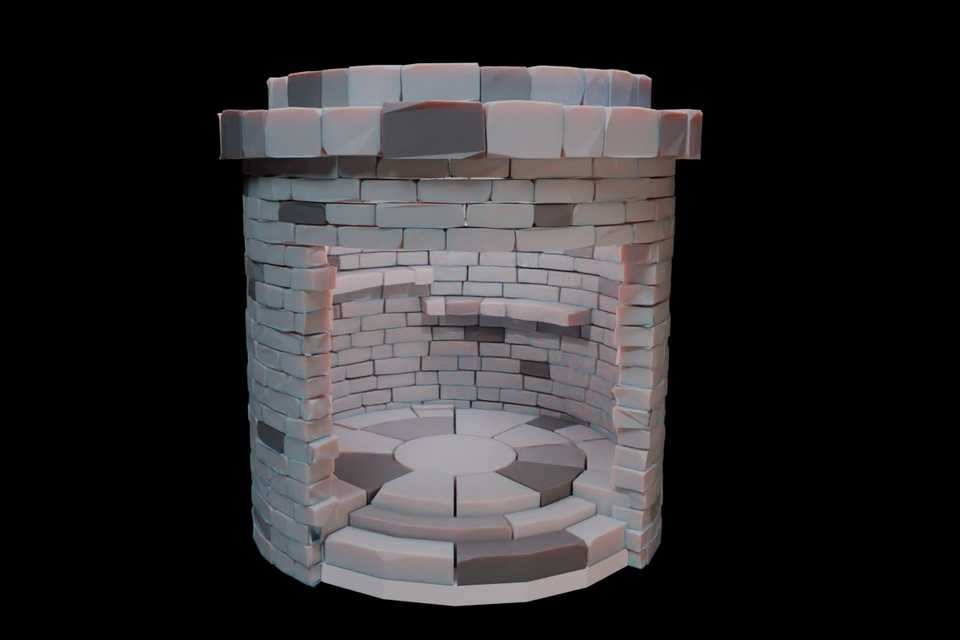
Stone Wall

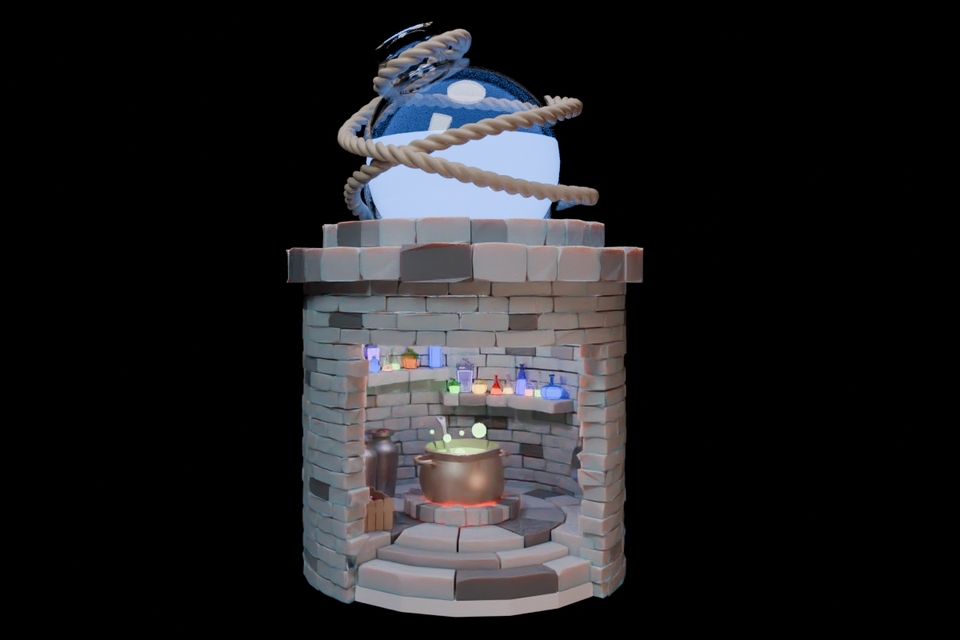
How can we create a circular stone wall? Let's express the stone wall using two modifiers.

Section 2: Stall

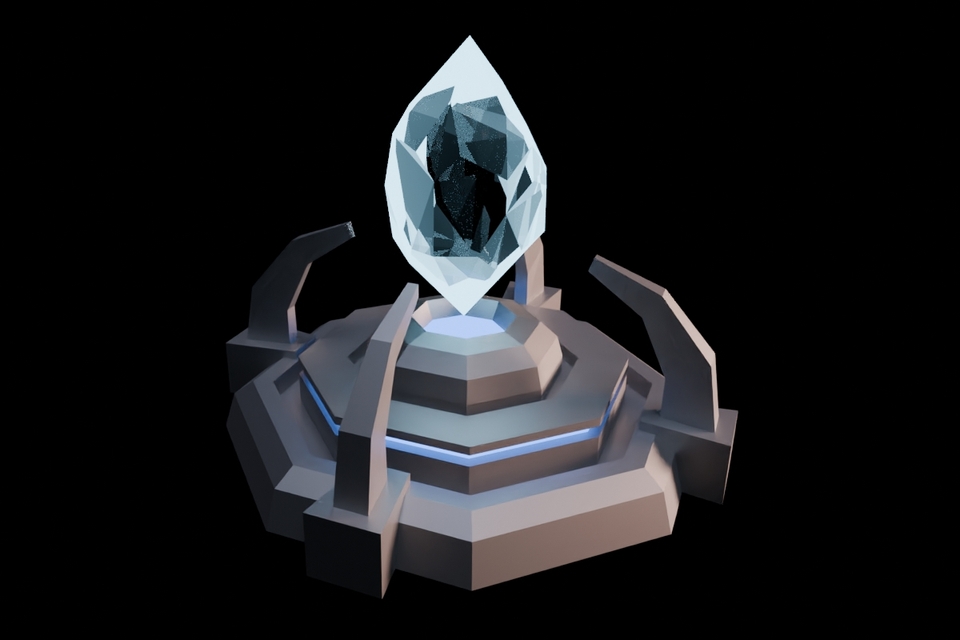
Floating Stone

It will look this brilliant once we do the texturing later. How can we express a crystal-like material?

Rug

The drawing on the rug was done with a mouse. I used the Annotate and Gstretch features, so let's learn them together.

Magic Wand

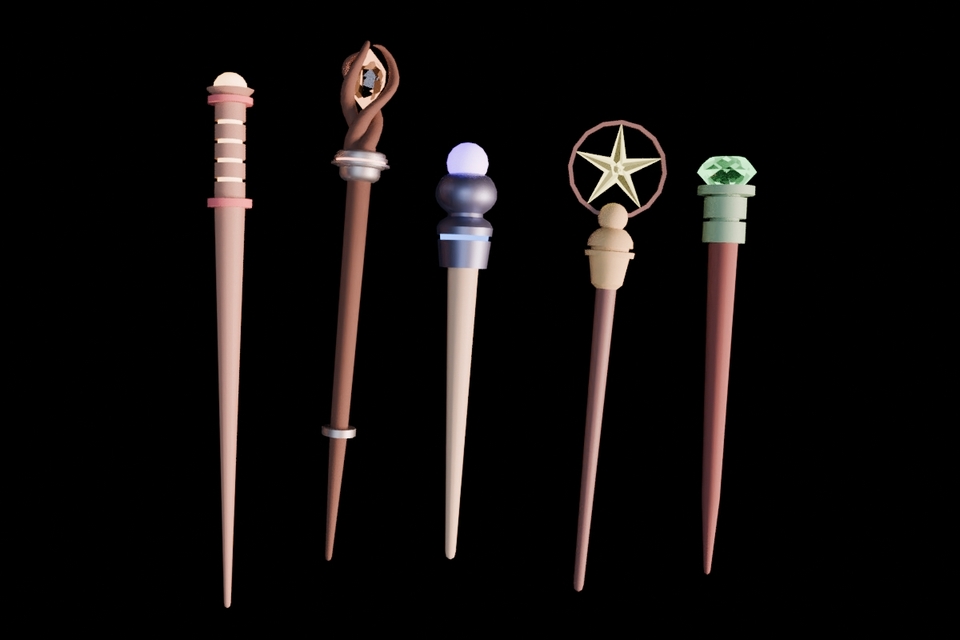
Scale, Extrude, Inset Faces, Loop Cut, Bevel. These are all features you're familiar with, right? That's all you need to make it.

Magic Orb

For the cushions, I used the Cloth feature in Physics. If you know this feature, you can make them in under a minute.

Broom & Ladder

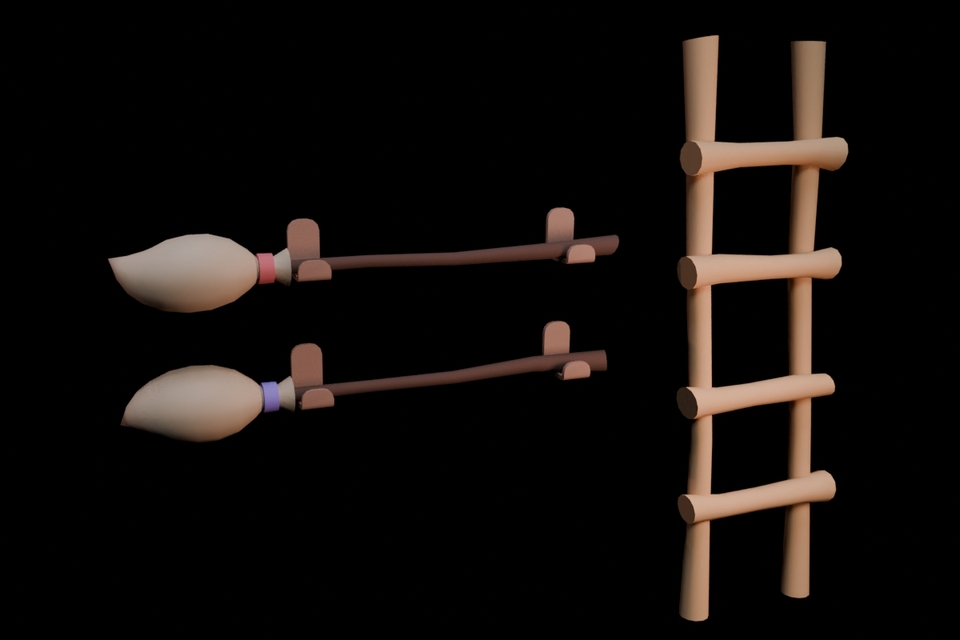
I'll show you how to make a natural-looking wood shape and a broom with a curved brush tip!

Flags & Pendants

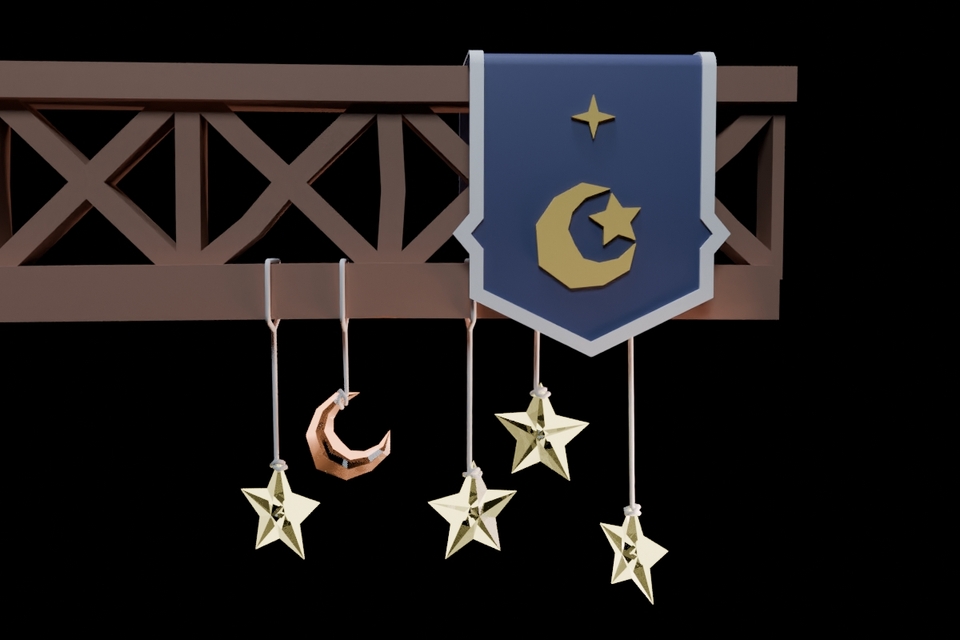
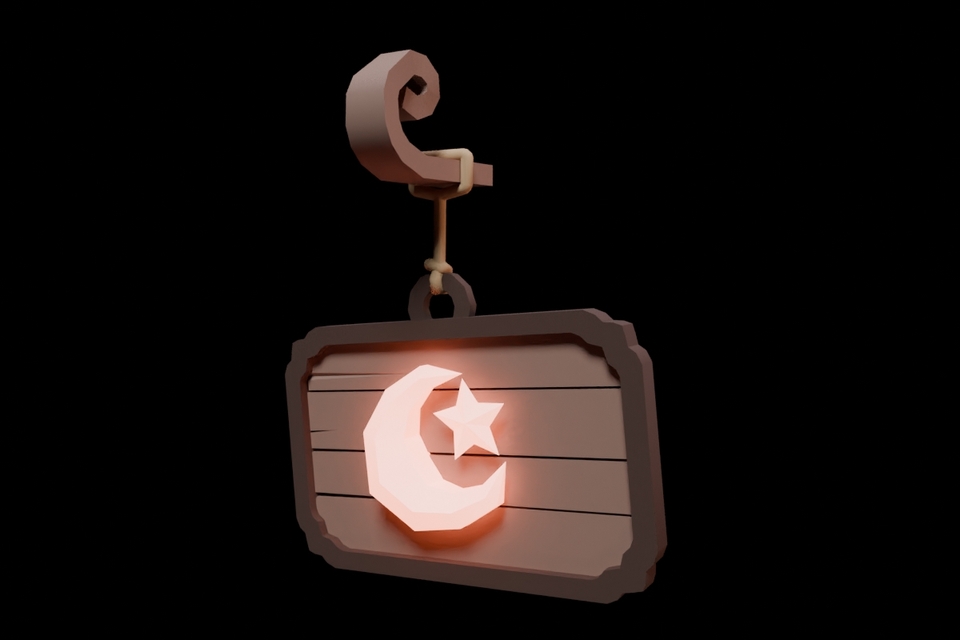
I hung moon and star pendants on the second-floor railing and used them to create a logo to decorate the flag. How do you make those plump-looking moons and stars?

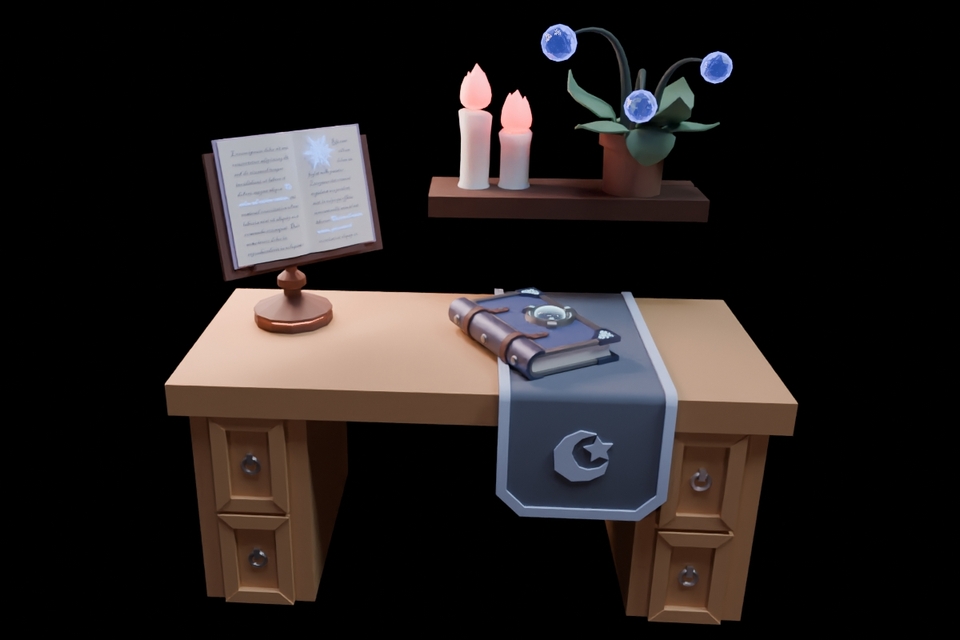
Section 3 : Desk

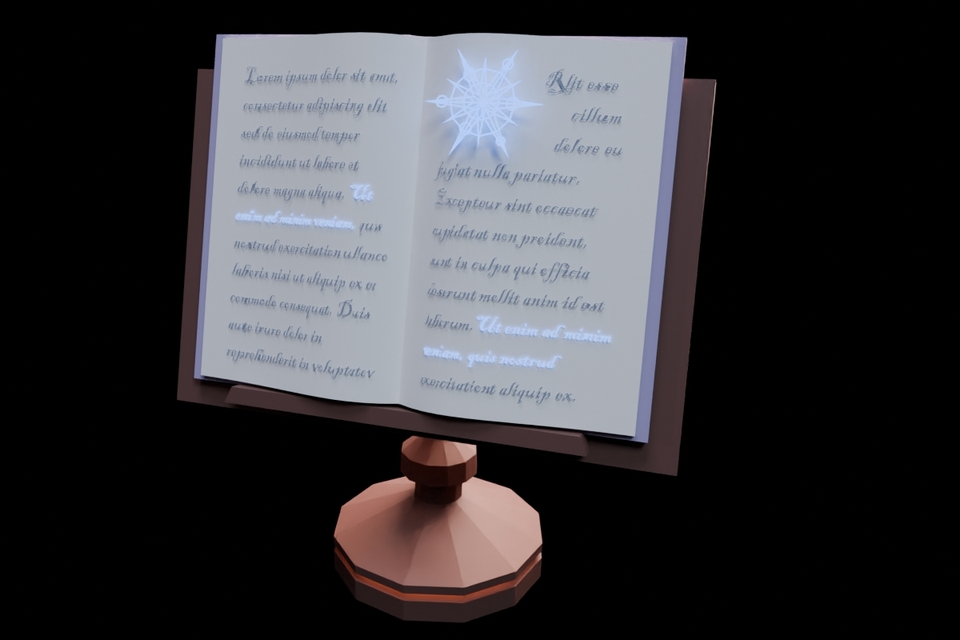
Book stand

The open book, the text following its curves, and even the glowing letters and patterns! Once you know the know-how, they aren't difficult to create!

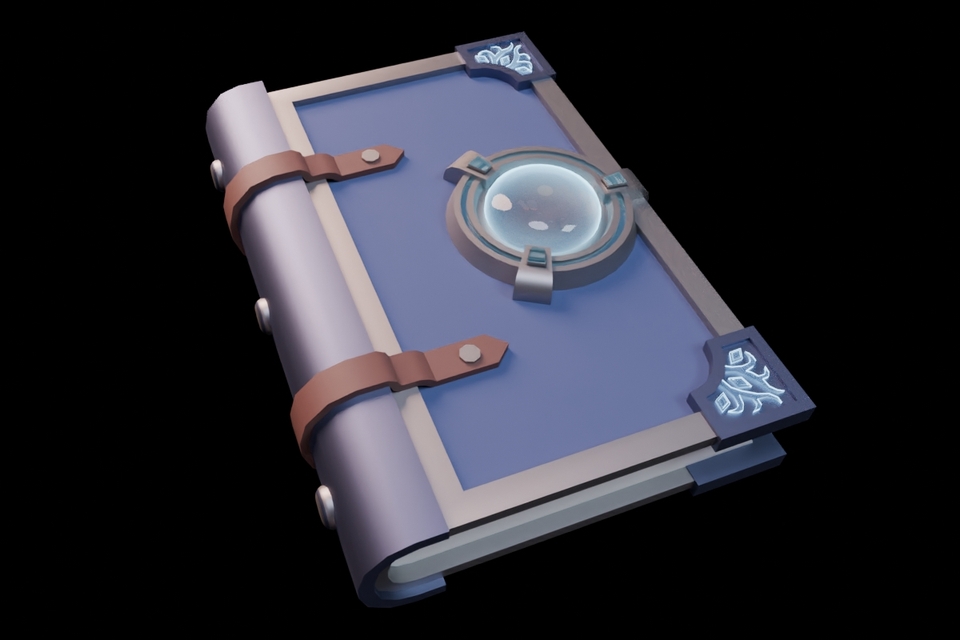
Magic Book

The patterns on the corners of the book may look difficult to add, but they aren't! Let's practice by making them together.

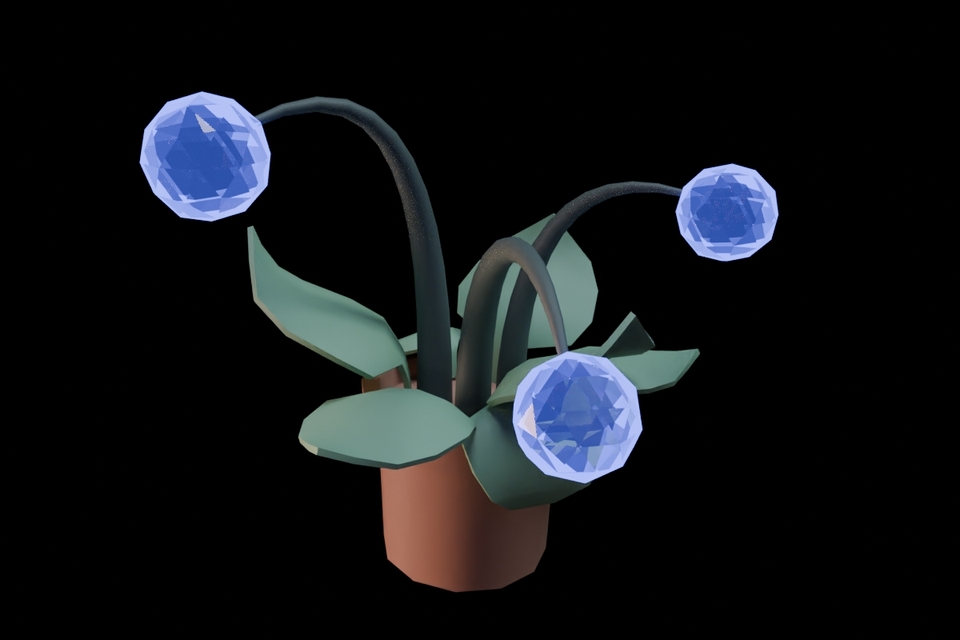
Flowerpot

Since it's a magic shop, let's also make a mysterious-looking flowerpot that seems like it wouldn't exist in this world.

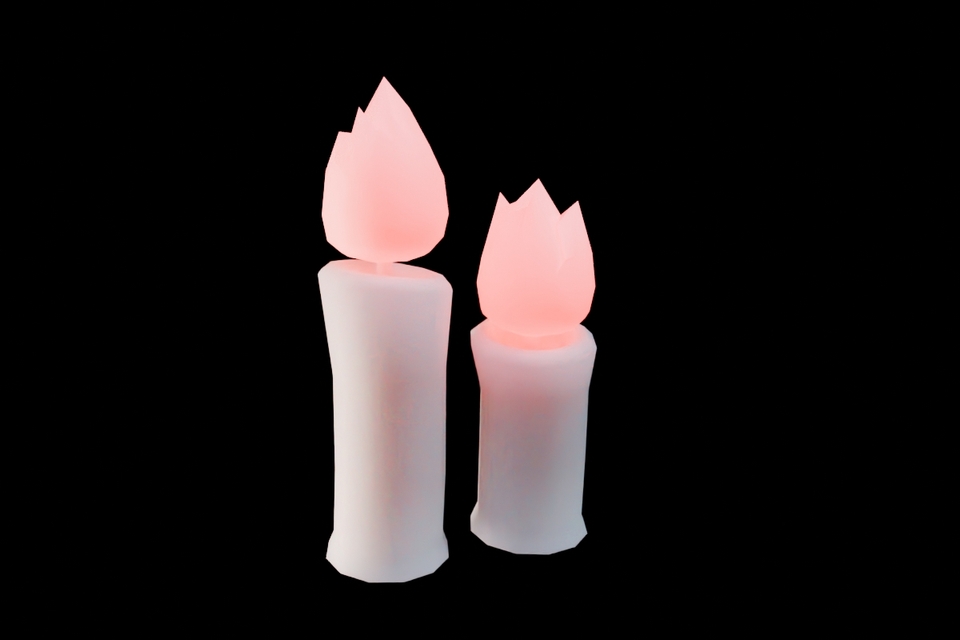
Candle

Let's learn how to create flame shapes and translucent materials.

Section 4: Kitchen

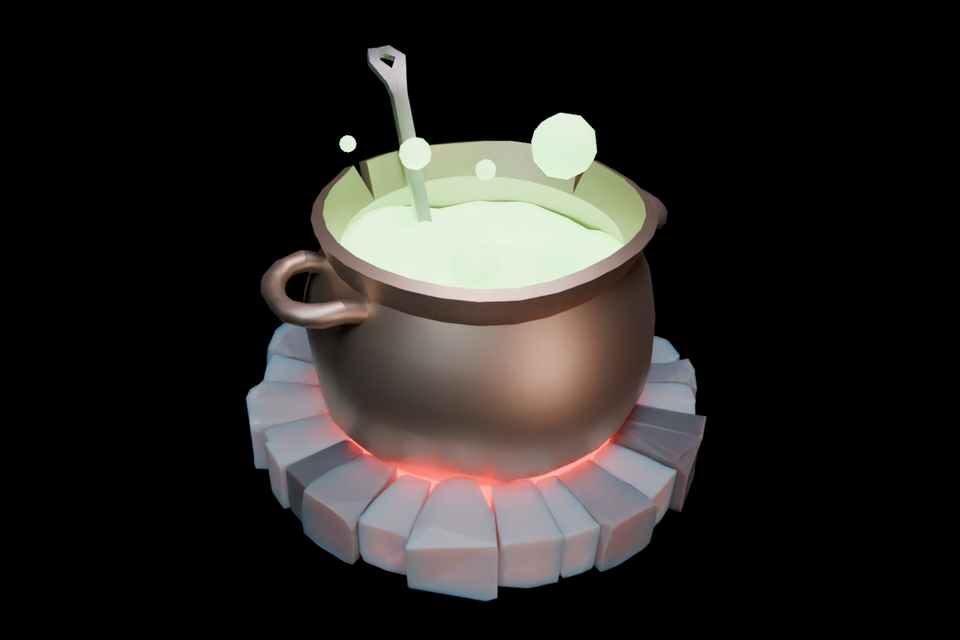
Pot

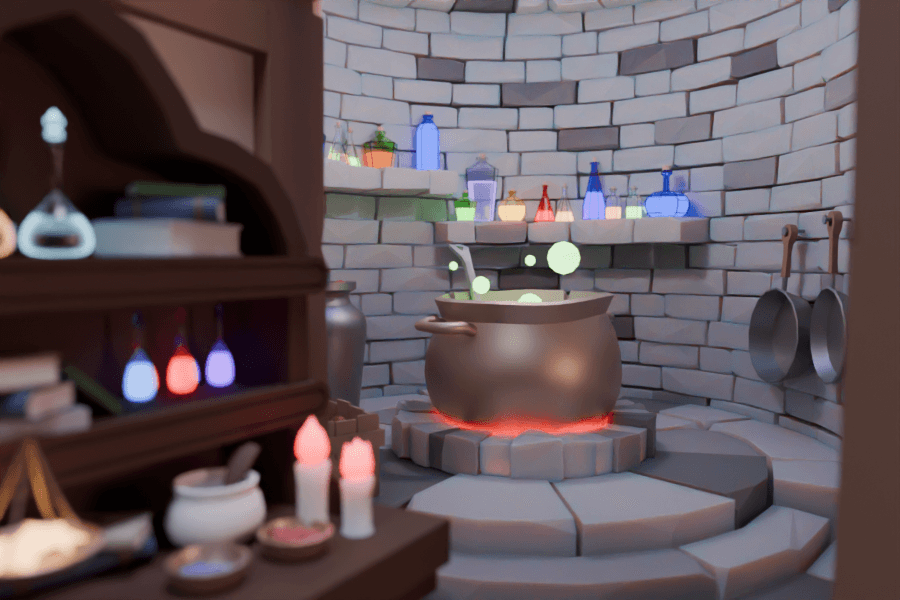
I used the Sculpt feature to create the old and dented look of the pot. It's not a difficult function, so let's start light.

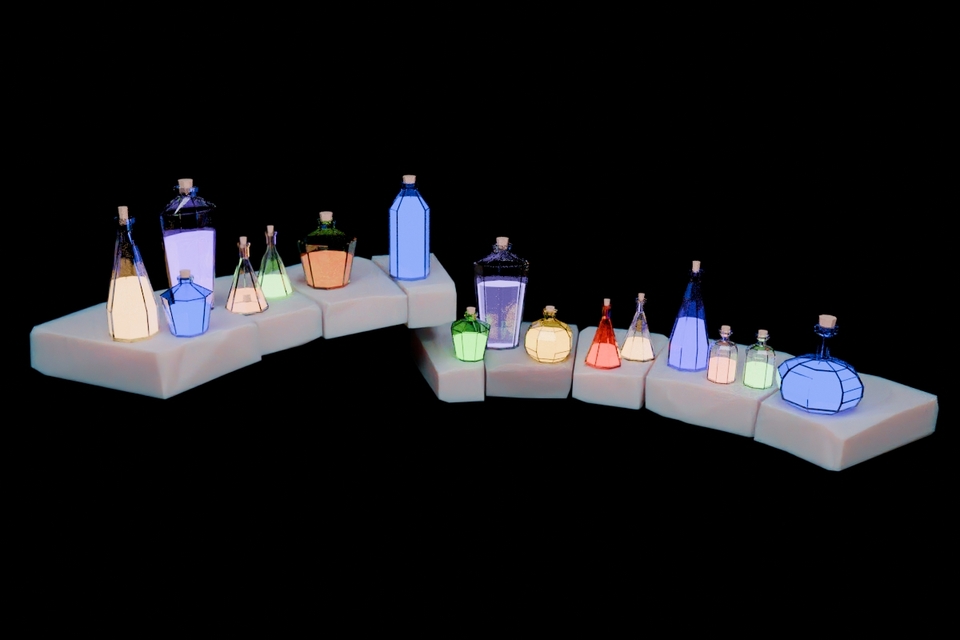
Potion

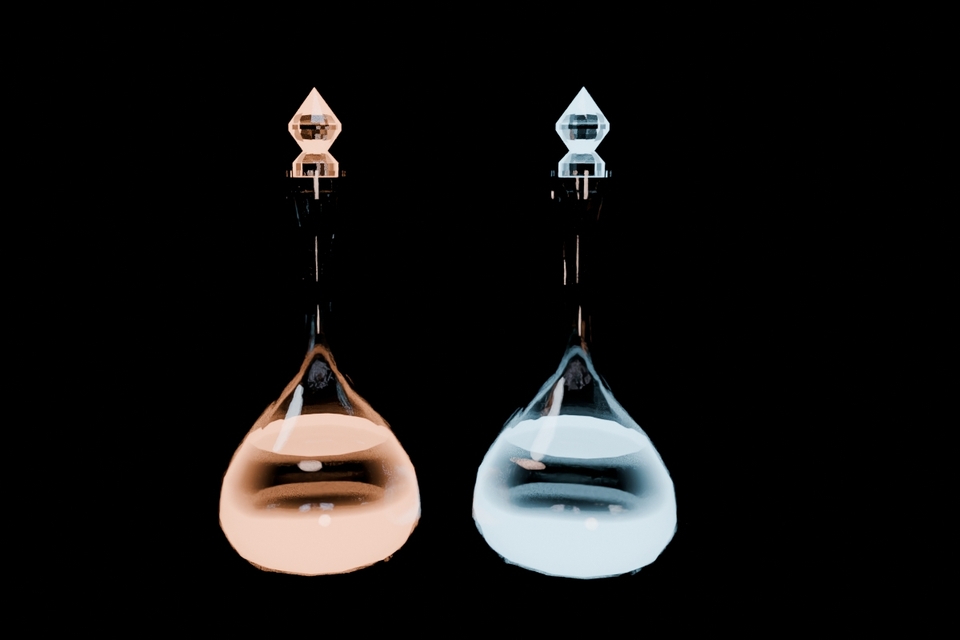
Are you ready to make potions in various shapes? There are also tips for creating multiple similar objects like this, so make sure to check them out.

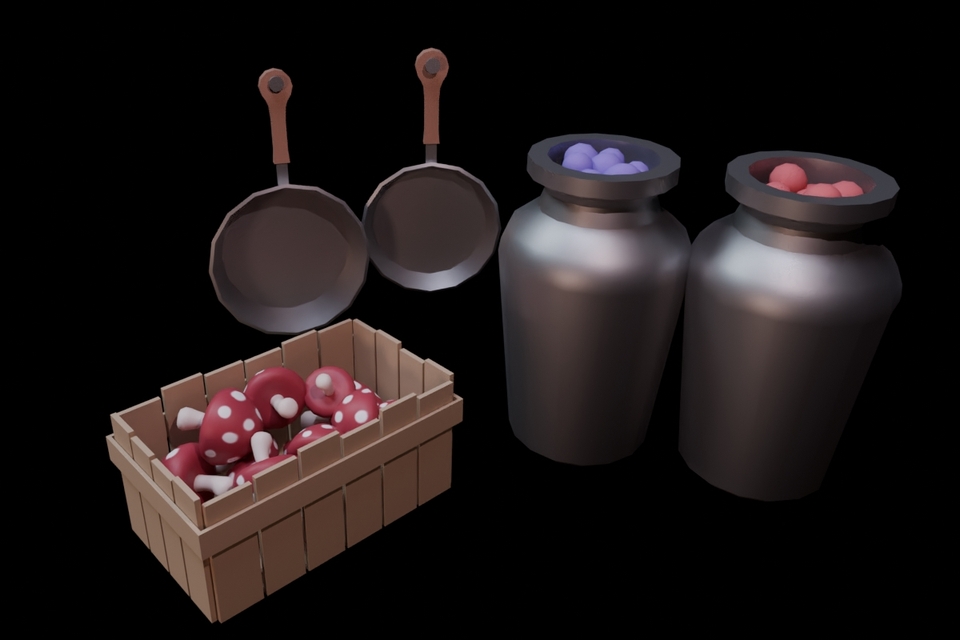
Mushroom Box & Fruit Jar & Frying Pan

The mushrooms were drawn directly using the Texture Paint feature. It's not difficult, as you just need to draw simple circles with your mouse.

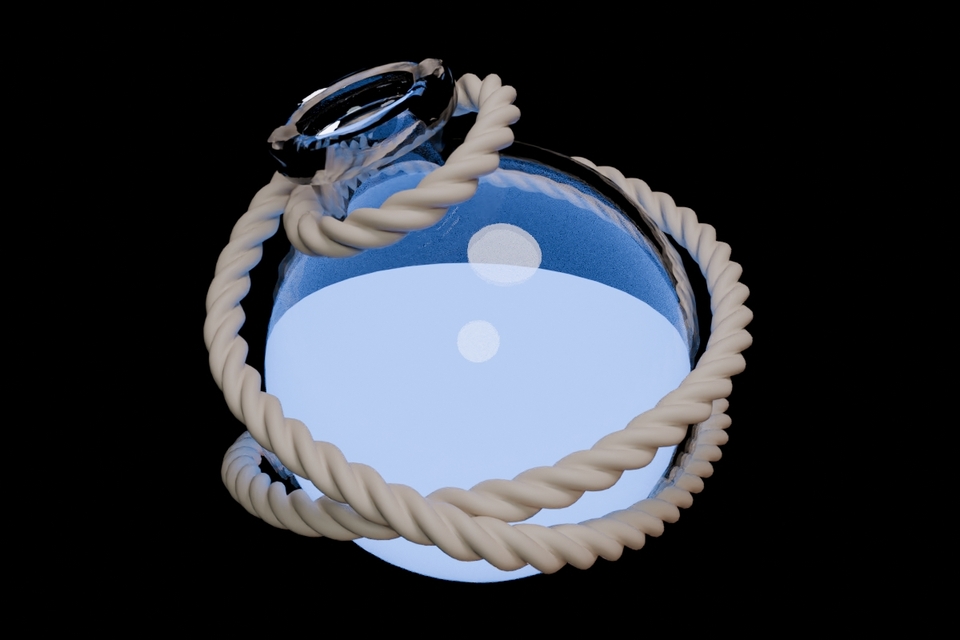
Potion with rope wrapped around it

Are you curious about how to make the rope? We're going to use the Screw and Curve Modifiers. We'll also learn a slightly easier way to use curves.

Section 5: Bookshelf

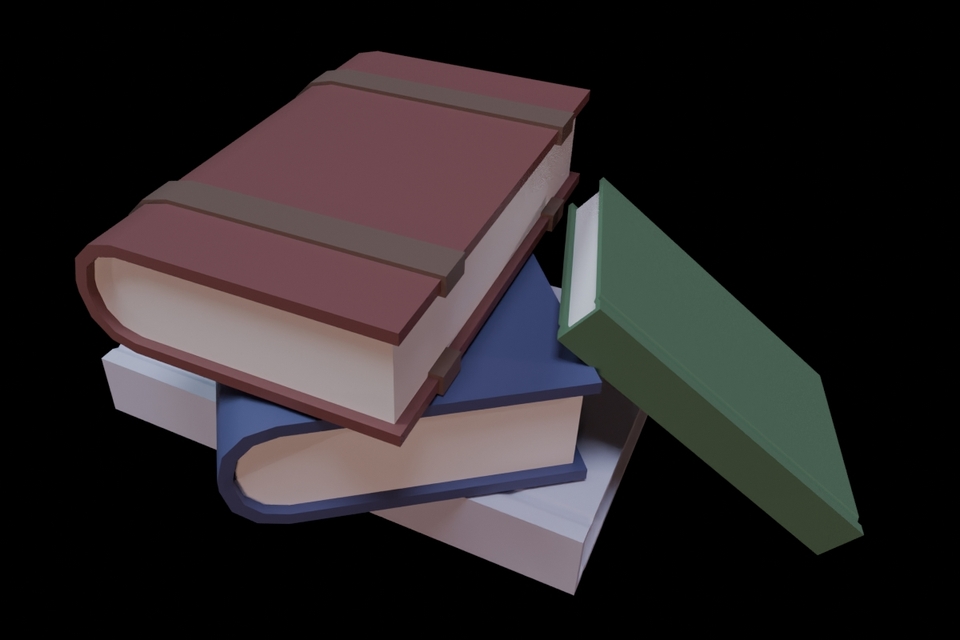
Book

Books are items that go well with any background, and the more there are, the richer the scene becomes. Let's make books of various shapes together.

Reagent bottle

These are reagent bottles that look wonderful in crystal. Their subtle glow makes the space stand out even more.

Balance scale

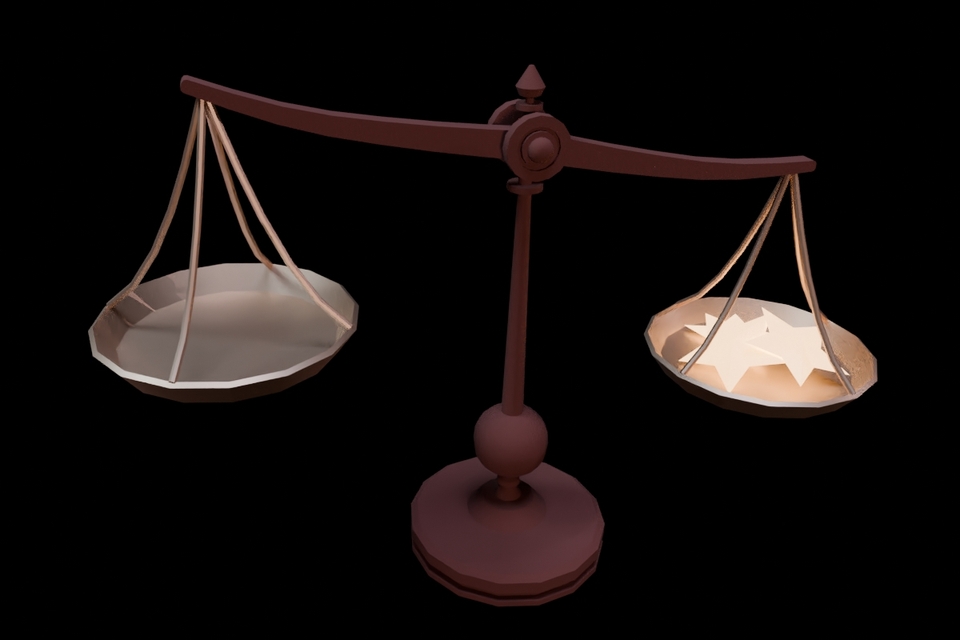
A balance scale is one of the first things that comes to mind when thinking of antique props. A metal plate with a shining star on top? Man, that's nice!

Plate

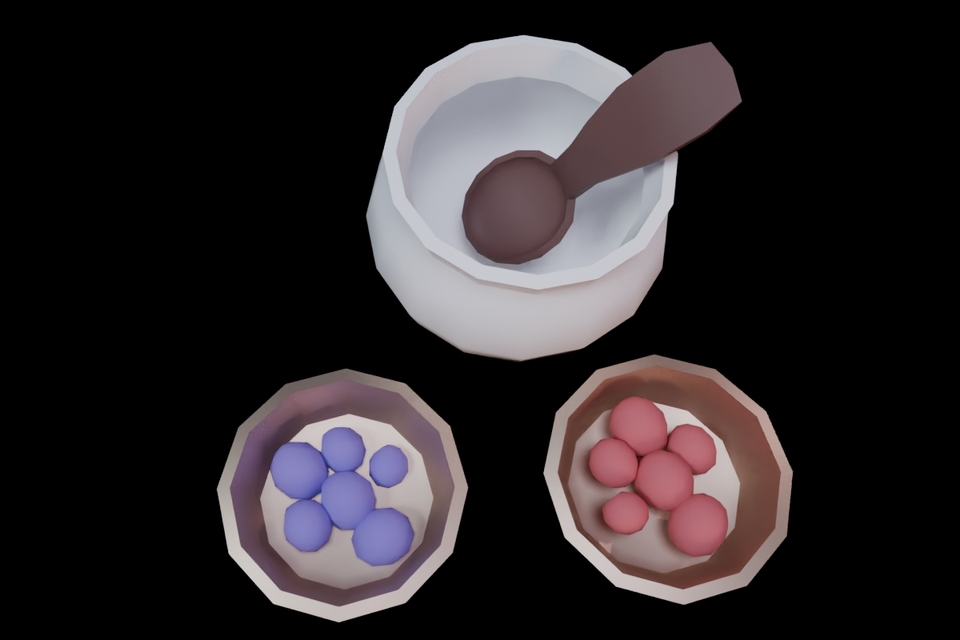
In line with the concept of a space for manufacturing reagents, there are various ingredients and instruments here. Isn't it cute?

Section 6: Others

Rolled scroll

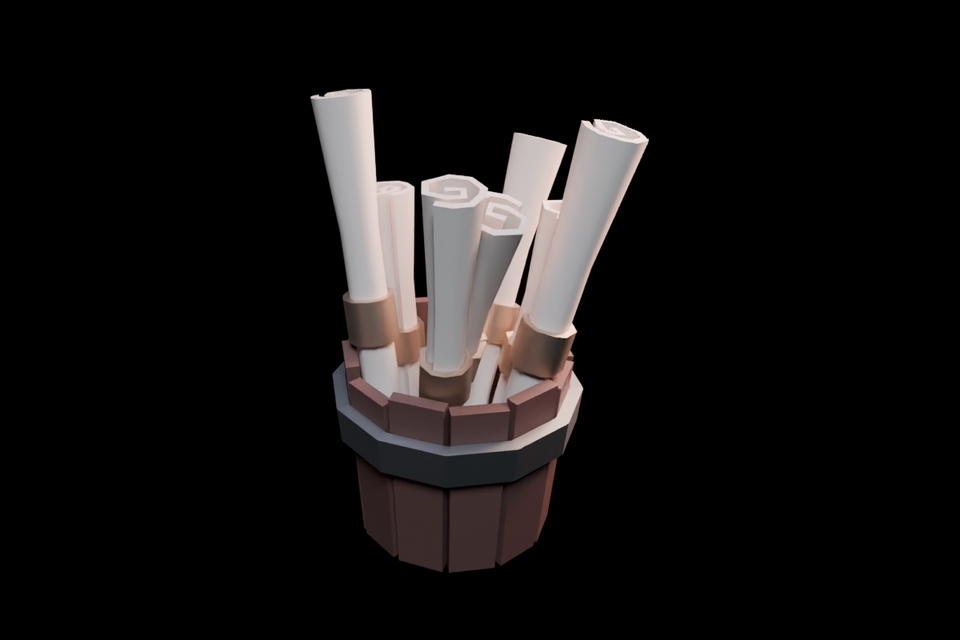
Expressing the shape of rolled paper, representing a round bucket with wooden planks. It's easy to make once you know the method, but coming up with that method is the hard part, isn't it? Let's make it together!
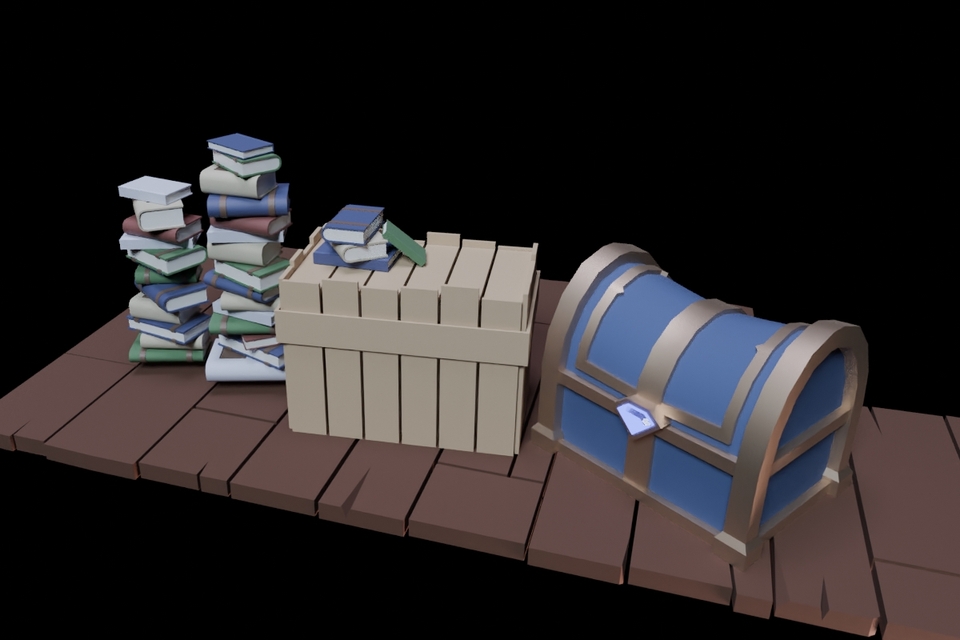
Stool & Treasure Chest

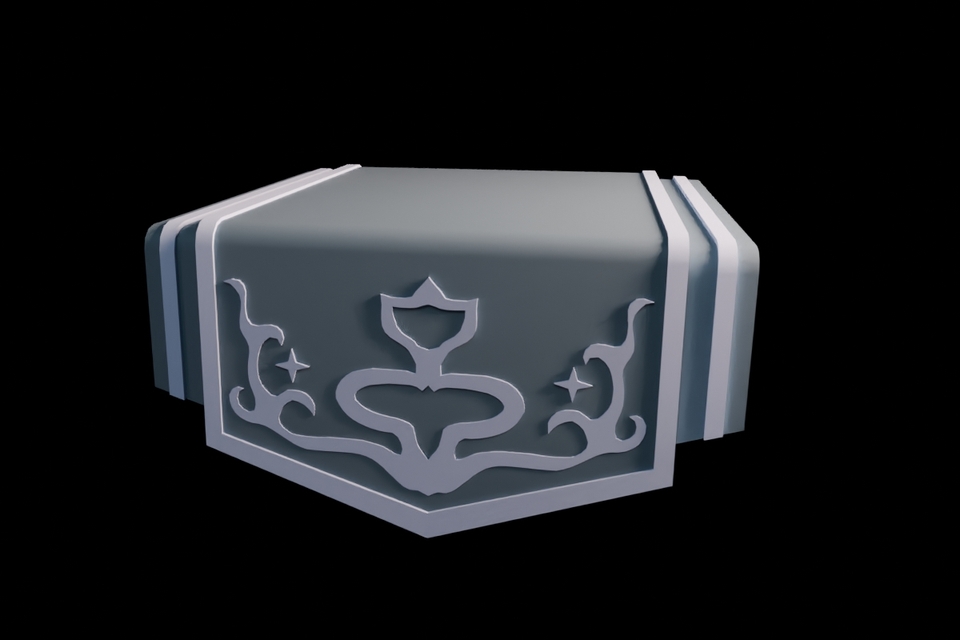
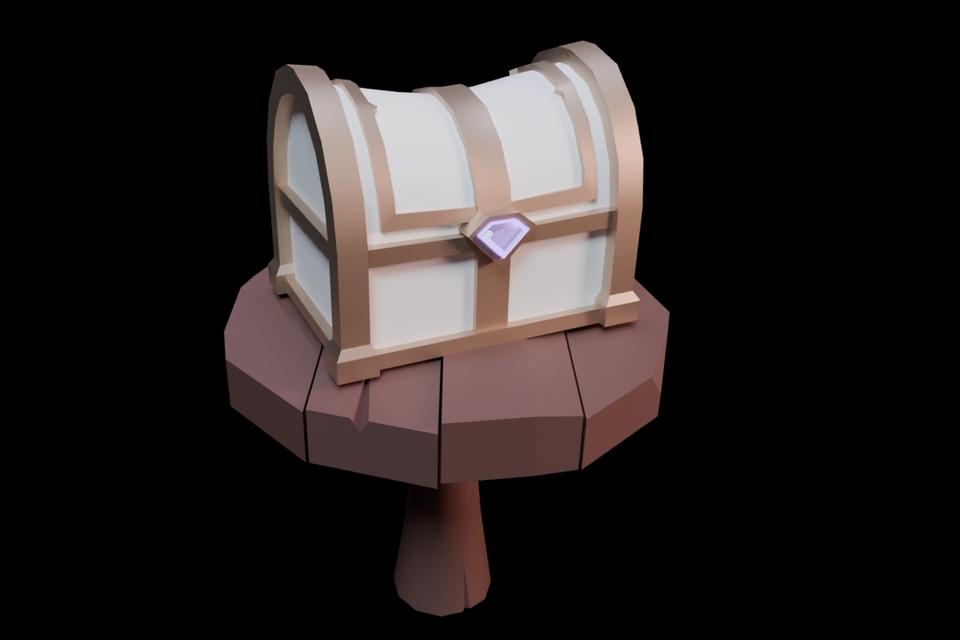
How should we go about making the metal decorations on the edges of the treasure chest? The top part of the treasure chest is smoothly curved, right? There are still many functions left to learn!

Carpet

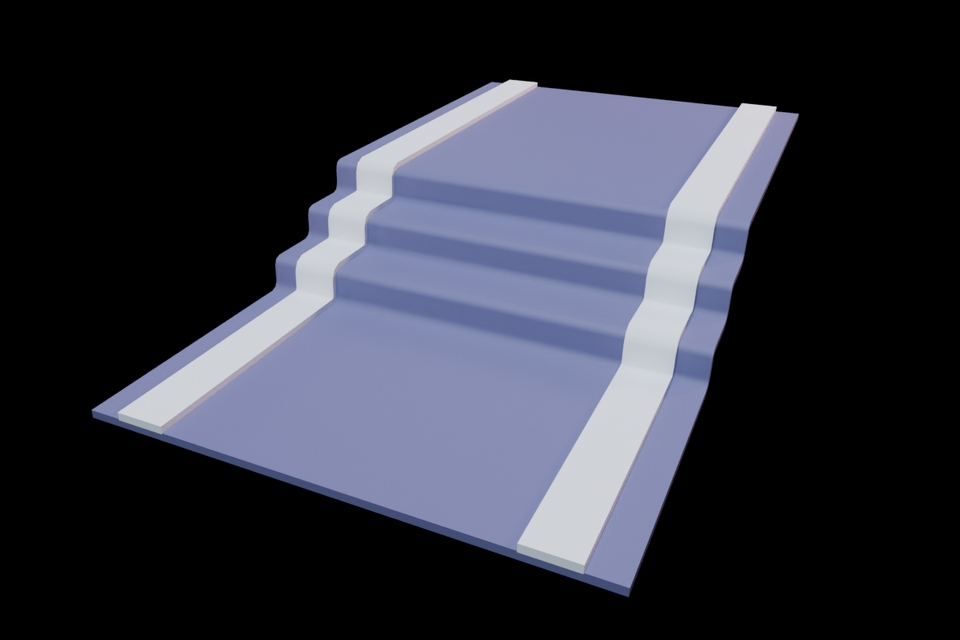
A carpet that fits the curves of the stairs! When the floor feels empty, a carpet or rug is the best choice.

Signboard

Do you see the antique patterns on the corners, made to perfectly capture that classic feel? Those were made using Bevel. Isn't it amazing?

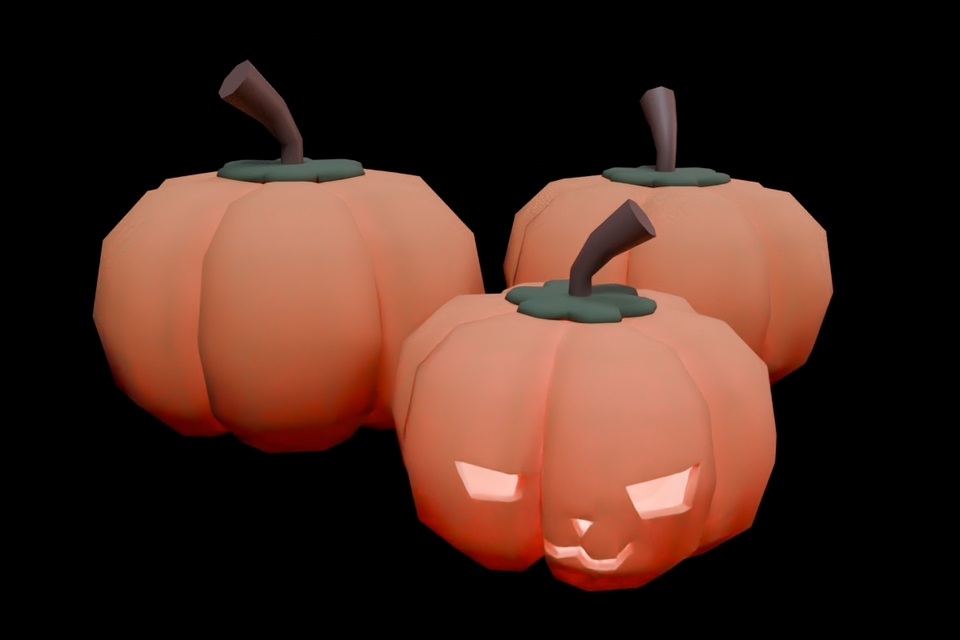
Pumpkin

Making a pumpkin! It's surprisingly tricky to make if you don't know the know-how. From the jagged eyes, nose, and mouth carved with a knife to the material that allows light to pass through! I carefully crafted it down to the finest details.

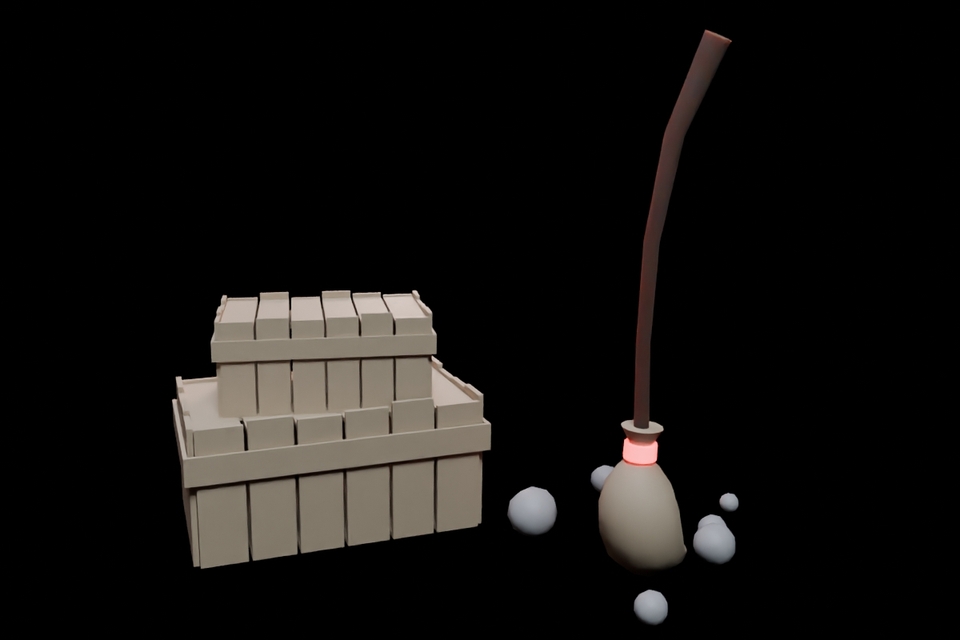
Box & Broomstick

A broom that does the cleaning... could it be the ancestor of the robot vacuum? Please take note of the differences in shape and material compared to the broom hanging on the wall.

2nd floor

Since the second floor is a space that isn't very visible, I arranged it using items I had previously made. It's also necessary to balance the intensity of the space!

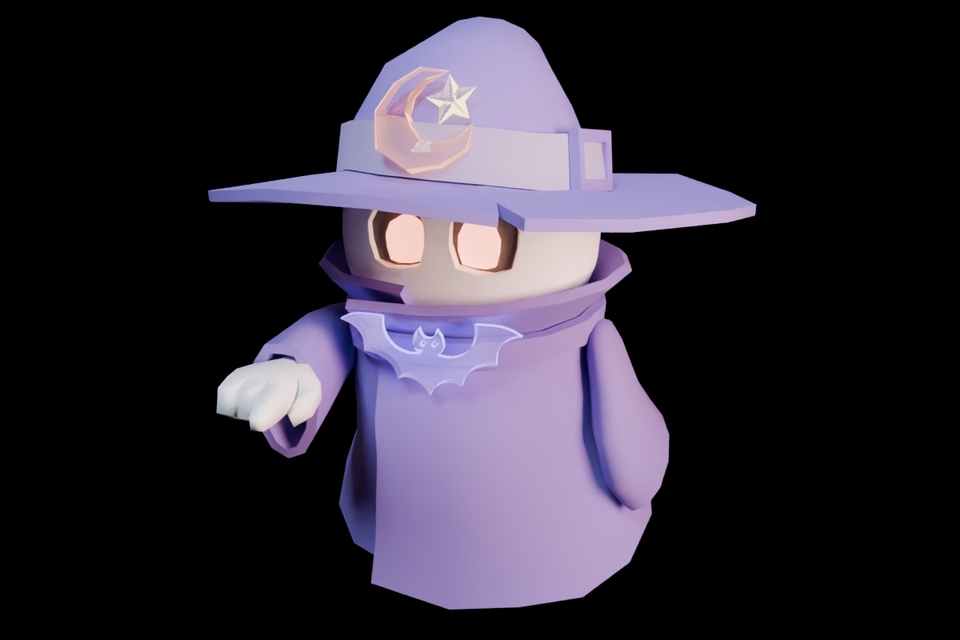
Character (Shop Owner)

I think there is nothing better than living characters to breathe life into a space. Since characters have organic forms, they are a bit more difficult than other things, but this also requires practice.

Section 7 : Background

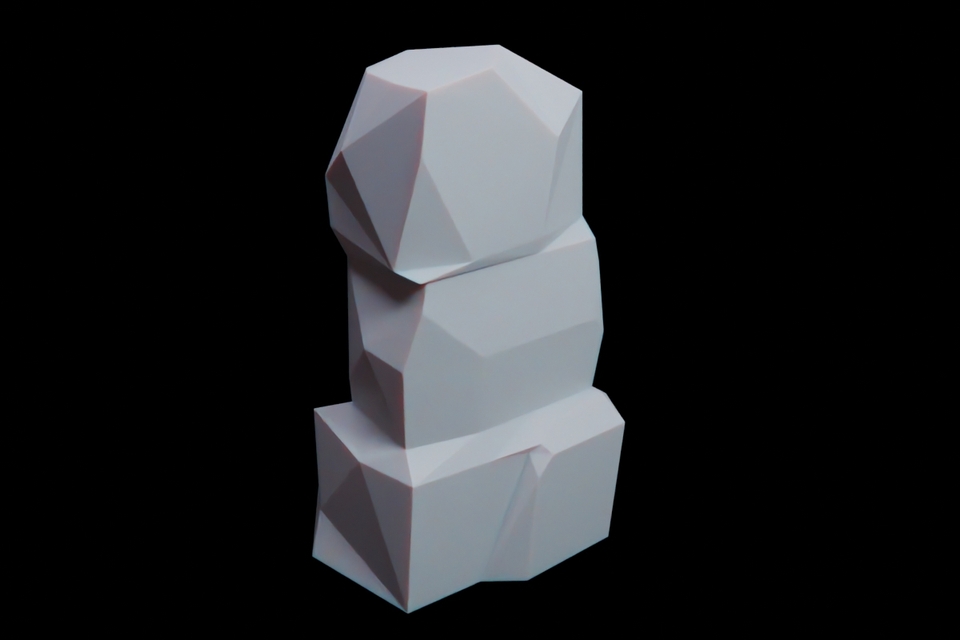
Rock

Rocks, which are great for backgrounds, are fun to carve as if you were sculpting a bar of soap.

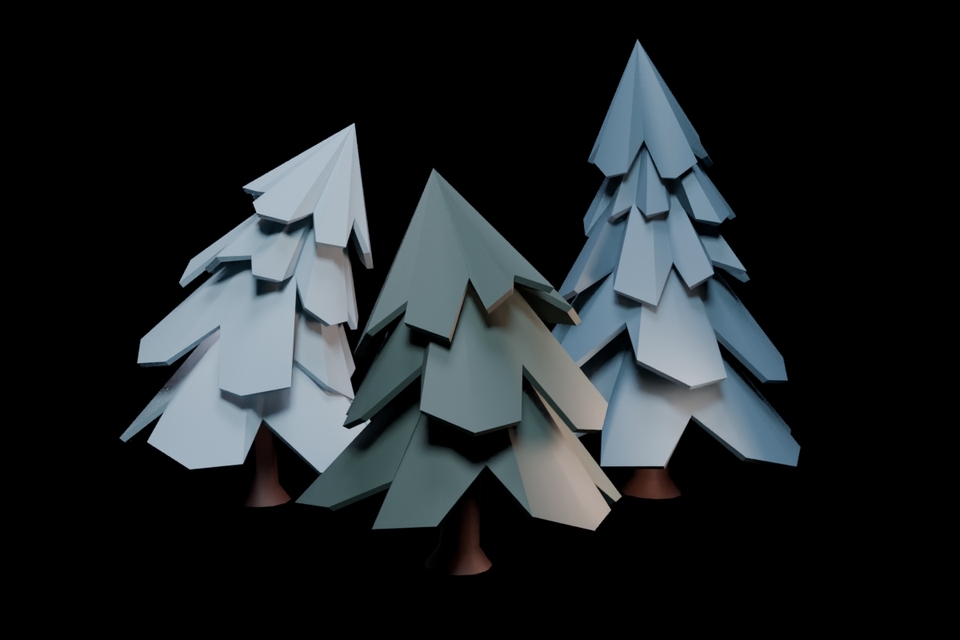
Tree

How do you make sharp trees that have a strong low-poly feel? Also, giving them a slight curve creates a completely different atmosphere.

Stone & Grass

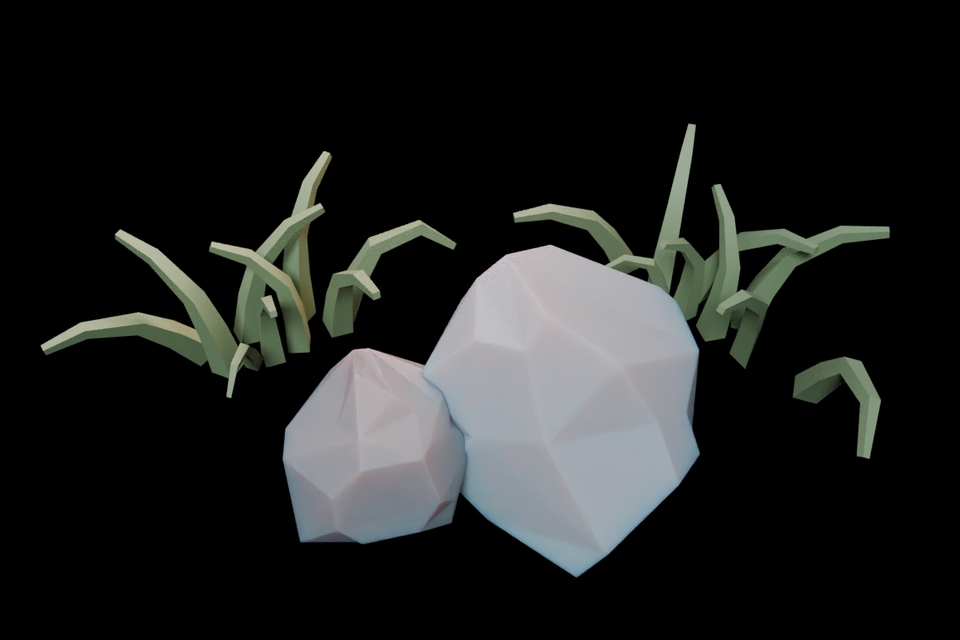
Although the rocks and grass were made using a very simple method, the effect is not minimal. The difference between having rocks and grass versus not having them is enormous.

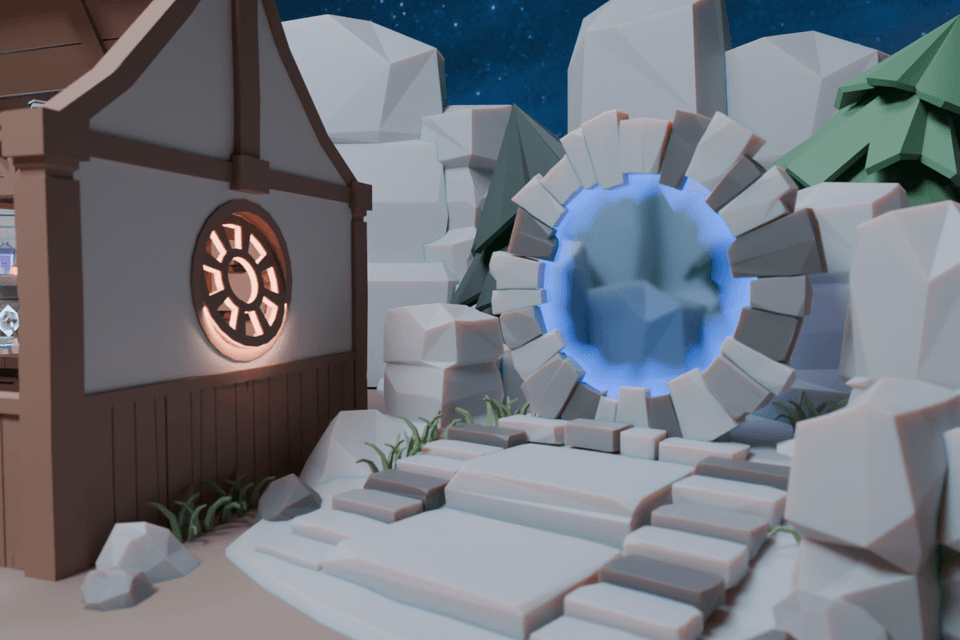
Portal

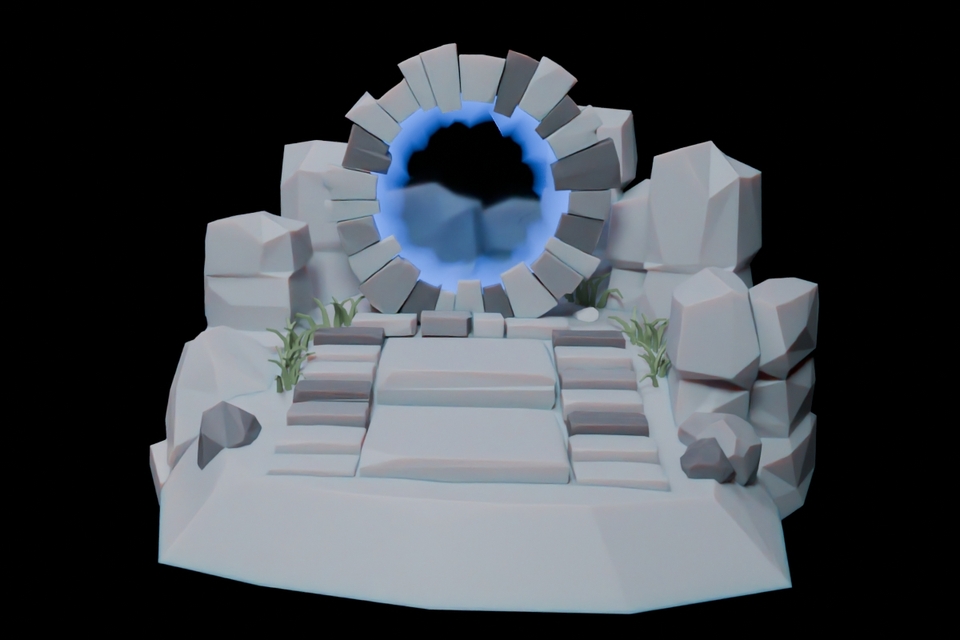
The portal door in the center will likely feel the most fascinating and difficult. It was created using nodes, but since I explain everything step-by-step as we build it, it won't be that hard!

Section 8: Rendering

The example photos above are all textured, but in the lecture, texturing is conducted in Section 8.
Learn various ways to apply materials and experience the fun of coloring.

What happens after completing the course?

  • You will gain confidence in 3D modeling.

  • You will be able to think of and create the modeling methods for what you want to make.

  • Even when watching other tutorials, you won't feel lost or vague anymore.

  • You will be able to follow along while understanding the principles and methods.

🔮 Friendly Blender Series 🔮

Friendly Blender helps you build a solid foundation based on reasons and principles and helps you gain the power to think for yourself. If you don't know the principles, you won't know why something went wrong or where to make corrections when modeling fails. Also, you will feel lost when you want to create your own work. You must develop the ability to think for yourself about which method to use for creation. I will help you truly enjoy Blender. Let's study Blender together!
Friendly Blender = Concept-oriented

Those who want to clarify concepts clearly
Those who want to learn modeling step-by-step

Fun Blender = Example-oriented

Those who enjoy learning by doing while creating examples
Those who want to quickly get a taste of everything up to physics and animation

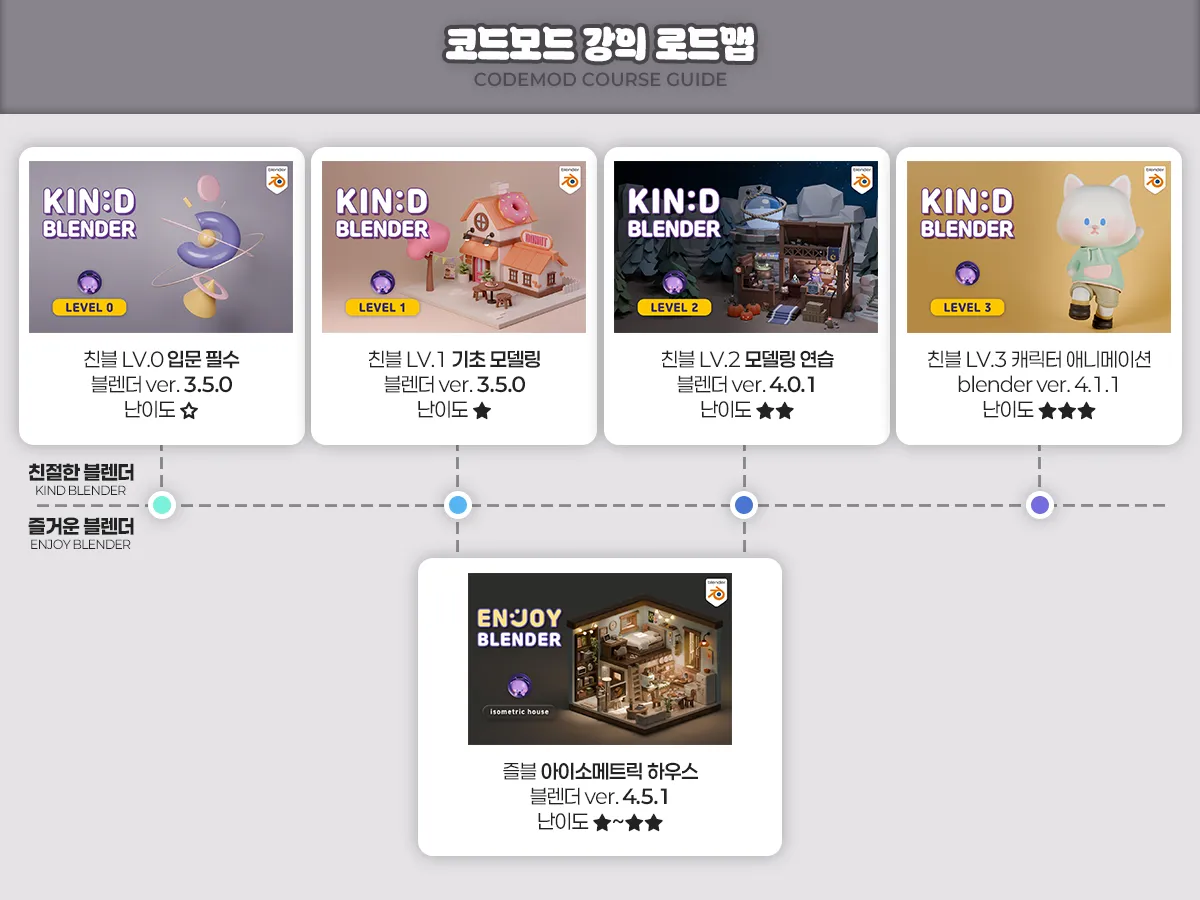
Recommended Roadmap

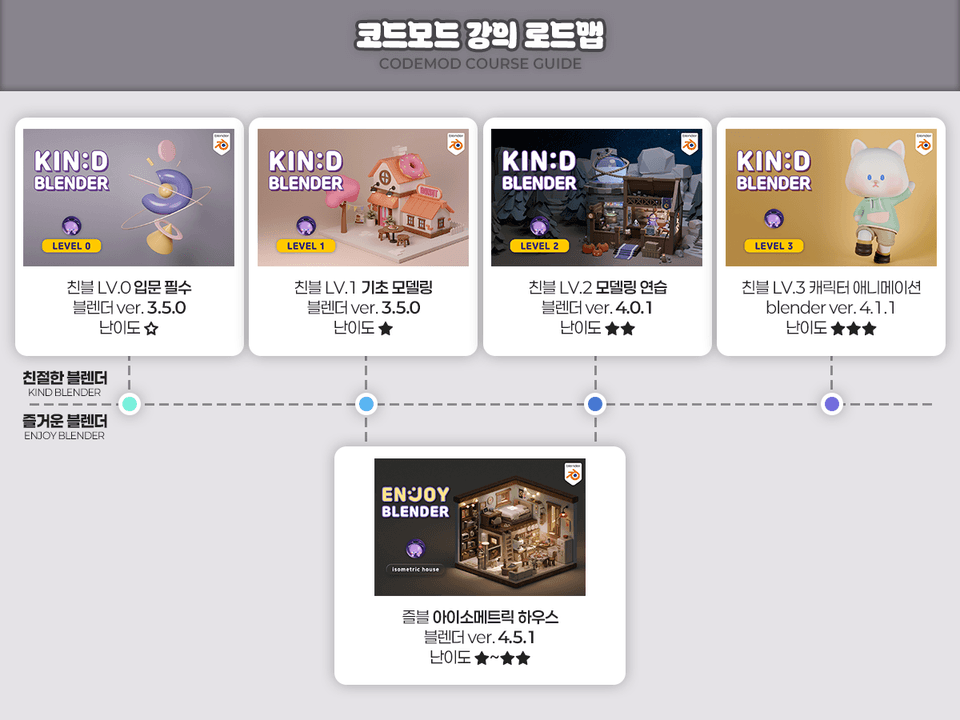
  • Standard (Concept-oriented): Friendly 0 - Friendly 1 - Friendly 2 - Friendly 3 (Friendly 2, which is practice-oriented, can be skipped)

  • Efficiency (Maximum features): Friendly 0 - Friendly 1 - Joyful House - Friendly 3

  • Practical (Learning through examples from the start): Joyful House - Friendly 3

LV0 Main

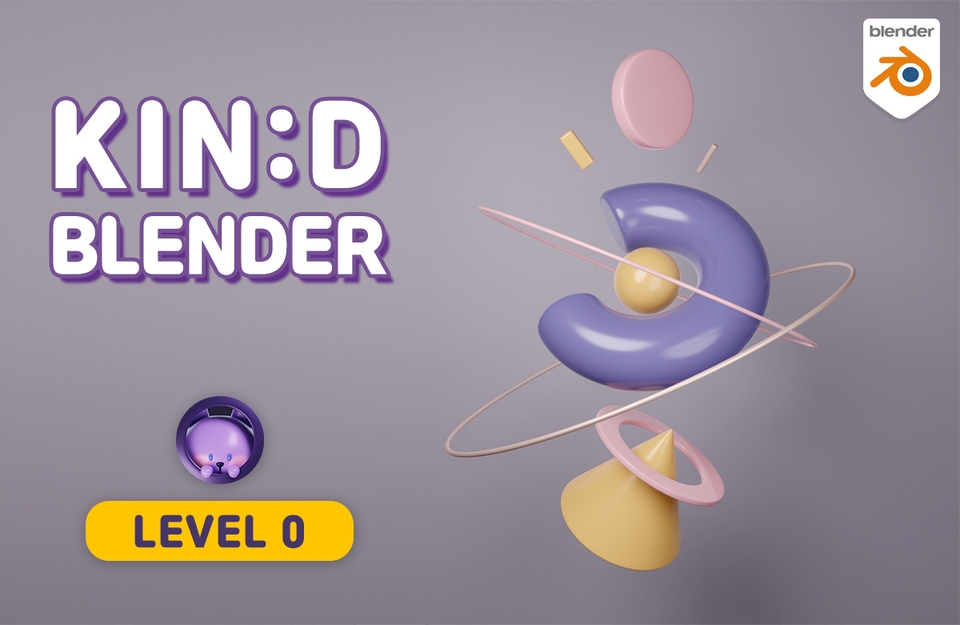
[Intro] Friendly Blender LV.0

Target: Beginners who are new to 3D tools
Key: Basic concepts and practice combining basic shapes

LV1 Main

[Basic] Friendly Blender LV.1

Target: Those who need a solid foundation in modeling
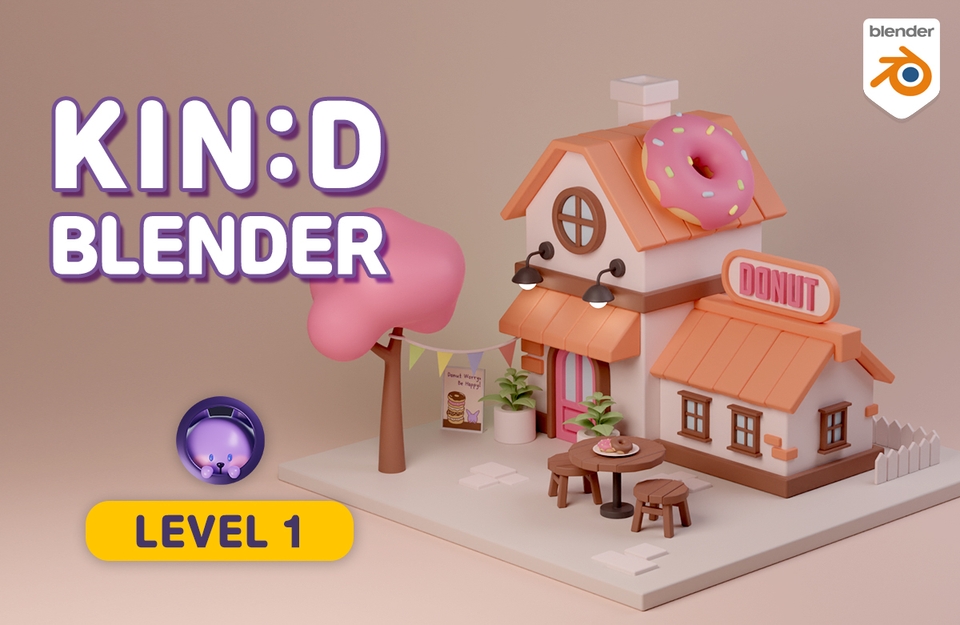
Key Point: Learning modeling functions and creating a donut house example

즐거운 블렌더 아이소메트릭 하우스

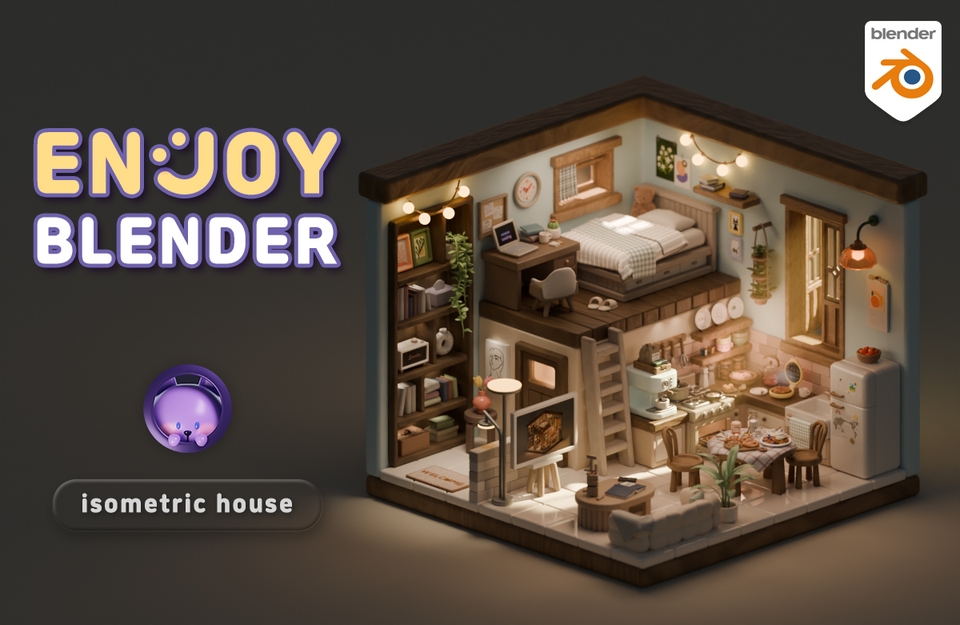
[Practical] Fun Blender Isometric House

Target: Those who want to learn functions through examples (Difficulty: Friendly 1+2+α)
Key: Includes physics and animation in addition to modeling

LV2 Main

[Practice] Friendly Blender LV.2

Target: Those who want to solidify what they've learned and create large-scale works
Key Point: Strengthening skills through the Magic Shop example

LV3 Main

[Advanced] Friendly Blender LV.3

Target: Those who want in-depth animation and rigging concepts
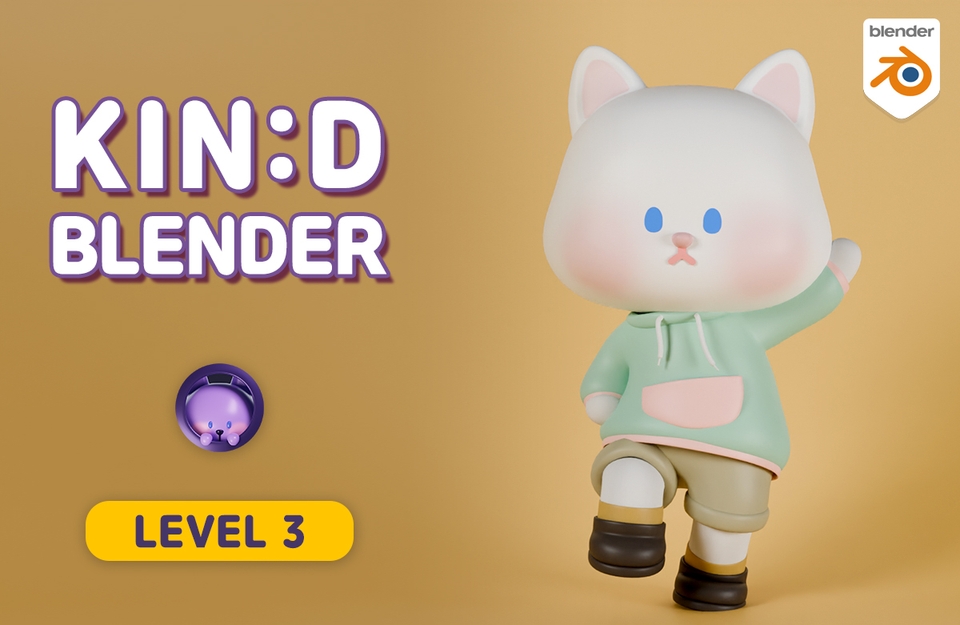
Key Point: Character modeling, rigging, and animation practice (High difficulty)

Q&A 💬

Q. Why should I learn Blender?

Blender is a program equipped with truly diverse features, and it's free! It's great to try out when you're wondering if you'll be good at 3D. It's also excellent for learning as a hobby, and I recommend it to those who want to create their own animations or videos.
If you are learning for employment, it might be better to learn programs that are widely used in that specific field. It is true that Blender is currently relatively less famous in Korea and is not commonly used by companies. This is perhaps natural since they have existing programs they've been using. However, companies using Blender are gradually emerging, and it is already widely used abroad. The proportion of Blender usage in Korea will surely increase in the future!

Q. Can non-majors take this course?

Yes, it is possible even if you did not major in video or design. The most difficult parts of drawing three-dimensional pictures are perspective and shadow angles. In Blender, if you place an object close to or far from the camera, perspective is created naturally, and if you add light, shadows are generated automatically, so you can create something beautiful even if you are not good at drawing.

Of course, there are exceptions like Sculpting or Texture Painting, but the modeling and rendering taught in this video are at a basic level, so anyone can do it as long as they have the will to follow along and create!

Q. What materials are needed to take this course?

  • Computer
    Desktop computers are recommended. Please check the link below for detailed recommended specifications. Laptops are possible, but rendering work in 3D requires high graphics card performance, and since the numpad (the number pad to the right of the arrow keys) is used frequently in Blender, it may be inconvenient.
    Check computer specifications for Blender

  • Mouse
    A mouse with a wheel is required.

  • Keyboard
    A keyboard with a numpad is recommended.

  • (Optional) Tablet PC or Dual Monitor
    Due to the nature of learning videos with many features, you will often need to pause and follow along, so having a tablet PC or a dual monitor is useful for watching the video while you work.

Q. What should I do if I get stuck?

If you get stuck in the middle, it becomes difficult to move on to the next step. Since I understand that frustrating feeling all too well, my door is always open for questions. For inquiries regarding the operation of the Inflearn service, please use the 1:1 inquiry feature.

Recommended for
these people

Who is this course right for?

  • People who know the basic functions of Blender but find it difficult when they actually try to start modeling.

  • People who want to create a proper piece of work in 3D

Need to know before starting?

  • Blender Basic Features

Hello
This is codemod

Inflearn Verified

8,682

Learners

395

Reviews

336

Answers

4.9

Rating

10

Courses

Blender with CODEMOD!

Let's create the images you've only imagined using Blender, the free 3D software.
I will teach you the concepts and principles easily so that you can apply them yourself to game assets, architecture, product design, models for 3D printing, dioramas, animation, motion graphics, VFX, simulations, and more!


Go to Profile Link (Course Coupon)

Go to YouTube

Go to Instagram


codemod3d@gmail.com


codemod roadmap.png.webp


More

Curriculum

All

32 lectures ∙ (14hr 25min)

Course Materials:

Lecture resources
Published: 
Last updated: 

Reviews

All

28 reviews

5.0

28 reviews

  • codestark님의 프로필 이미지
    codestark

    Reviews 10

    Average Rating 4.4

    5

    60% enrolled

    Please change the course period to unlimited. Most of the other courses seem to be unlimited, but why is this course the only one with a limited course period? This is a 3D lecture, so if time passes, you won't remember it, so you have to keep looking it up. It was really hard to write it down, but even though I did it all, it's too much to just look at it in writing.

    • codemod
      Instructor

      The course period for all classes from Kind Blender Lv.0 to Lv.3 has been changed to unlimited. Those who have already purchased the course will also request Inflearn, and the administrator will change the course period to unlimited. I hope this will be of some help to ease the burden of studying Blender. Thank you for your good opinion. :)

  • rnrxo77776286님의 프로필 이미지
    rnrxo77776286

    Reviews 1

    Average Rating 5.0

    Edited

    5

    100% enrolled

    When I first started Blender, I felt so overwhelmed that I couldn't make any progress and just felt stressed. However, I pushed through to the end by following your guidance, and looking back now, it was truly a great choice! Because you explained everything in great detail from a complete beginner's perspective, I was able to build things bit by bit while actually understanding the process, which made it feel manageable. Also, your calm voice was very healing. I'll see you again in the animation lecture. Thank you!

    • codemod
      Instructor

      I believe we were able to create great synergy together because you didn't give up and saw it through to the end. Thank you for giving me a deep sense of fulfillment and making me feel that creating this lecture was truly worth it. I look forward to your future growth and will be rooting for you! :)

  • ibyeongchan9179356님의 프로필 이미지
    ibyeongchan9179356

    Reviews 3

    Average Rating 5.0

    5

    97% enrolled

    It took a long time to finish because there were so many detailed items, but it was useful to learn which functions to use for specific props, and I felt confident that I could create something on my own.

    • codemod
      Instructor

      The thought that you could make it yourself was what I hoped for most while creating this lecture, so I am proud and happy to hear that you felt that way. You expressed the details so well that I believe you will continue to create great works in the future! Good luck with your Blender studies! ☺️

  • bomorc8764님의 프로필 이미지
    bomorc8764

    Reviews 3

    Average Rating 5.0

    5

    32% enrolled

    As I keep following along with the practice, I'm getting more familiar with the tool! I love your class so much, teacher~!

    • codemod
      Instructor

      Your skills will improve as much as you get used to it! I'm glad you like my class. Thank you! I hope you continue to enjoy studying Blender!! :)

  • wisee276201님의 프로필 이미지
    wisee276201

    Reviews 2

    Average Rating 5.0

    5

    100% enrolled

    This is my second time completing a course, following the Isometric House! If you are just starting Blender or feel your basics are a bit vague, I highly recommend Codemode's lectures without hesitation. The best part about the lectures is that there is no ambiguity. Since the functions are explained precisely, I gained the ability to create on my own after finishing the course. I will see you in the next level of lectures when the day comes that I need rigging. Thank you for the great lecture!

    • codemod
      Instructor

      You finished the course so quickly! I think the ability to create on your own was what I hoped for the most. Thank you for making this so rewarding. I look forward to your future growth and will be rooting for you. Good luck with your continued Blender studies!! :)

codemod's other courses

Check out other courses by the instructor!

Similar courses

Explore other courses in the same field!