Introduction to Autodesk Maya 3D Graphics Part.3 Rendering
This is an introductory 3D graphics modeling course using the 3D modeling software Autodesk Maya. The course consists of four parts in total, and in this session, we will focus on learning Maya's rendering features.
(Continued from Autodesk Maya 3D Graphics Introduction Part 2.)
🗒 Course Introduction
(Please note that instructor Q&A is not provided for this course.)
Autodesk Maya holds the status of being used as the industry-standard 3D modeling software in the fields of film, animation, and commercial advertising. It leads the industry particularly in the field of animation, and it also fully satisfies user demands in modeling, special effects, and rendering.
This course helps beginners starting 3D graphics for the first time to learn basic 3D graphic concepts from the perspective of using Maya.
PART 1: Rendering 1
In this course, we will explore the overall workflow of Maya rendering, focusing on Maya's default rendering system, the Arnold Renderer. We will first familiarize ourselves with the basic workflow and then go through the fundamental concepts and features used in lighting, shading, and rendering one by one. Afterward, to wrap up the entire process, we will perform a simple rendering and output task, learning the techniques for working with EXR output files containing Cryptomatte passes in Photoshop.
Basic workflow of the Arnold renderer
Basic concepts and functions of lighting and shading
Simple workflow for using exr files with Cryptomatte AOV passes
PART 2: Rendering 2
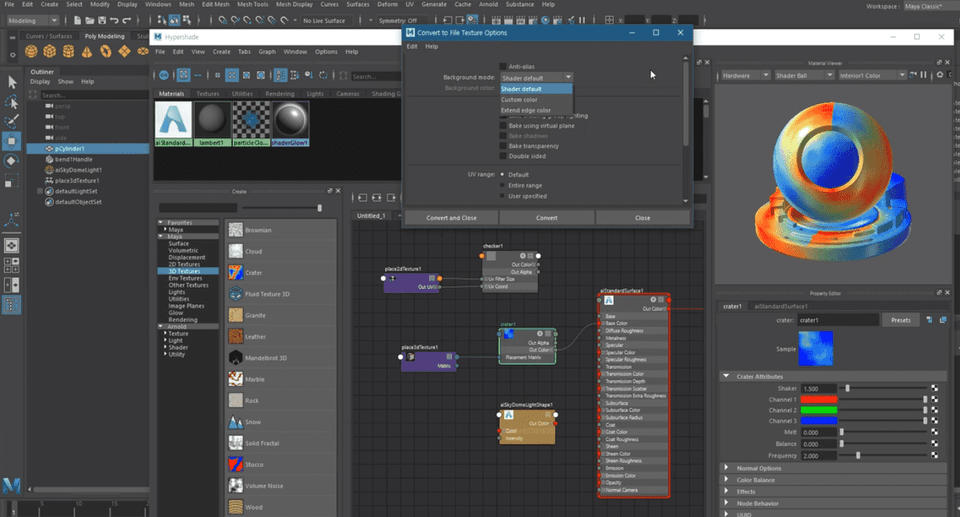
In this course, we will experiment with the lighting types of the Arnold Renderer and learn about the roles and functions of various nodes for the Hypershade. Along with the roles of Maya's default lights, we will experiment with IES file-based lights and the physically realistic Physical Sky. In particular, we will focus on the workflow of using Hypershade, Maya's default material editing system, and the specific roles and visual characteristics of utility nodes that assist in shading tasks, such as color operations, color correction, facing ratio, and curvature.
Basic usage of Maya Light and Arnold Light
How to create and edit materials using Hypershade
Using various utility nodes for shading work
✅ A lecture handout is attached to the first lesson of each section.
🌈 Course Preview
🙌 Tools covered here
This course covers Autodesk Maya 2019version, so it is recommended to have that version or higher. Maya only operates in a 64-bit system environment. Please check the official site for more details. Official Site Link You can download and use a 30-day free trial of the latest version of Maya from the official site.
🙋🏻♂️ Frequently Asked Questions about the Course
Q. Can non-majors or beginners take this course? A. This is an introductory course that anyone interested in 3D graphics can take. Since this course follows Autodesk Maya 3D Graphics Introduction Part 1-2, please make sure to take those courses first.
Q. What can I do after learning Maya? A. Maya is a tool widely used in the global visual effects industry and can be utilized for 3D modeling, rendering, animation production, and motion graphics. Maya was used to create numerous famous works, including the game <God of War>, the animation <Frozen>, and the movie <Avatar>.
📢 Please check before taking the course!
This course does not provide Q&A support from the instructor regarding the course content.
This course is recorded in 720p. Please check the video quality through the [Preview] before enrolling.
Recommended for these people
Who is this course right for?
Those who want to learn 3D graphics
Those who want to learn Maya
Need to know before starting?
Photoshop Basics
Arnold Renderer Beginner
Students of Introduction to 3D Graphics Starting with Autodesk Maya 2019 PART 2


![How to Make a Unity 2D Roguelike Game [Korean Subtitles]Course Thumbnail](https://cdn.inflearn.com/wp-content/uploads/unity003.jpg?w=420)