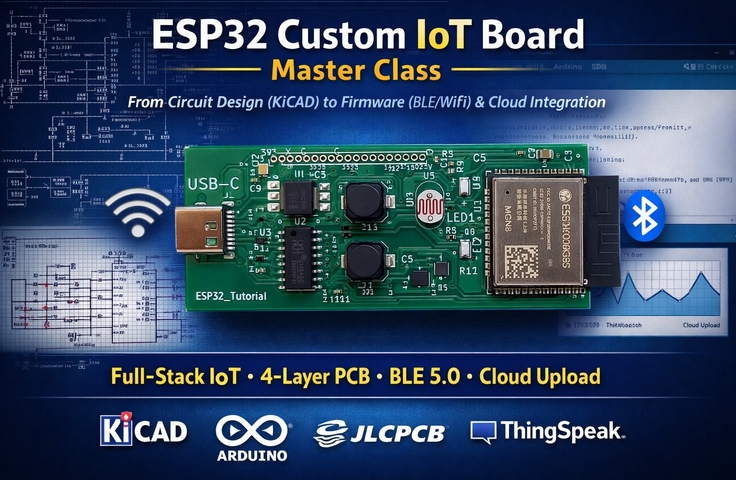
ESP32 IoT Development Basics - From Hardware to FreeRTOS
yongjunmoon
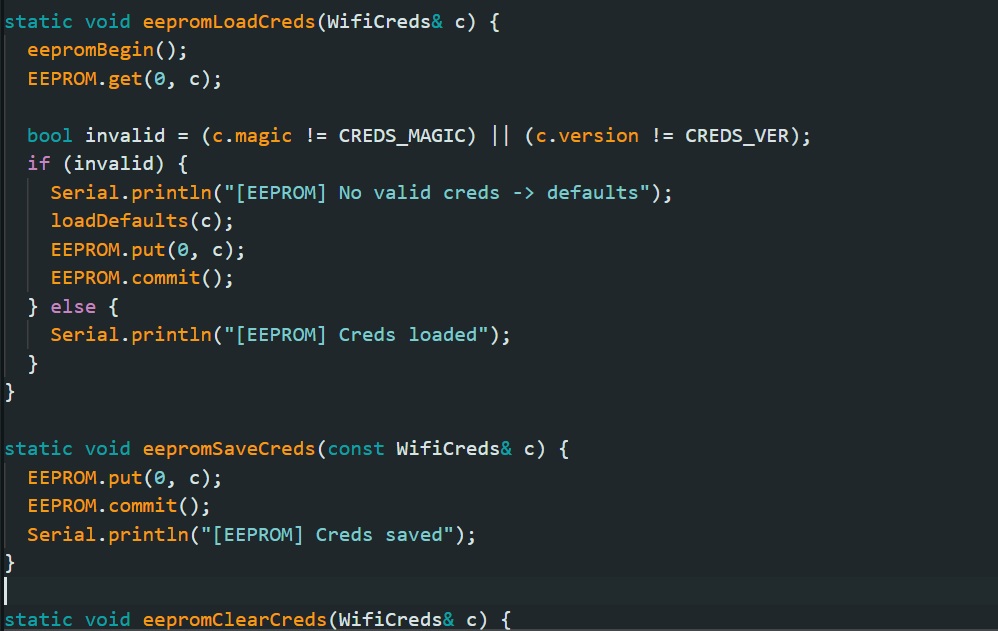
This course aims to help learners who are new to ESP32 and IoT development master everything from environment setup and language basics to hardware control and RTOS utilization. The main objectives of this course are as follows: - Acquire the ability to use the ESP32 development environment and basic tools - Understand the C language and ESP-IDF structure - Understand FreeRTOS tasks and basic synchronization methods - Enable hardware control through GPIO, I2C, SPI, and UART - Understand storage and memory structures and implement simple persistent data storage
Beginner
C, IoT, FreeRTOS


![[AUTOSAR] Mastering Basic AUTOSAR Concepts for New EmployeesCourse Thumbnail](https://cdn.inflearn.com/public/courses/335114/cover/00356529-b9f9-4cc8-9b6b-9bddfd8d730d/335114.png?w=420)