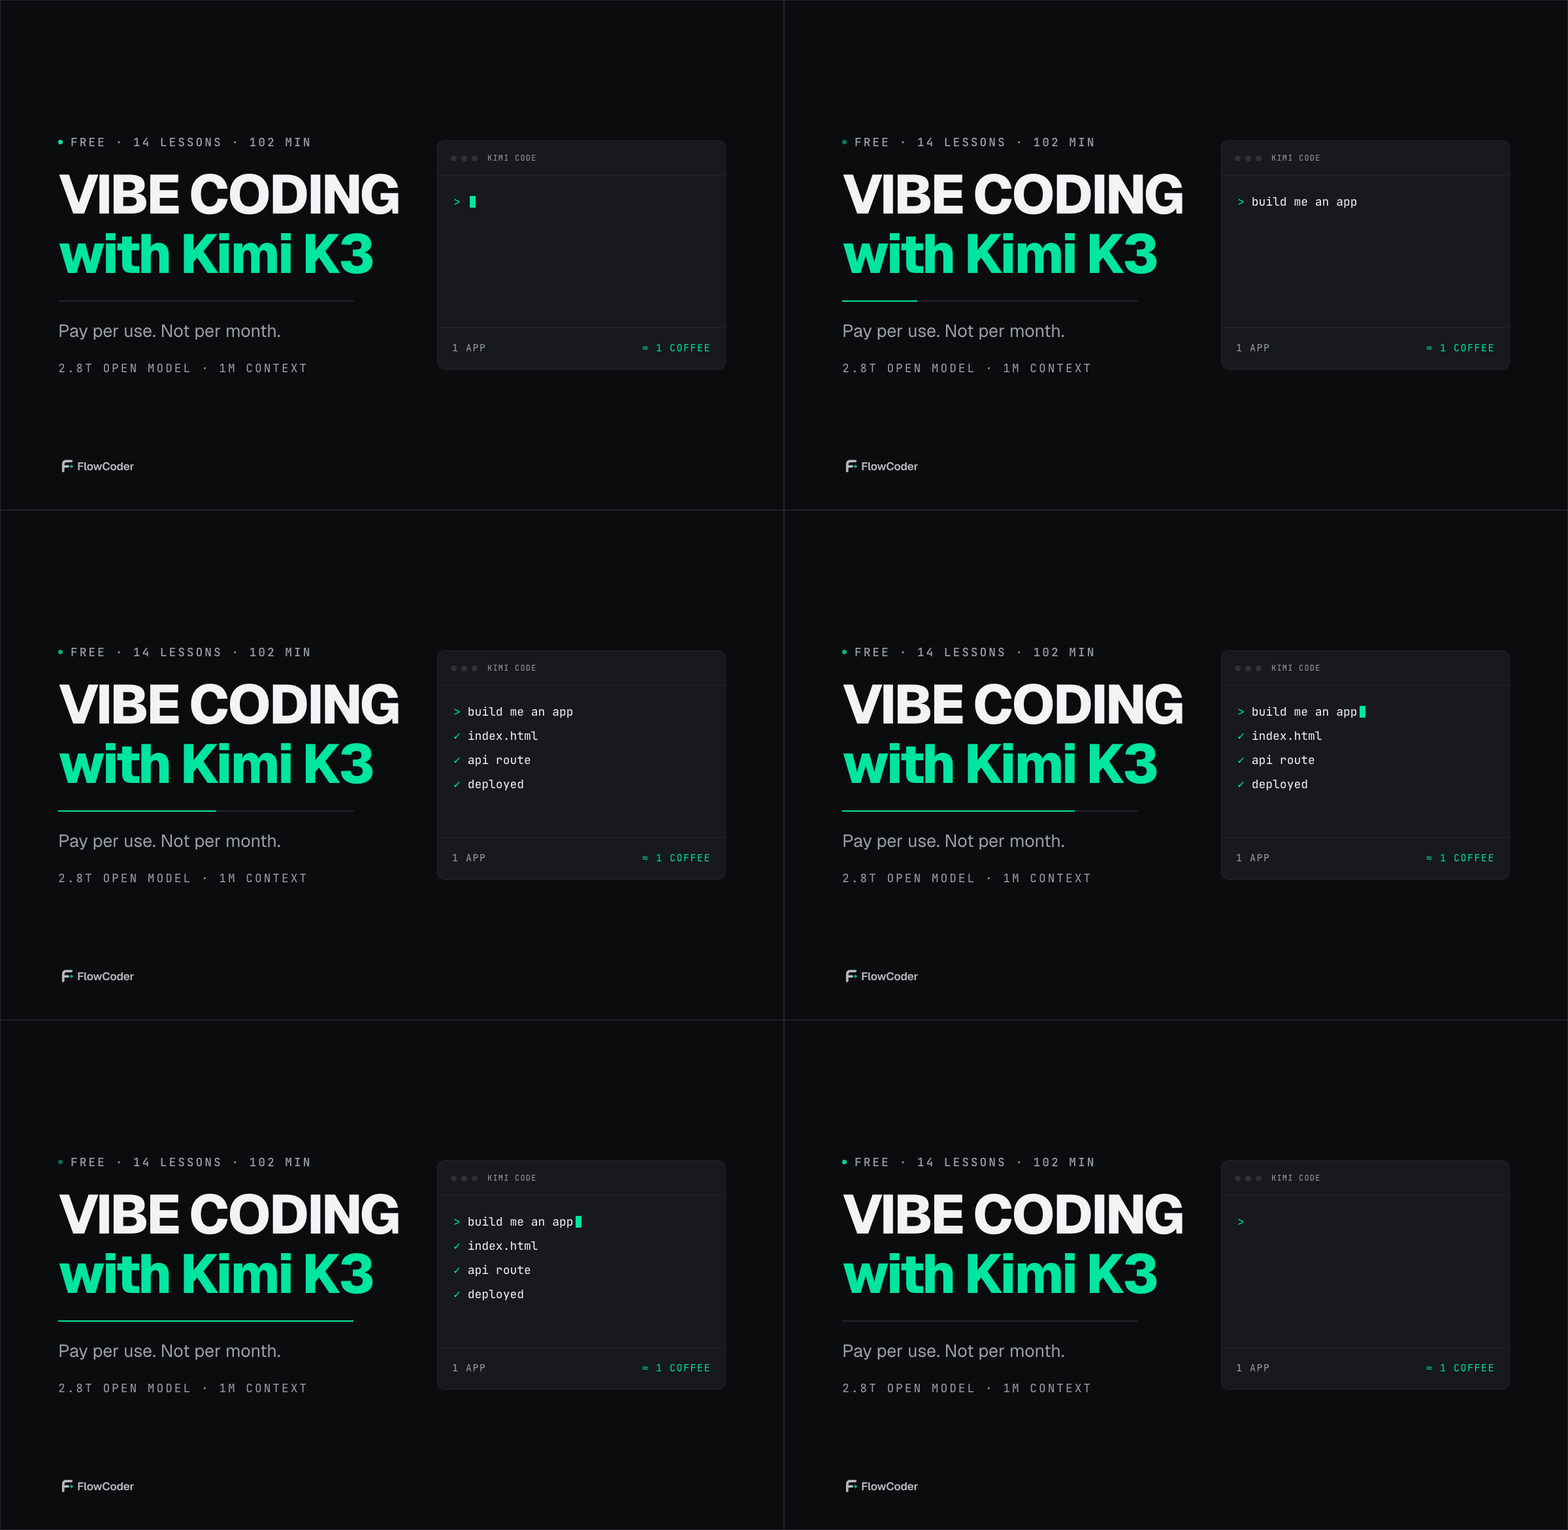
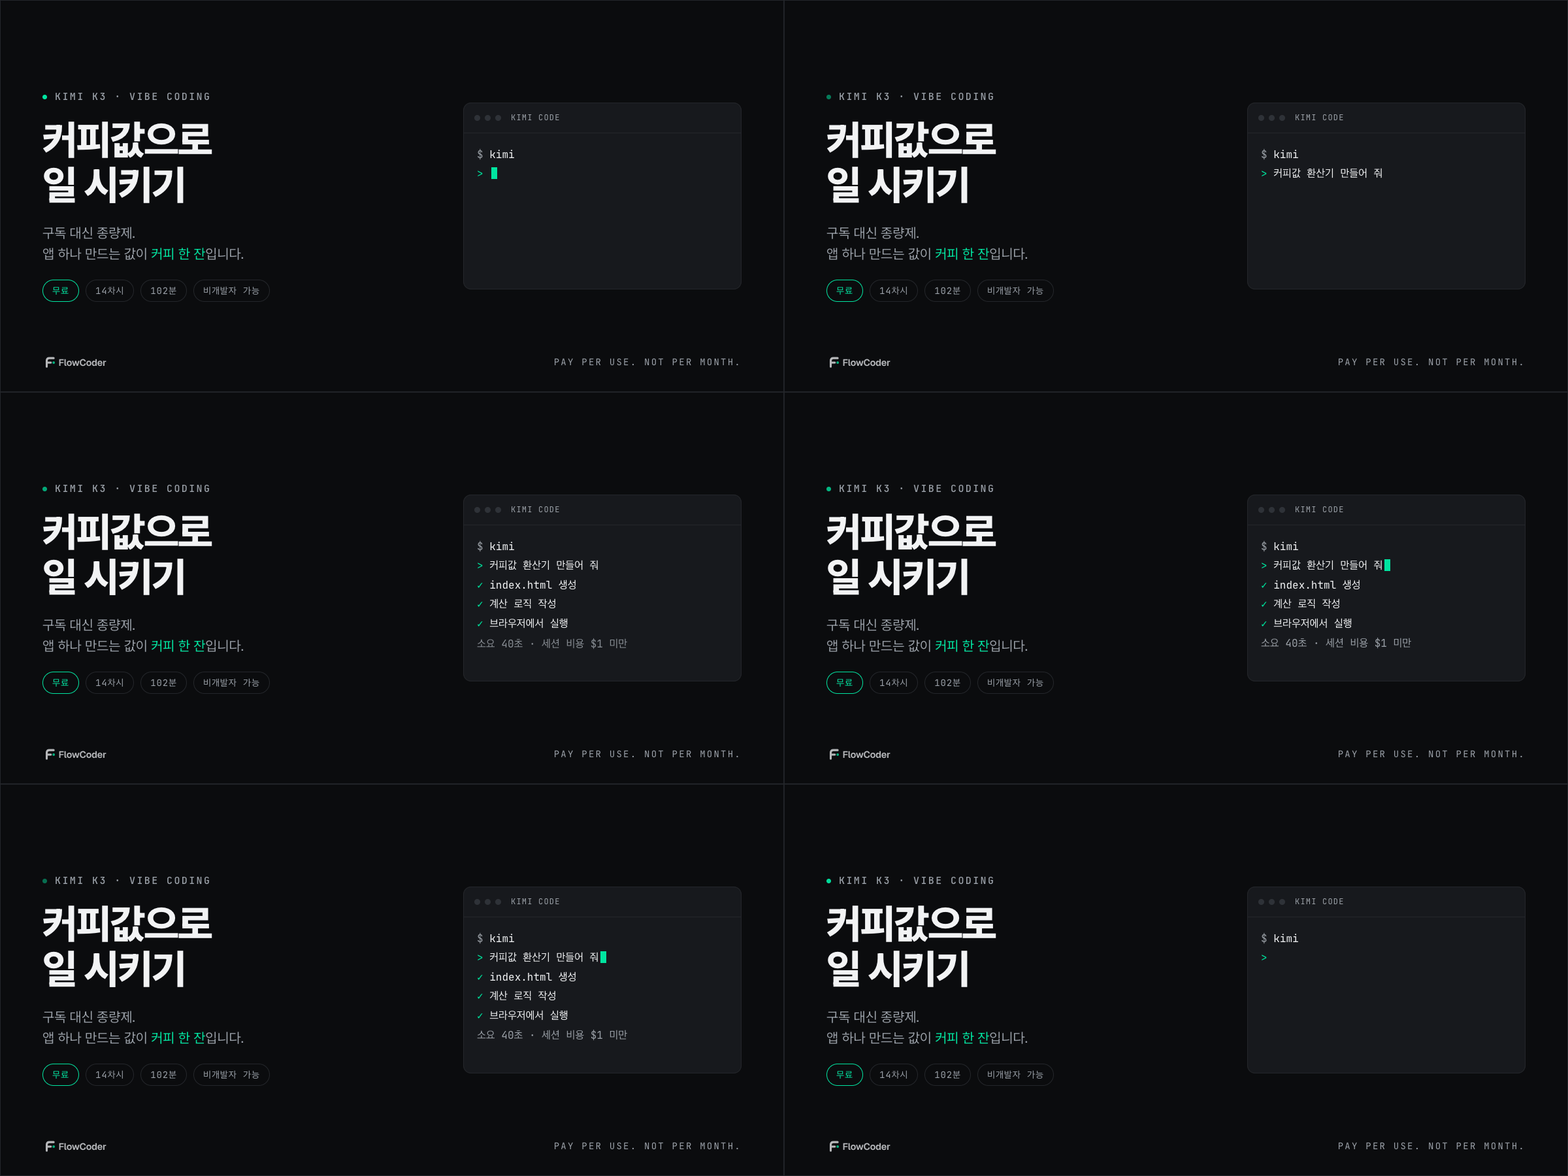
AI with Fable-level Performance, Working for the Price of a Coffee - Kimi K3 Vibe Coding
"The cost of making one app is the price of a cup of coffee."
Learn vibe coding with Kimi K3, an open-weight model with 2.8 trillion parameters.
You’ll launch your first app in a browser with a single sentence, create a UI by providing a hand-drawn sketch, and have it build and deploy an entire full-stack web app to the internet.
If you’re already using Claude Code, you’ll also learn how to keep that environment as-is and simply switch the model to K3.
It’s pay-as-you-go, not a monthly subscription. In an actual test, one session that created and deployed an app cost 1.69 dollars.
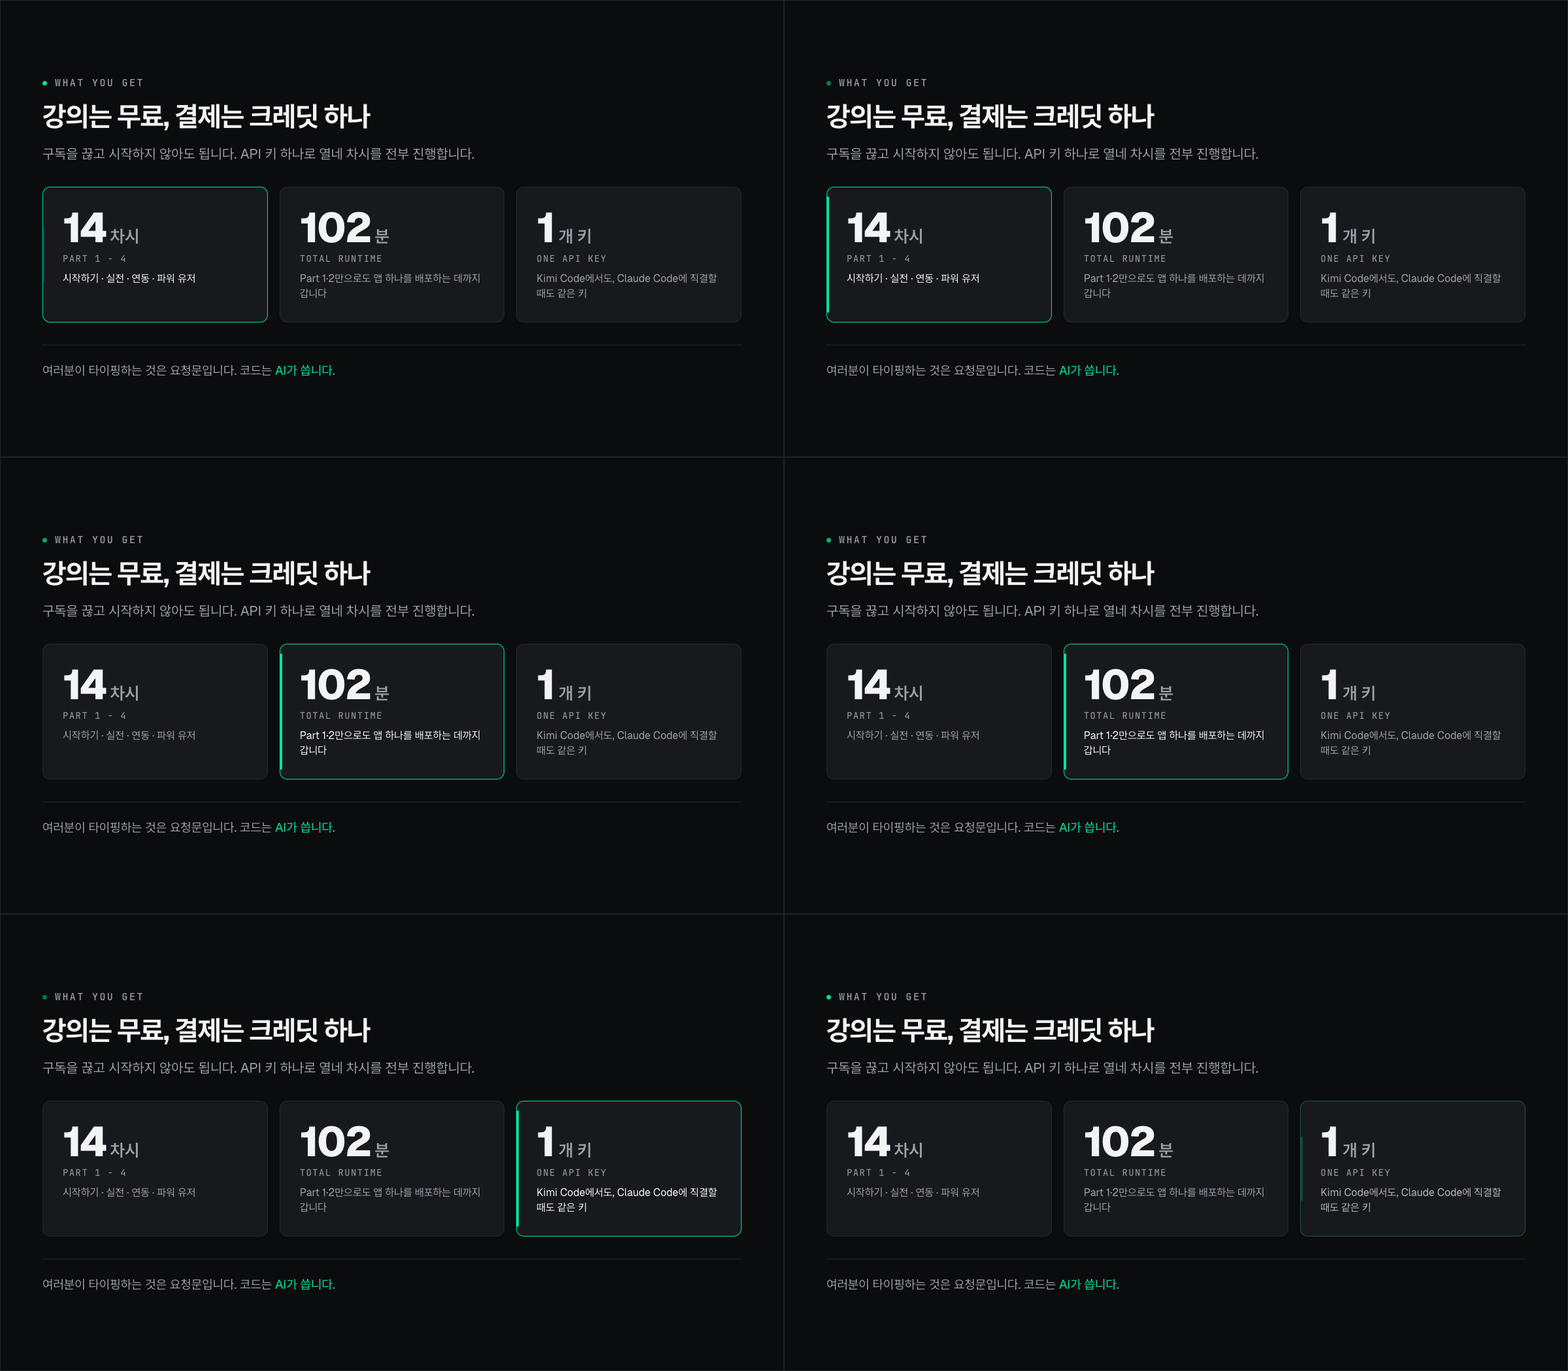
14 lessons, approximately 102 minutes total; the course is free.
The Vibe-Coding Skill of Launching Browser Apps with a Single Prompt (Master It Through 6 Hands-On Exercises)
A work environment with Kimi Code CLI installed, an API key issued, and a small balance topped up (Windows and macOS)
The vibe-coding loop of requesting, checking, and having it fixed — how to write prompts using four sections: goals, scope, criteria, and constraints
A vision workflow that lets you create and modify a UI by providing a hand-drawn sketch or a single screenshot.
Deploy the app you built to Vercel and share it via a link — a real URL with my name on it
Project-scoped setup for integrating K3 into your existing Claude Code without affecting your usual environment
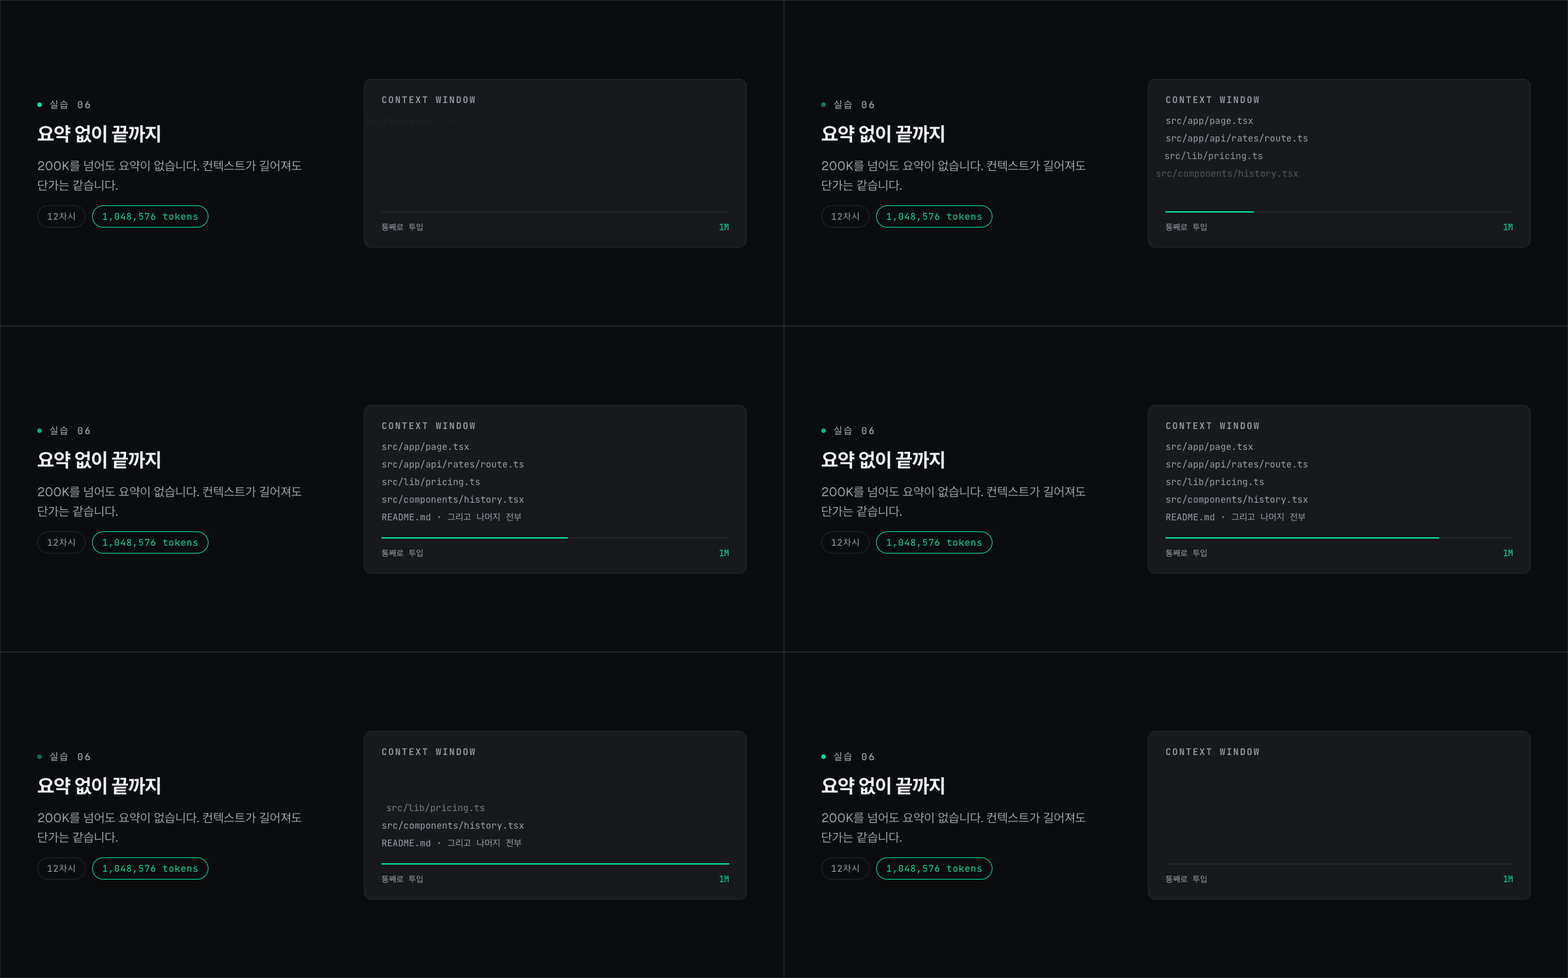
How to Use a 1M Context to Complete a Long, Two- to Three-Hour Task from Start to Finish Without Summarization (Compaction)
If you want to build something with AI, do you have to pay for a subscription first?
When you look into AI coding tools, the first hurdle is a subscription. $20 a month, or $100 or $200 if you want to use them more.
But after you subscribe, months like this come along. You used it three times this month.
There’s also the opposite situation. You want to spend one weekend day building something, but you pay for an entire month just for that one day.
There is an option to pay only for what you use. It’s a pay-as-you-go plan.
And in July 2026, one more option was added to that lineup: the 2.8-trillion-parameter open model, Kimi K3.
The weights are publicly available, the context window is 100만 tokens, and it reads images and videos as-is.
The official blog lists frontier-grade models as benchmarks for comparison.
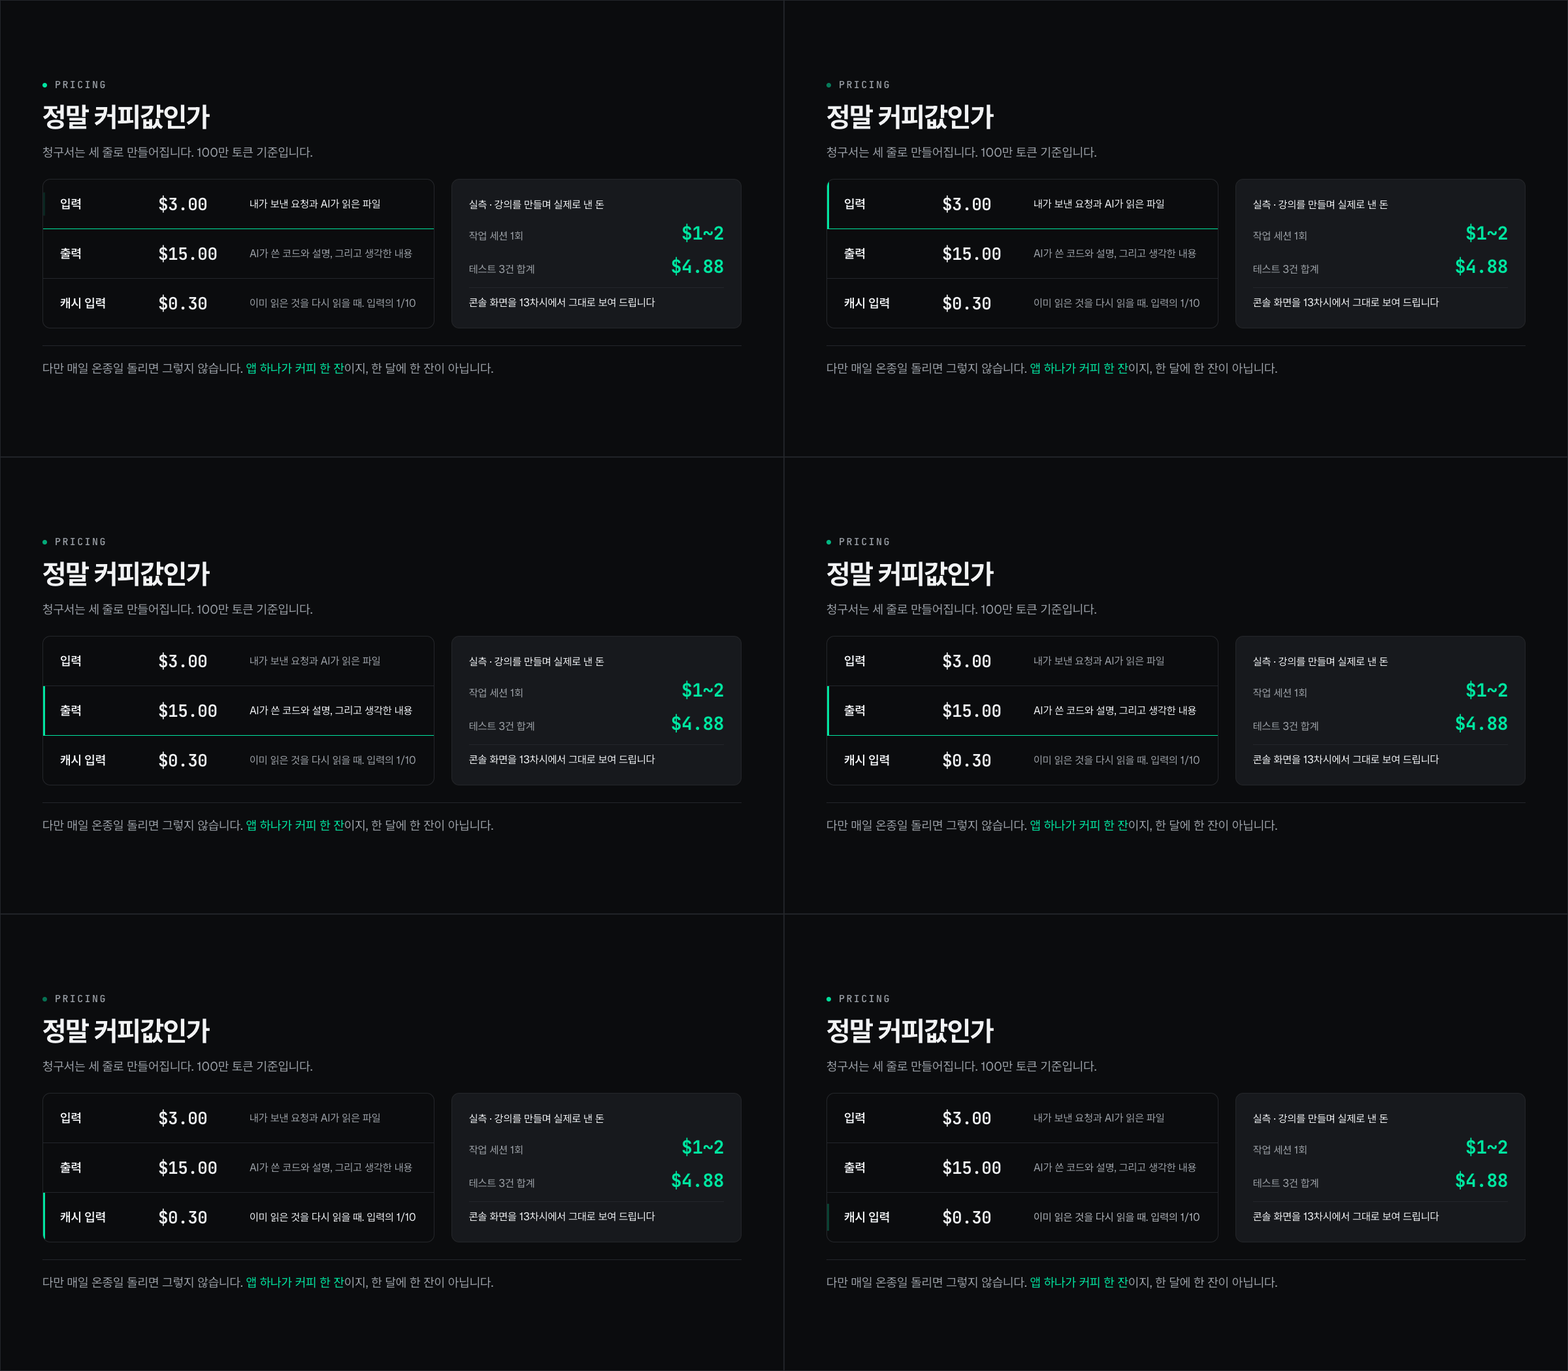
And the pricing is 3 dollars per 100만 tokens for input, 15 dollars for output, and 0.30 dollars for cached input.
This course is about actually putting that model to work.
A cup of coffee to make one app
14 lessons, about 102 minutes. The course is free.
The first three sessions are for setup. You’ll issue an API key, add a small amount of credit, and install Kimi Code CLI. It takes 19 minutes to get your first app running in a browser right after installation.
From there on, we get to the main content.
You’ll learn the loop of making requests, checking the results, and having them fixed; create a UI from a single hand-drawn sketch; then have an entire full-stack web app built and put it online to share via a link.
You complete the entire course with a single API key. There is no subscription.
You use the same key with Kimi Code and when connecting directly to Claude Code.
What you type is the request. The AI writes the code.
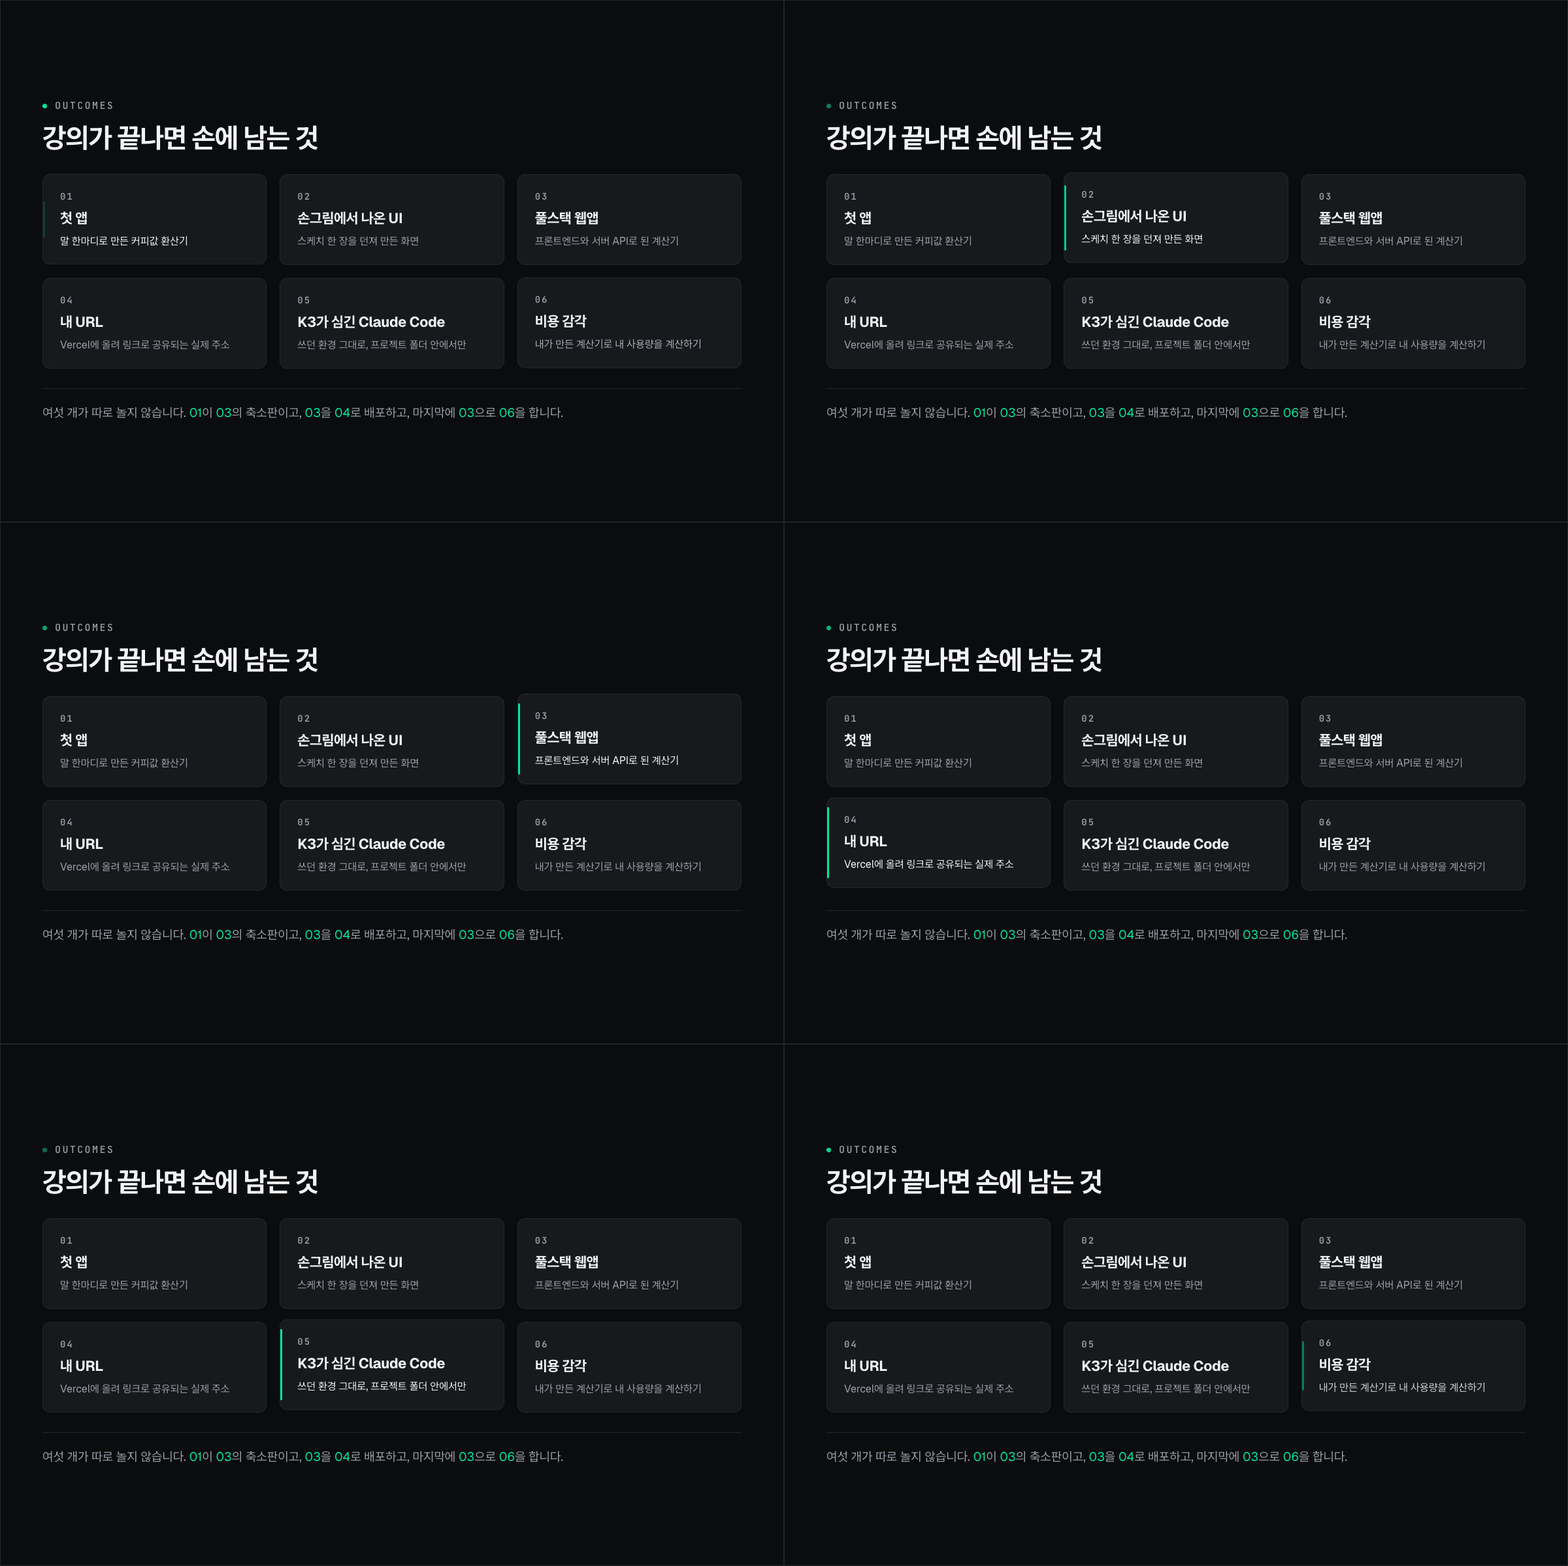
What you’ll have in hand when the course is over
① First app - A coffee cost converter made with a single sentence. It runs in the browser within 10 minutes of installation.
② UI born from a hand-drawn sketch - a screen created by tossing in a single paper sketch mockup
③ Full-stack web app - A token cost calculator made up of a frontend and server API. From planning to validation
④ My URL - The actual address received after deploying ③ to Vercel. It can be shared as a link.
⑤ Claude Code with K3 built in - The project folder with the same environment you used, but with only the model changed
⑥ Cost awareness - The final piece: enter the tokens I used into ③ to calculate the actual cost
The six pieces do not stand alone. ① is a scaled-down version of ③, ③ is deployed as ④, and finally, ③ is used to do ⑥.
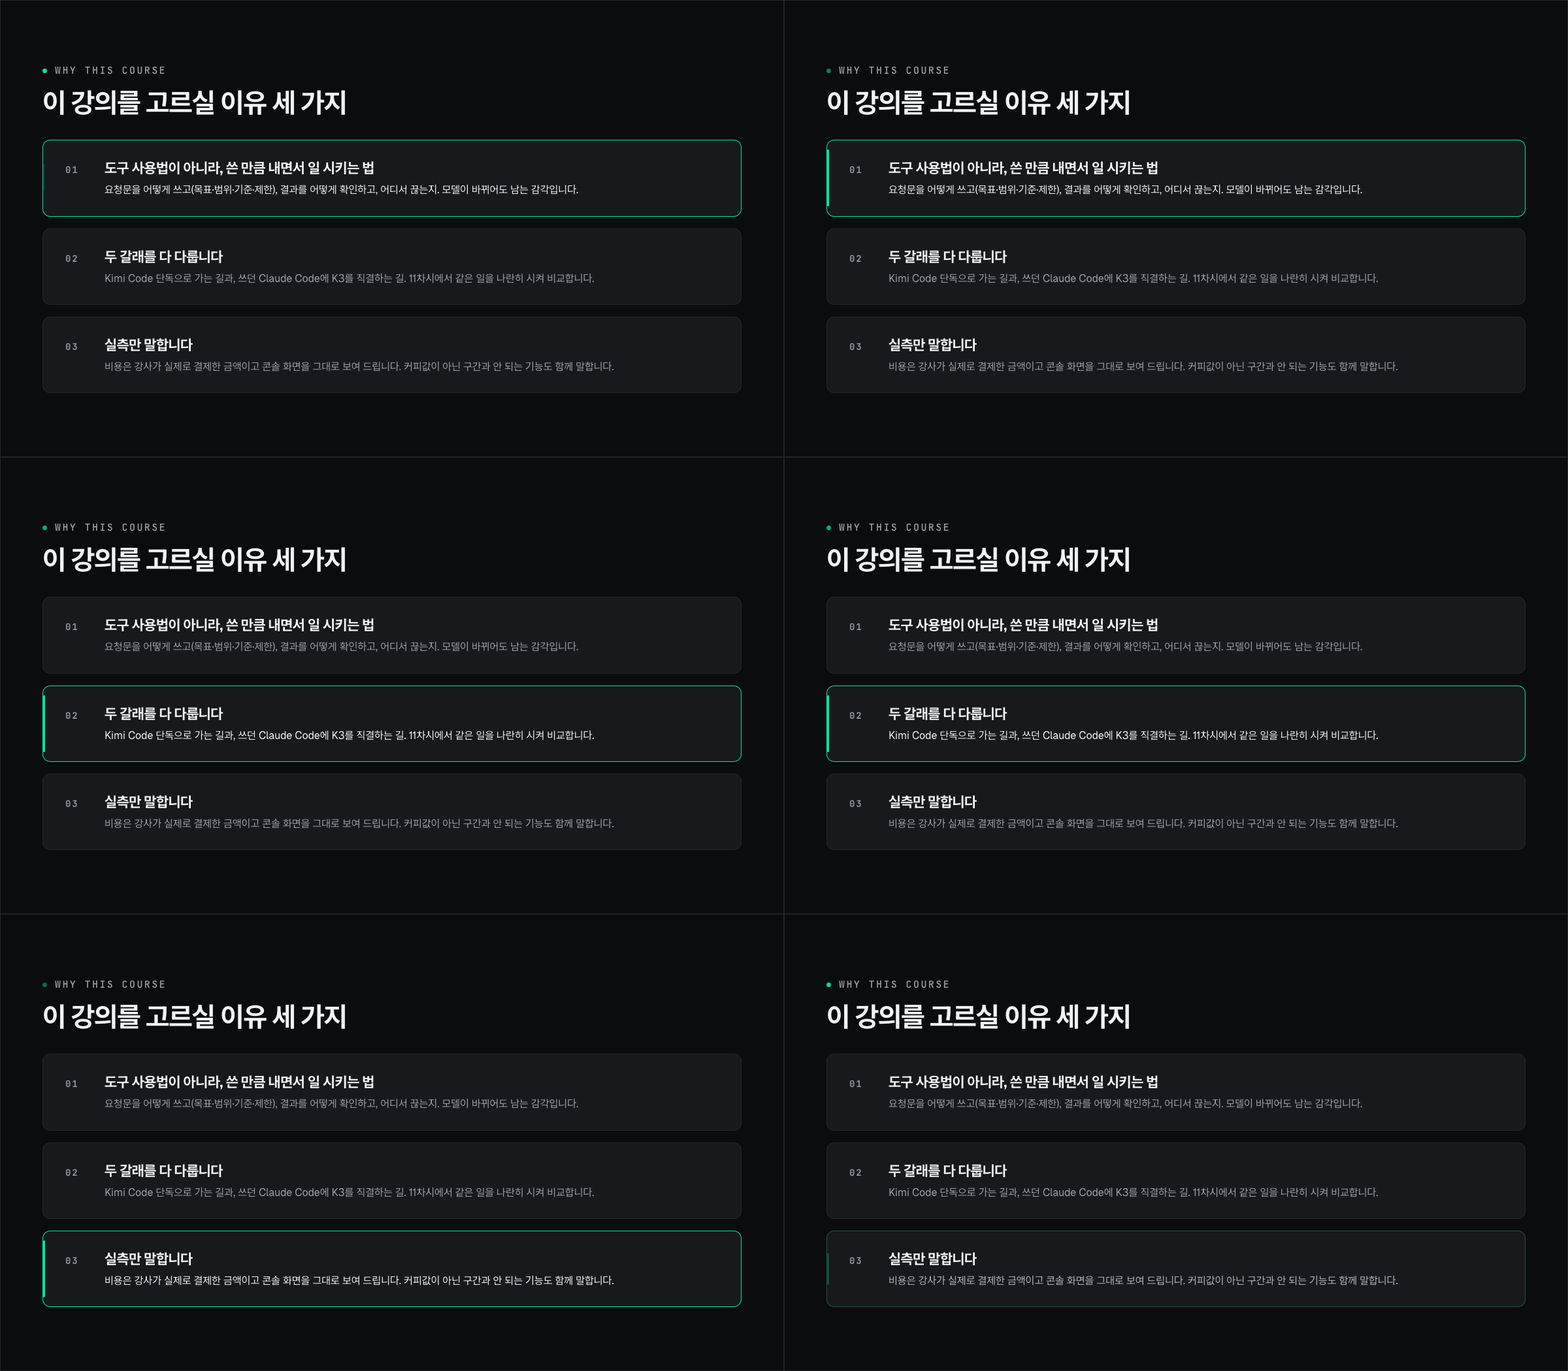
Three reasons to choose this course
1. Not a course on how to use tools, but “how to get work done while paying as much as you use”
This is not a course about memorizing commands.
It covers how to write prompts (goals, scope, criteria, and constraints), how to verify the results, and how to decide what to delegate and where to step in.
This intuition remains even when the model changes.
2. Covers both paths
We cover both paths: going from start to finish with Kimi Code CLI (Parts 1 and 2), and connecting K3 directly to Claude Code you already use (Part 3).
In Lesson 11, we have both tools perform the same tasks side by side and compare their speed, output, and cost in a split-screen view.
K3 is the model used on both sides. You will be able to distinguish which differences come from the tools and which come from the model.
3. I only discuss actual measurements
The costs mentioned in this course are amounts the instructor actually paid, and we show the console screens exactly as they are.
We also point out when it costs more than a cup of coffee. If you run it all day, every day, it’s no longer just the price of a cup of coffee. That’s because it’s pay-as-you-go.
We also point out which features don’t work. When connected to Claude Code, the web-reading feature doesn’t work, and account-integration tools are disabled.
Lesson 14 is devoted entirely to addressing the limitations.
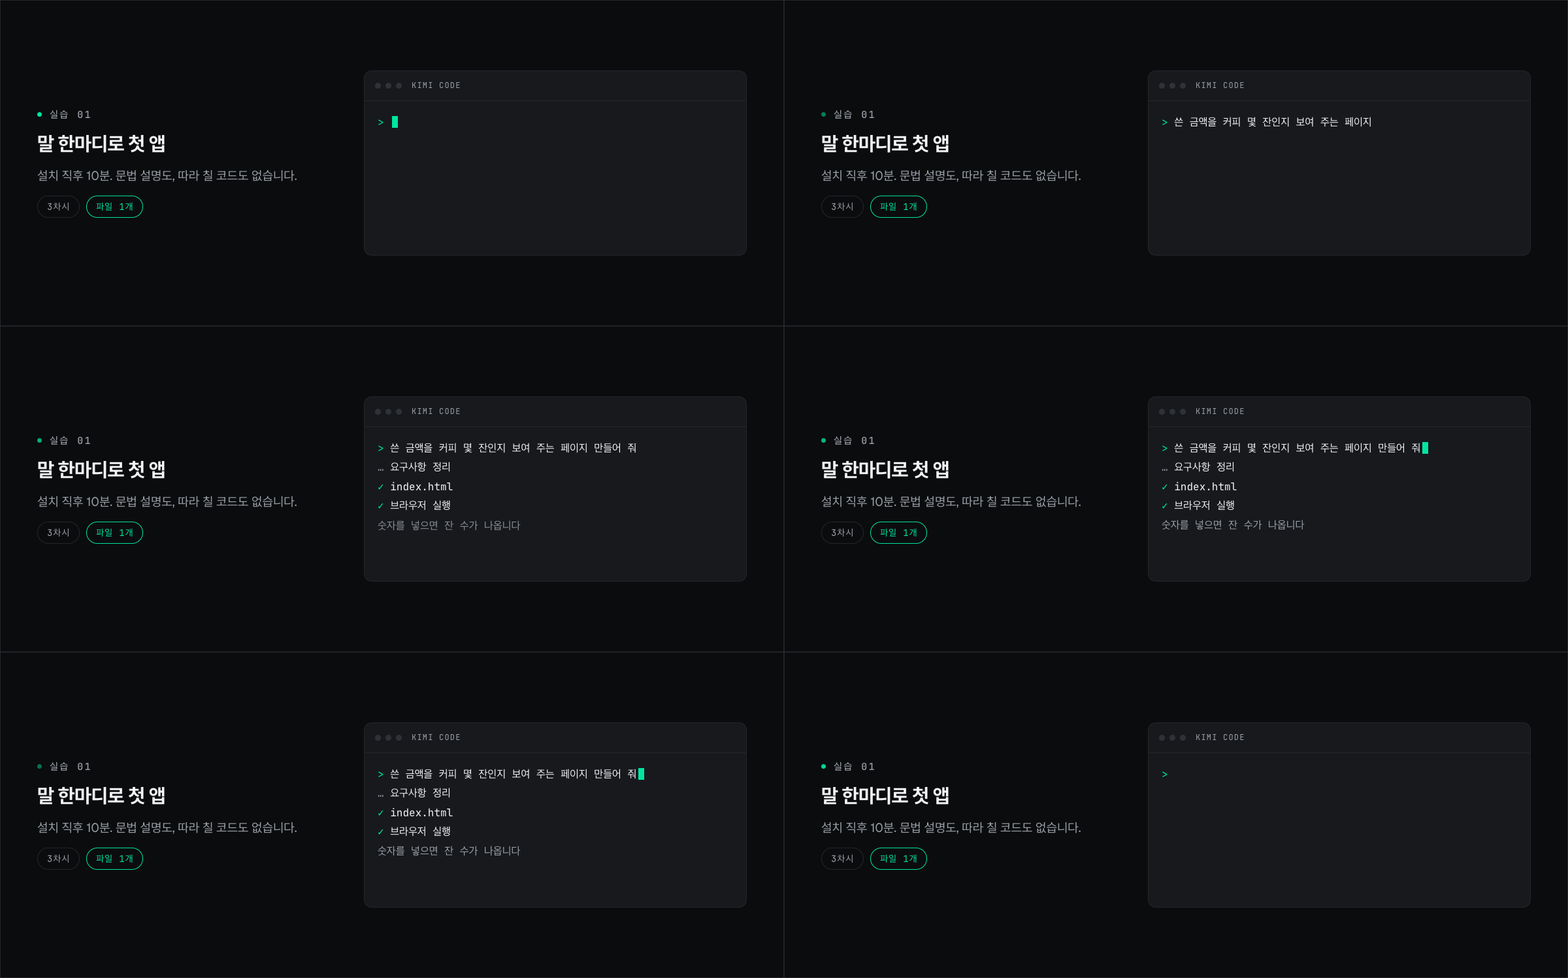
① Your First App with a Single Sentence – 10 Minutes Right After Installation
Once installation is complete, start building right away. There are no syntax explanations or code to type along with.
Request
"Make me a single web page that shows how many cups of coffee the amount I entered equals. In one file."
Kimi Code creates the file, saves it, and opens it in the browser.
Enter a number, and the number of cups appears. This app will be revisited and redesigned in Lesson 5,
then rebuilt as the official version in Lessons 6 and 7.
The goal of this session is to see a “working result made by giving verbal instructions” within the first 10 minutes.
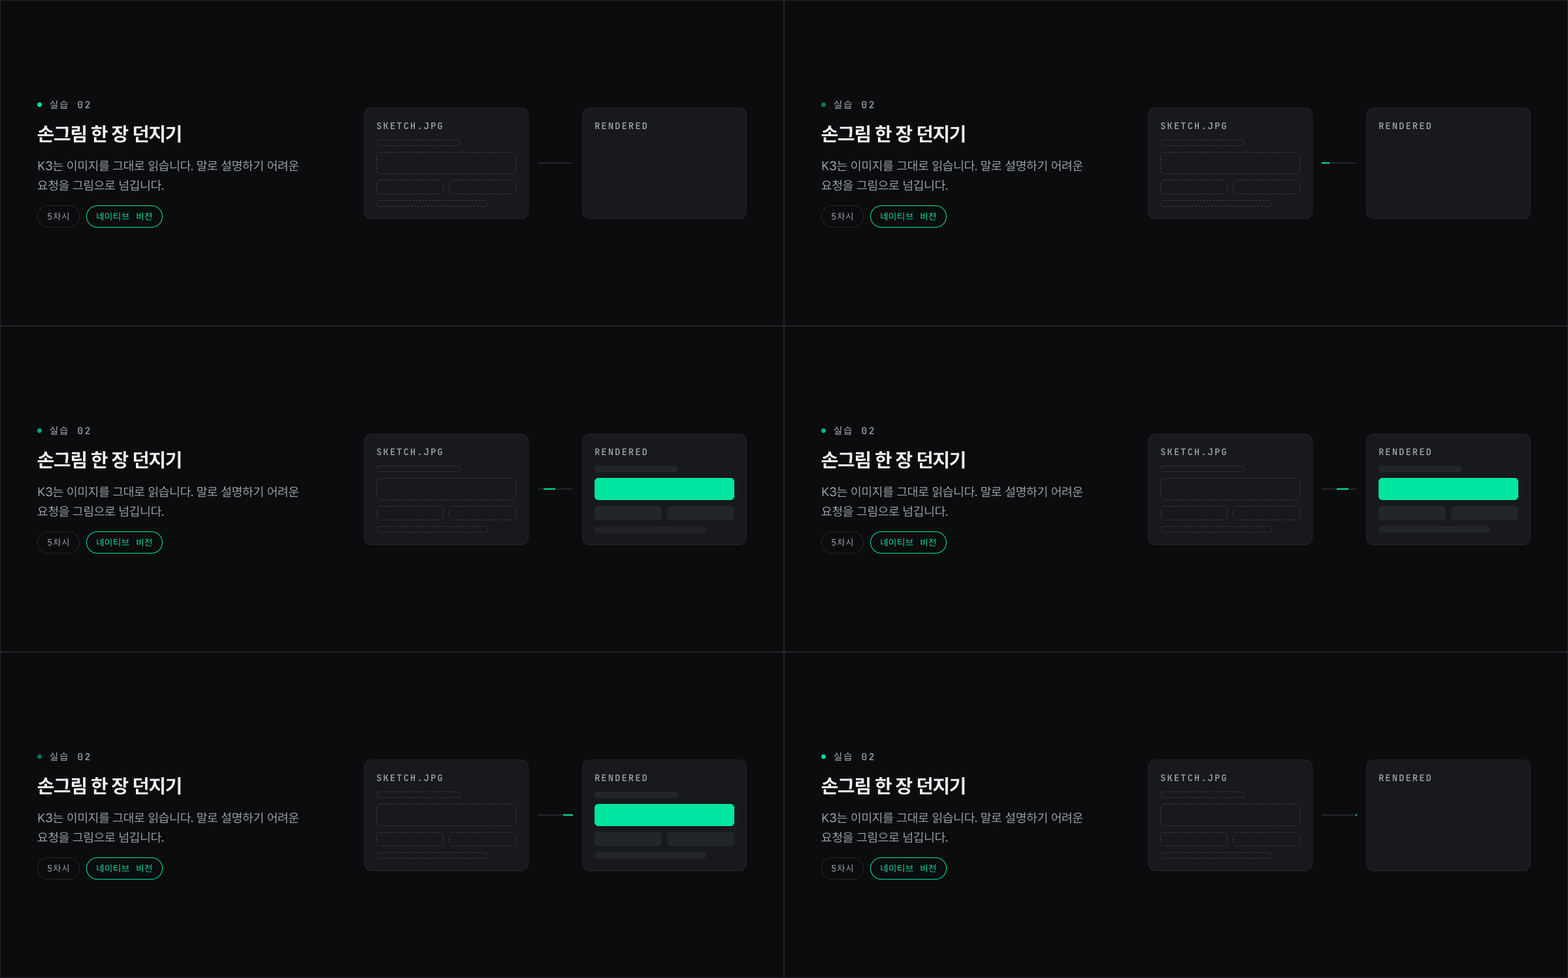
② Give it a hand-drawn sketch and have it create the UI
K3 reads images as-is. No additional tools are attached.
Request
"Rework the screen according to this sketch. Look at sketch.jpg."
A hand-drawn sketch on paper, a screenshot of a website you like, or an arrow roughly marked with a mouse.
Instead of saying something like "Make this button a bit bigger," you simply provide the screen.
The key to this lesson is the ability to convey requests that are difficult to explain in words through images.
③ Have It Build a Full-Stack App from Start to Finish (Two Consecutive Sessions)
Combine sessions 6 and 7 to create an app from planning through validation.
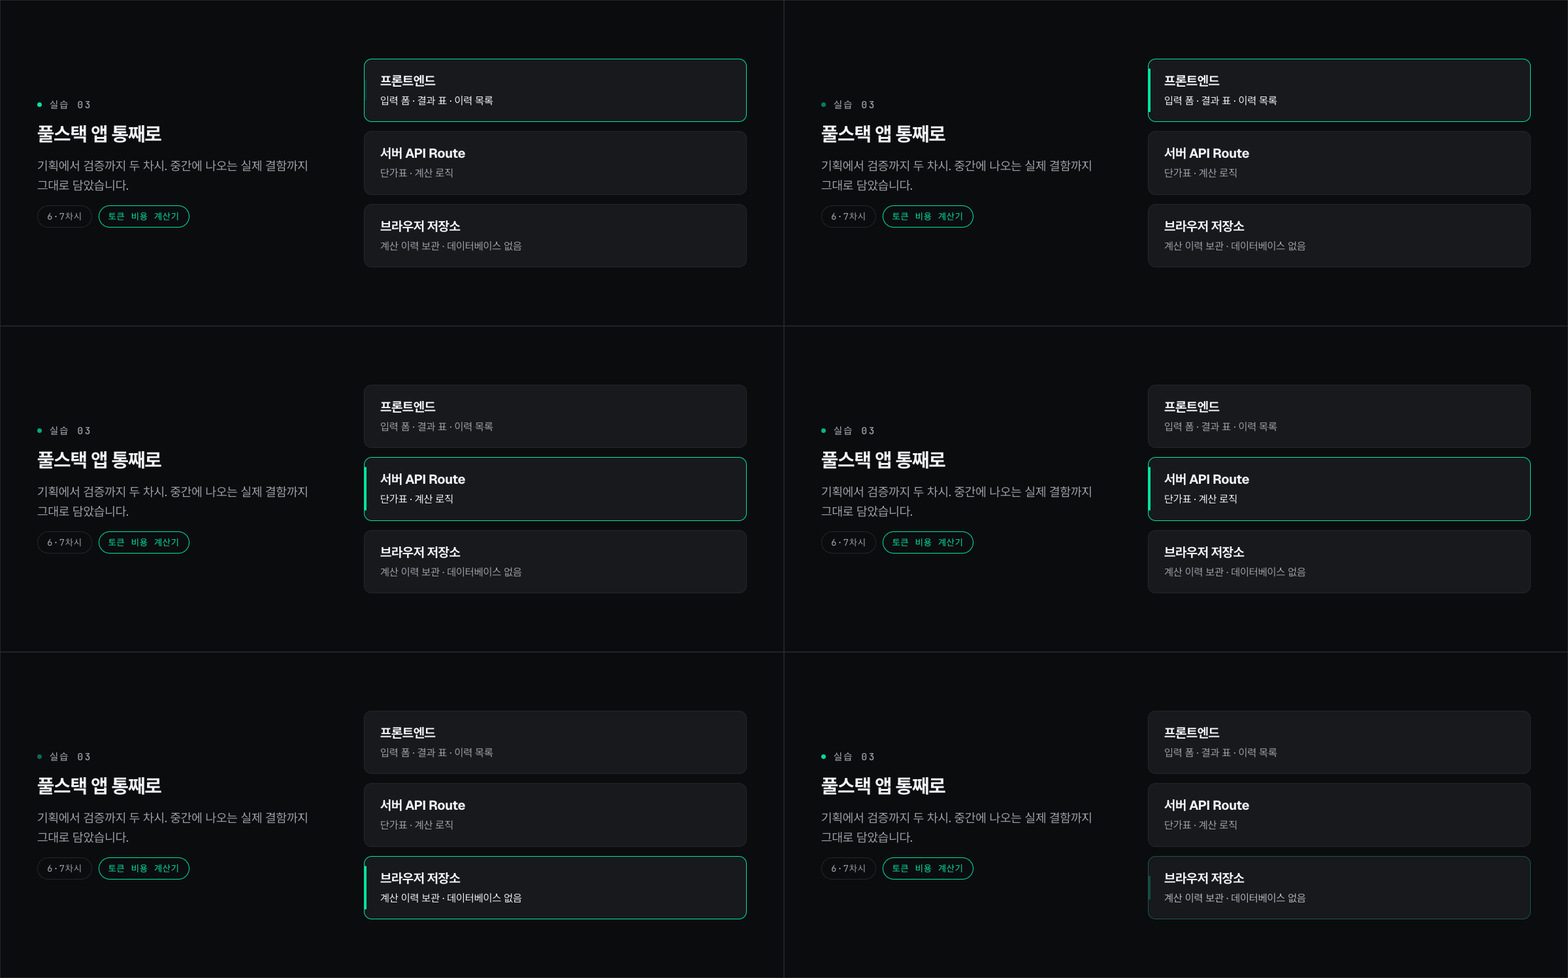
What we're building — Token Cost Calculator
Enter the input, output, and cache tokens to see a cost table for each model, with the lowest price highlighted and the total converted into the equivalent number of cups of coffee.
Calculation history is saved in the browser and remains in a list.
Stack Next.js + server API Route. We do not use a database.
(Why we do not use one and when it becomes necessary are covered in Session 14.)
Session 6 covers everything from requests → reviewing the plan → scaffolding → feature implementation,
and Session 7 is the loop of completing it → testing it by actually clicking through it → having it fixed.
We show you the actual defects that arise along the way and include the process of having them fixed.
④ Deployment - A Result That Can Be Shared via a Link
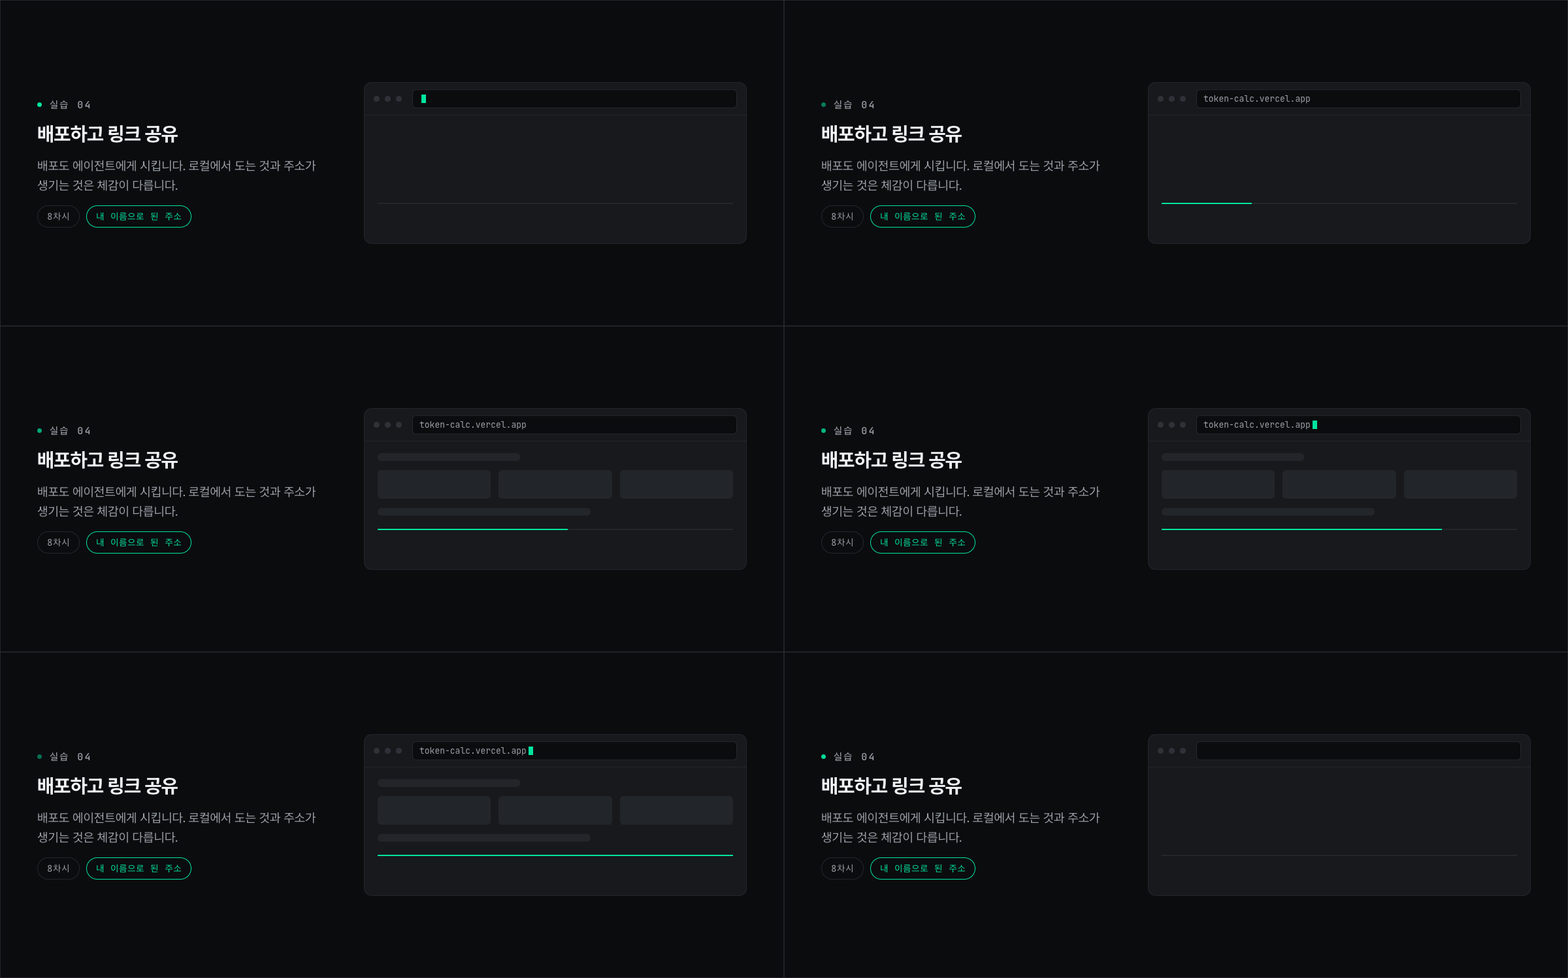
Deploy the app you made to Vercel. Have the agent handle the deployment as well.
There’s a noticeable difference between something that runs only locally and something that has an address.
It opens on your phone, you can send the link to others, and when you make changes, it gets redeployed.
We’ll use this address again in Lesson 13. It’s used to calculate your own costs with the calculator you built yourself.
⑤ Embedding K3 into the Claude Code You’ve Been Using (Part 3)
If you're already using Claude Code, this part will probably be the most practical for you.
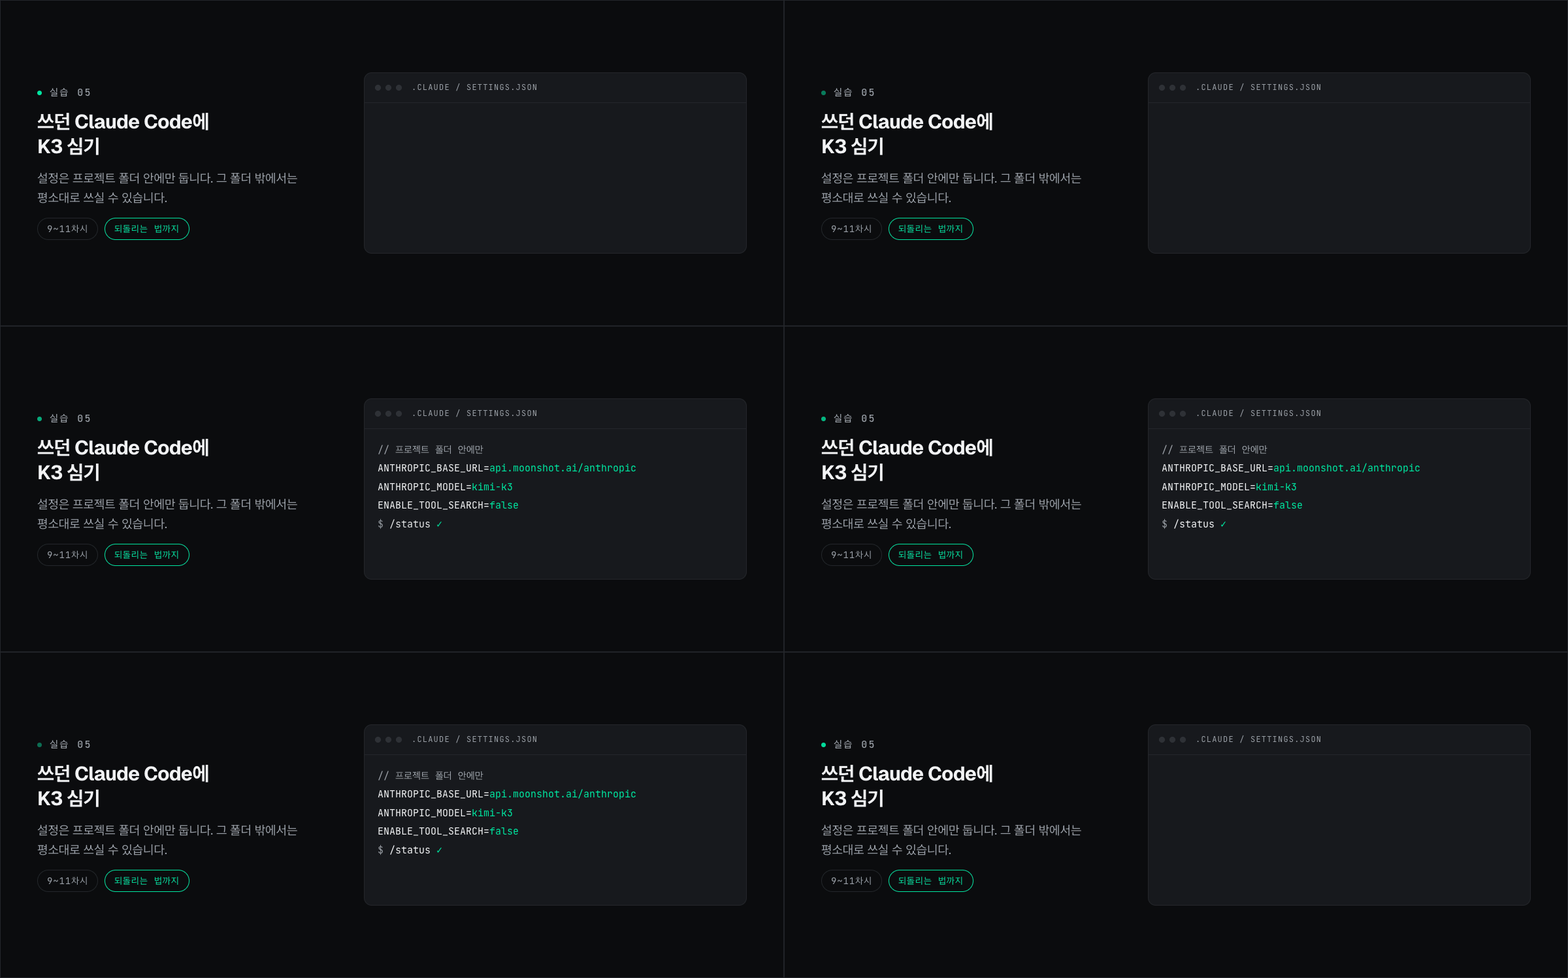
If you set the environment variables with an Anthropic-compatible endpoint and your Kimi API key, K3 will run in the familiar workflow.
In Lesson 9, you’ll configure 10 lines of settings and verify them; in Lesson 10, you’ll do hands-on work; and in Lesson 11, you’ll go head-to-head with Kimi Code.
Keep the configuration only inside the project folder. If you put it in the global configuration, it will change the Claude Code you normally use entirely.
We’ll show you how to keep using it as usual outside that folder. We’ll also cover how to revert the changes.
Notice — This setup is not officially supported by Anthropic.
Anthropic’s documentation states that routing Claude Code to non-Anthropic models is not supported, and its behavior may change when the client is updated.
This course uses only a Kimi API key without using Anthropic subscription credentials.
Additionally, web browsing does not work with this setup, and account-integrated tools (connectors) are disabled.
In Lesson 10, we’ll review these limitations and cover ways to work around them.
⑥ Complete Long Tasks from Start to Finish Without Summarization — 1M Context Window
When working with AI for a long time, the context window fills up. That’s because all the files it has read, the messages exchanged, and the results produced by tools keep accumulating.
Once it fills up, the tool summarizes and discards the beginning (compaction). At that moment, it stops for a few minutes, then continues with a summary missing the details, rereading the same files or forgetting decisions made earlier and starting to build things differently. This problem doesn’t show up in short apps, but emerges during two- or three-hour-long tasks.
K3 has a context window of 1 million tokens. The unit price does not increase even as the context gets longer. It is the same rate throughout.
In Session 12, we put the two implementations from the Session 11 showdown (340 files, 310,000 tokens of code alone) into a single context window and have them conduct a comparative review for each specification.
On screen, you can see that the summary never occurs even as the gauge surpasses the 200K mark.
In actual measurements, it reached a maximum of 338,000 tokens, with 0 compactions, took 23 minutes, and cost $5.11.
What 1M gives you is less “putting in more” and more “not losing your memory during long tasks.”
Is it really the price of a cup of coffee? Let’s lay out the numbers.
Since I wrote “the price of a cup of coffee” in the title, I’ll lay out the basis here.
The bill is made up of three lines (per 1 million tokens)
Item
Unit price
What accumulates?
Input
$3.00
The request I sent and the files the AI read
Output
$15.00
Code, explanations, and thoughts written by the AI
Cached input
$0.30
When rereading something already read (1/10 of the input)
Coding work involves repeatedly looking at the same files, so in the actual bill, the third line makes up the largest share.
That’s why continuing to work in a single session is cheaper than turning it off and on repeatedly.
Actual figures - How much I actually spent creating the course
Sessions 6–8, one session to build and deploy an app from scratch: $1.69 (about 2,400 won, half a cup of coffee)
Average across 7 recording sessions: $1.41. The most expensive was $5.11 for having it read through two entire codebases in Session 12.
24 web app sessions, including the additional experiments I ran while creating the course: a total of $122.49, an average of $5.10 per session (about 7,100 won, the price of a premium cup of coffee)
These aren’t made-up numbers—they’re the values shown in the console and session logs, and in Lesson 13, I show the console screen exactly as it is.
And let me also address the other side
Making one app costs about the price of a cup of coffee. I say this from having run it many times.
However, that is not the case if you run it all day, every day. Since it is pay-as-you-go, you pay for what you use.
To be precise, "one app costs a cup of coffee," not "one cup of coffee per month."
Then how much would it cost in my case? You can enter your own usage into the calculator built in Lessons 6 and 7.
Lesson 13 covers how to do that as well.
※ The unit prices are current as of the time this page was written. Pricing policies may change, so please check again at platform.kimi.ai before making a payment.
This course is sponsored.
This course was produced with support from Moonshot AI. I thought it would be better to make that clear upfront.
So, if anything, there are three principles I adhered to even more strictly.
We use only measured costs. We show the console screen as is and also tell you about the ranges that cost more than a cup of coffee.
I did not leave out the things that don't work. Lesson 14 is entirely dedicated to limitations.
We organized five issues, along with their symptoms and solutions: taking too long even for minor edits because it is always thinking, touching files it was not asked to modify, being pulled in the direction of earlier instructions when the conversation gets long, being unable to read the web when integrated with Claude Code, and account-integrated tools turning off.
We are not telling you to abandon the tools you have been using. The instructor hasn’t abandoned them either.
In Lesson 13, we’ll explain when to choose K3 and when to choose other models.
If you go through these without knowing about them, you may give up, but if you know what to expect, you can move past them. That’s why I included them all.
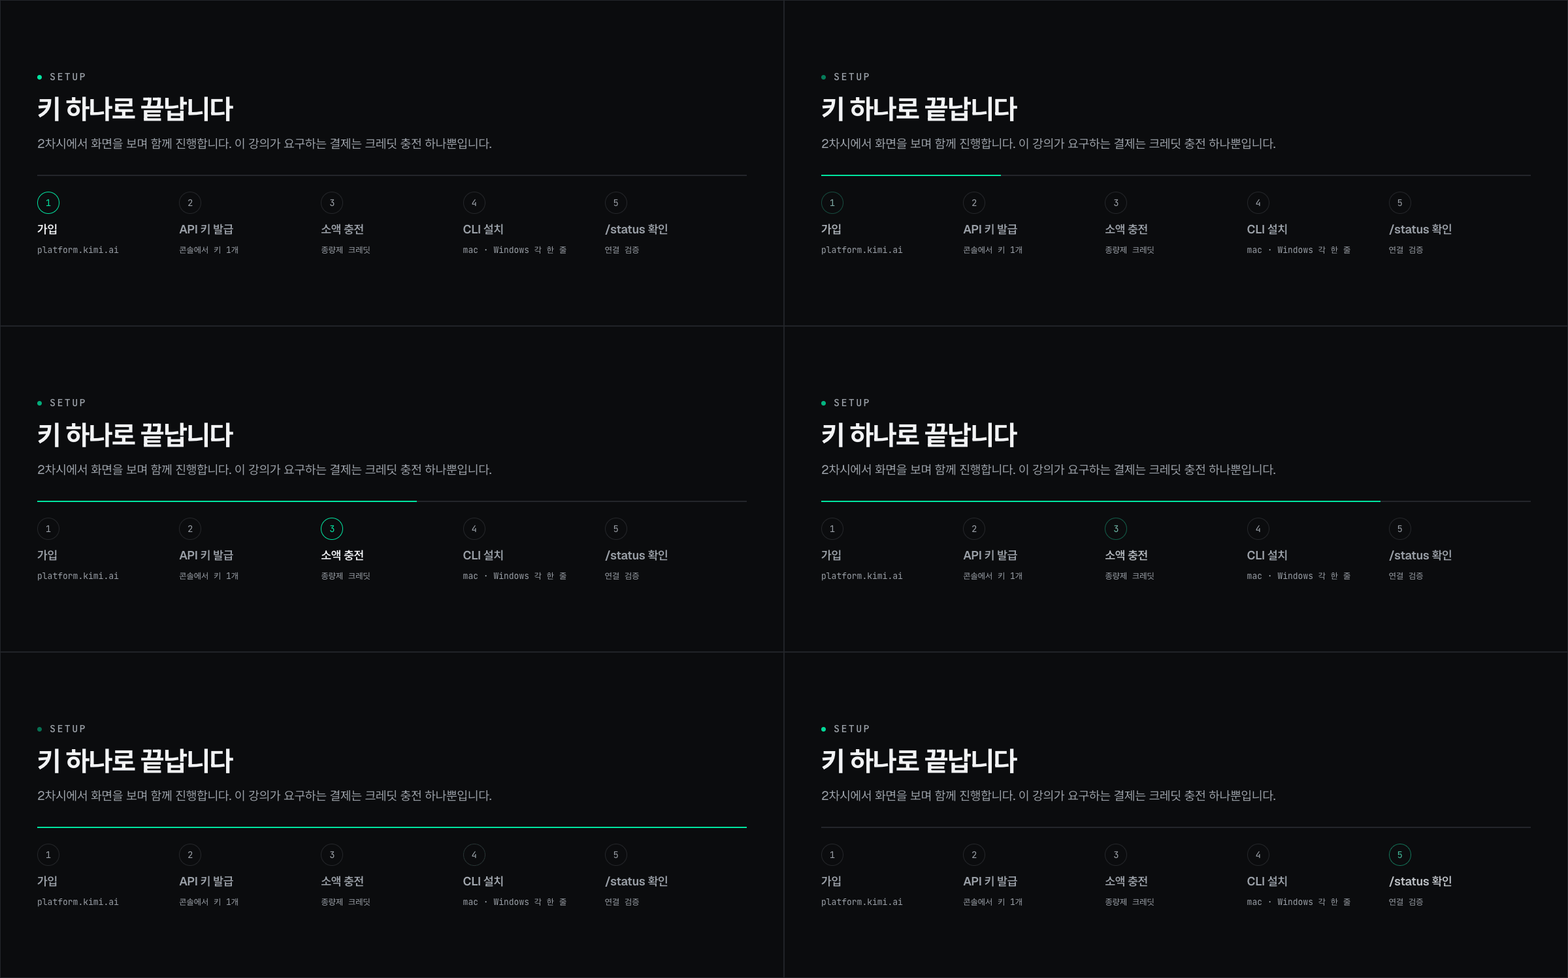
Preparation to Get Started - One Key Is All You Need
Sign up for platform.kimi.ai - We’ll go through it together while looking at the screen in Lesson 2.
Issue an API key - Create a key in the console
Small amount of credit - You can add credit starting from as little as $1 (charged in dollars). Once your total top-up reaches $10, the per-minute request limit increases from 3 to 100, so we recommend adding $10 to reduce waiting during the exercises.
Install the Kimi Code CLI - macOS and Linux require one command, and Windows requires one PowerShell command.
Authentication - Paste your API key at /login and check with /status—that’s it.
You will complete the entire course with this one key. It is the same key in Kimi Code and when connecting directly to Claude Code in Part 3.
The only payment required for the course is this credit top-up.
Student Benefit – 15% Extra Credits
If you sign up as a new user through the enrollment link for students, the benefit will be applied when you purchase credits.
Where can I find the sign-up link?
After enrolling, you can find it in the lesson materials and class notes for Lesson 2, “Setup”. Follow along with the video to see the issuance and top-up process. The same materials are also available in Lesson 9, “Direct API Setup.”
Conditions (Full Text)
Applies only to accounts that sign up as new users through the link above.
When you purchase API credits, you will receive an additional 15% credit on every order.
Limited to orders placed by December 31, 2026.
Bonus credits will be added to your account the day after your purchase.
Those who already have a Kimi account are not eligible. This benefit applies only to newly registered accounts.
It will not apply even if you click this link again using an existing account. We are stating this explicitly so you are aware in advance.
※ There is no commission returned to the instructor through this link. This is a benefit provided by Moonshot AI to students taking this course.
What is the membership like?
The current membership is operated on a waitlist application basis.
If you’re interested, you can submit an application, and please check Kimi’s official announcement for details.
This course uses an API pay-as-you-go model from start to finish. If you’re starting now, this is the option for you.
Recommended for:
✅ Those who want to try vibe coding but have put off getting started because the monthly subscription fee feels burdensome
✅ Those who subscribe to AI coding tools but feel it’s a waste because they only use them two or three times a week in practice
✅ Planners, marketers, and operators who have no programming experience but want to build the tools they need themselves
✅ Developers who want to see for themselves whether open models with publicly available weights are practical for real-world work
✅ Those already using Claude Code who want to try switching only the model while keeping their environment unchanged
✅ For those who have experienced AI forgetting earlier context during long tasks
✅ For those who have watched several AI coding courses but ultimately had nothing tangible to show for it
Materials Needed
📌 Windows 10/11 or macOS PC (installation permissions required)
📌 platform.kimi.ai account + API key - issued together in Lesson 2
📌 A small amount of API credit - the only payment required for this course
📌 Free Vercel account (deployment practice in Session 8; sign up during the course)
📌 Programming experience: Not required
※ Part 3 (Lessons 9–11) will be easier if you have experience using Claude Code, but it is not required. Instructions are provided starting with installation.
Curriculum - 14 lessons, approximately 102 minutes
Part 1. Getting Started (about 19 minutes)
Lesson 1. Orientation - A Fable-level open model has emerged (8 minutes)
Lesson 2. Setup - Obtaining an API key, installing Kimi Code, and a 5-minute setup (6 minutes)
Lesson 3. Your First Vibe Coding - Build an App with Just One Sentence (5 min)
Part 2. Kimi Code Vibe Coding in Practice (approximately 42 minutes)
Lesson 4. The Vibe Coding Loop - Have It Do, Check, and Fix (9 minutes)
Lesson 5. Vision Vibe Coding - Give It a Design Mockup and Have It Create the UI (8 minutes)
Lesson 6. Mini Project ① - Have It Build a Full-Stack App from Start to Finish: From Planning to Implementation (12 minutes)
Lesson 7. Mini Project ② - Completion and Verification (6 minutes)
Lesson 8. Deployment - Releasing the App You Built to the World (7 minutes)
Part 3. Claude Code × K3 (approximately 23 minutes)
Lesson 9. Direct API Setup - Integrating K3 into Claude Code (9 minutes)
Lesson 10. Getting K3 to Work in Claude Code - Hands-on (6 minutes)
Lesson 11. Head-to-Head — The Same Task, Kimi Code vs Claude Code (8 min)
※ The setup in Part 3 is not officially supported by Anthropic and may change as the client is updated.
For details, please see the notice in item ⑤ above.
Part 4. The Path to Becoming a Power User (approximately 18 minutes)
Lesson 12. 1M Context - Complete Long Tasks from Start to Finish Without Summarizing (8 minutes)
Lesson 13. Pricing Breakdown — Is It Really the Price of a Cup of Coffee, and When Should You Use K3? (5 minutes)
Lesson 14. Limitations and Tips - An Honest Review, Next Steps (5 min)
14 lessons · approximately 102 minutes
※ The appendix, “The Same PRD, the Same Model, Different Tools,” will be released later. This is the video referred to as the “appendix” in Lesson 12, and it will be uploaded separately from the 14-lesson main course. It will not affect your ability to take the main course.
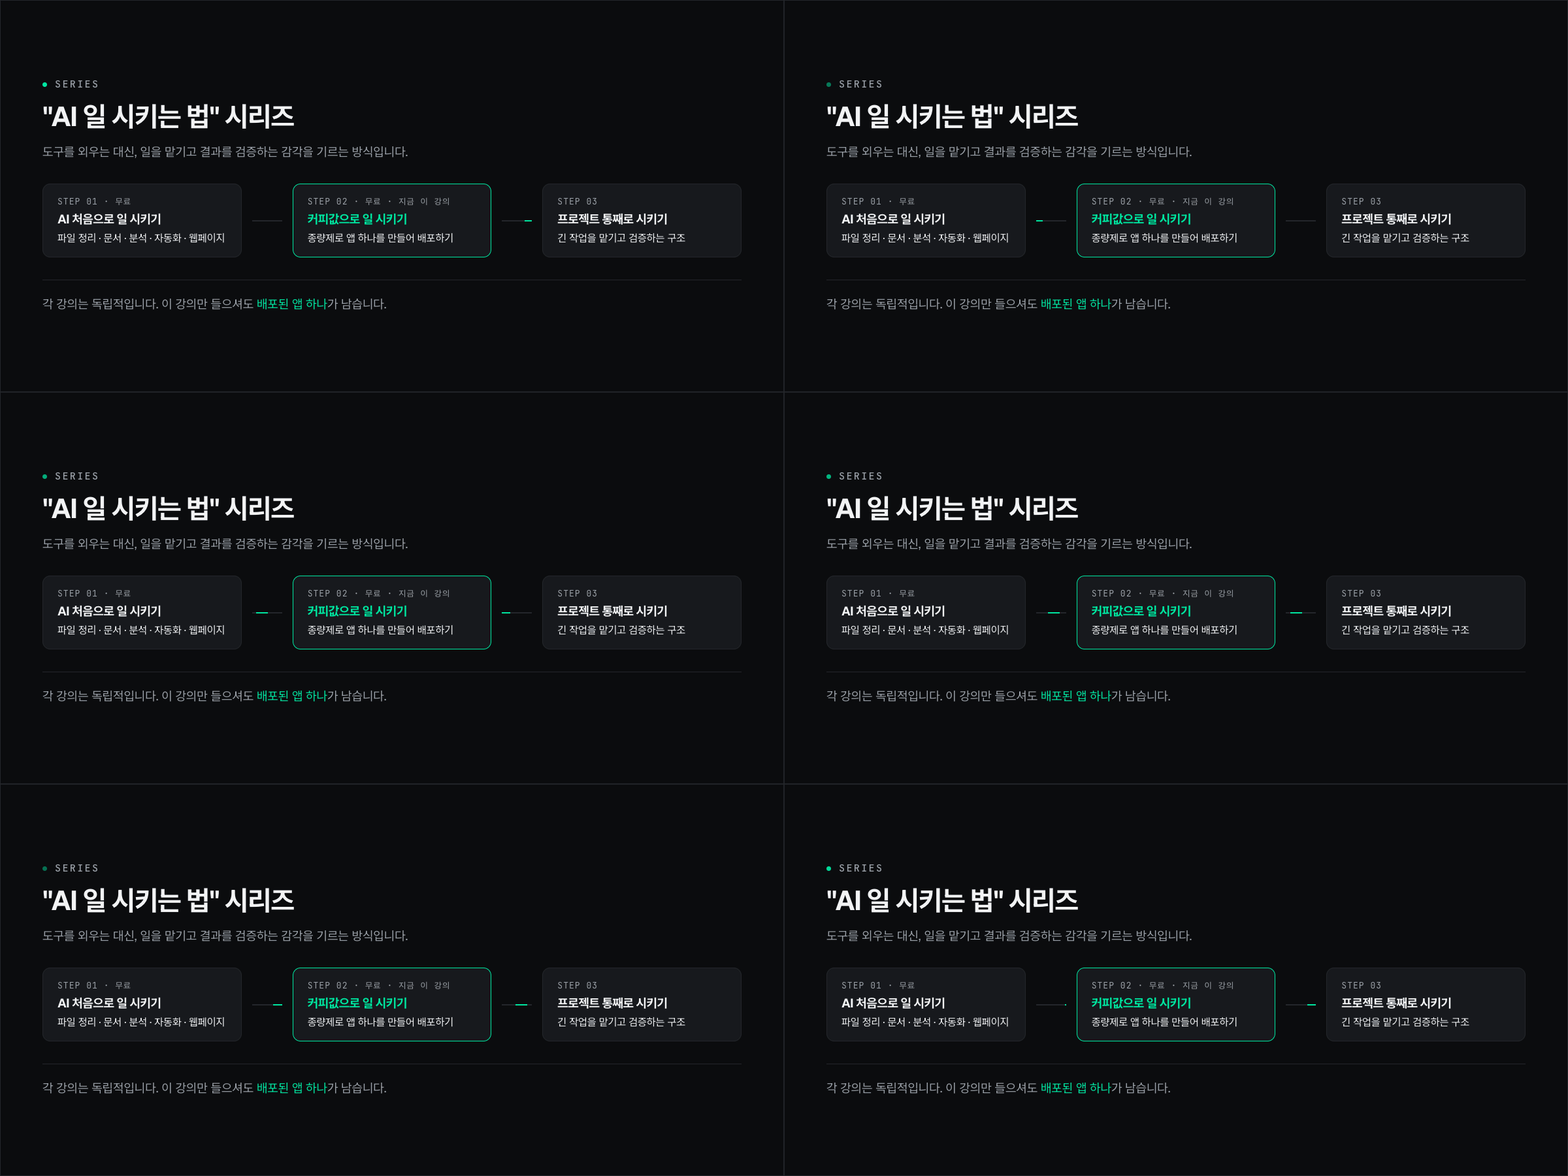
The “How to Get AI to Work” series
This course was created using the same format as the "How to Have ~ Do the Work" series.
Rather than memorizing tools, it is designed to develop your sense of delegating tasks and verifying the results.
If you have never asked AI to do a task before, we recommend starting with the free course
「Ask AI to Work for You for the First Time - Claude Code Agentic Automation」.
It is an introductory course where you give one-sentence instructions for five tasks: file organization, document creation, data analysis, automation, and web pages.
14 years of R&D consulting · Over KRW 12.7 billion in cumulative government project funding · 3,700+ cumulative students in Inflearn AI courses
Hello, I’m Park Hyun-il, co-CEO of FlowCoder.
For 14 years, I have provided consulting on R&D, new business planning, and government-funded programs for technology companies.
I have secured a cumulative total of over KRW 12.7 billion in government-funded projects and provided consulting to around 60 companies.
Since 2026, I have been continuing AI education, automation solutions, and SaaS development after founding FlowCoder with my colleague, Yonghyun Cho.
I have provided practical AI training for companies including Samsung Electronics, Samsung Securities, Samsung Biologics, Hyundai Motor Company, Hyundai AutoEver, SK ecoplant, SK E&S, and KB Investment.
Two of my AI courses on Inflearn have been taken by more than 3,700 students in total and have an average rating of 4.8.
I have been using agentic coding tools every day since March 2026. I switch between different tools.
While creating this course, I also built an app with K3, deployed it, and checked the bill.
All the figures shown here are costs I actually incurred.
"Tools keep changing. How to make requests and how to verify them remain."
Yes, the course is free. However, the practical exercises require Kimi API credits, which you purchase directly through platform.kimi.ai.
This is the only payment required for the course. You can get started by adding a small amount of credit.
Q2. How much does the hands-on practice cost?
Based on the recorded sessions, one session costs around $1–2 ($1.41 on average across 7 sessions). A session in which we built and deployed an entire app, such as Sessions 6–8, cost $1.69, while the average across 24 sessions, including additional experiments, was $5.10.
Those following along are likely to spend less than the instructor. The instructor reran the same exercises several times while recording.
However, these amounts do not apply if you run it all day every day, since it is pay-as-you-go. Session 13 also covers how to calculate the cost.
Q3. Can I follow along even if I know nothing about programming?
Yes. You won’t write any code yourself. You will write requests, review the results, and specify what needs to be fixed.
How to write requests (goals, scope, criteria, and constraints) is covered separately in Lesson 4.
Q4. Does it work on Windows?
Yes. We provide installation instructions for both Windows and macOS.
On Windows, installation is done using PowerShell commands, and Git for Windows must be installed first.
Q5. Can I take the course if I haven't used Claude Code before?
Yes. Sessions 1–8 (Parts 1 and 2) are conducted entirely using Kimi Code CLI. They account for 60% of the total content.
Part 3 covers Claude Code, but we guide you through the installation from the beginning, so you can follow along even if you’re a beginner.
Q6. Is connecting Kimi to Claude Code an officially permitted method?
This is not a method officially supported by Anthropic. Anthropic’s documentation states that routing Claude Code to non-Anthropic models is not supported, and its behavior may change when the client is updated.
This course uses only a Kimi API key, without using Anthropic subscription credentials, and keeps the configuration only within the project folder.
Additionally, web reading does not work with this setup, and account-linked tools are disabled. These limitations are clearly disclosed in Lesson 10, where we also cover the workaround.
Q7. I already have a Kimi account. Can I receive the 15% credit benefit?
No. This benefit only applies to newly created accounts. It will not be applied even if you click the link using an existing account.
You can take the course without the benefit, and it will not affect the hands-on exercises at all.
Q8. Can I take the course with a membership?
Membership is currently operated on a waitlist application basis.
This course is conducted from start to finish based on API pay-as-you-go pricing, so if you are starting now, we recommend issuing an API key.
Q9. How long is the course?
There are 14 lessons, totaling approximately 102 minutes. You can watch them in Part-sized segments, and Parts 1 and 2 alone will take you through deploying an app.
Q10. Where can I ask questions while taking the course?
If you post your questions on the Inflearn Q&A board, I will answer them directly.
If the same questions accumulate, I will turn them into supplementary materials and upload them to the resources section.
Start now
The course is free, and there is no time limit for completing it.
All you need is one API key and credits worth about the price of a cup of coffee.
It takes 102 minutes to create an app by telling it what to do and share it via a link.
Recommended for these people
Who is this course right for?
People who subscribe to AI coding tools but feel it’s a waste because they only use them two or three times a week.
Planners, marketers, and operations professionals with no programming experience who want to build and use the tools they need themselves
For those who are already using Claude Code and want to try a different model while keeping their familiar environment unchanged
Team lead considering a pay-as-you-go API-based alternative due to the cost structure
Need to know before starting?
No programming experience is required. AI writes the code, while you make requests and review it.
A PC running Windows 10/11 or macOS is required (installation privileges needed).
A platform.kimi.ai account and API key are required. We’ll go through the sign-up process together in Session 2.
A small top-up of API credits is needed. The entire course will be conducted using this one key, and this is the only payment.
In an era where AI writes code, we at FlowCoder design the 'Flow'
We are FlowCoder, designing the flow between people and agents to plan and develop services, and teaching the know-how behind it.
We design courses that enable non-developers to build practical systems using AI agents.
Practical Claude, vibe coding, and PBL training for employees of major corporations such as Samsung, Hyundai, SK, KB, and Hansol
Author of “An Automated Development System with Claude Code for Escaping Prompt Hell”
Forthcoming publication: "Claude Cowork Workbook"
Corporate Collaboration
We create Korean-language partner courses with AI and developer tool companies. We can discuss producing dedicated courses, incorporating practical sections into existing courses, and integrating paid courses and partnerships. (Example: “Kimi K3 Vibe Coding”)
Partnerships for AI & developer tools: dedicated Korean courses and in-course segments.
angellike, thank you so much for leaving such a warm review. I put a lot of care into the preparation process to ensure that the course content was detailed and accurate, so it means a great deal to me that you noticed. I’m especially grateful for your kind words about the way the material was presented—for me, the goal is to make difficult concepts easy to understand. I hope this course serves as a solid starting point for creating real-world results with Kimi K3 at roughly the cost of a cup of coffee. If you run into any difficulties while practicing, please feel free to leave a question on the Q&A board anytime. I’ll be happy to take a look with you!
Mr. Park Cheong-woo, thank you for your course review! I hope the way of assigning tasks to AI integrates well into your practical work. If you have any questions, the Q&A board is always open.






![[Lv.5] SwiftUI with AI - Building AI Apps with Apple IntelligenceCourse Thumbnail](https://cdn.inflearn.com/public/files/courses/341905/cover/01krprhwat5ngfskp43xy1nsj3?w=420)



![[Integrated] Vibe Coding for Beginners + Complete Practical App DevelopmentCourse Thumbnail](https://cdn.inflearn.com/public/files/courses/342986/cover/01kwkcfpxw9bwfvp6018ap5w1n?w=420)