IoT Practical Training Using Arduino and Node-RED
sotolab
You will learn how to build an IoT system through an actual project, covering Arduino, sensor control, and UI development using Node-RED.
Beginner
IoT, Arduino, node-red
Hackathon and Project Introduction, Now Start with Arduino, Python, and Flask. Let's build a framework for hackathons and projects by creating cool projects together.
Reviews from Early Learners
5.0
안소명
Thank you for the fun class.
5.0
jiwan1228
Python and Arduino that are easy to use
5.0
한상완
Cheaper than noodles
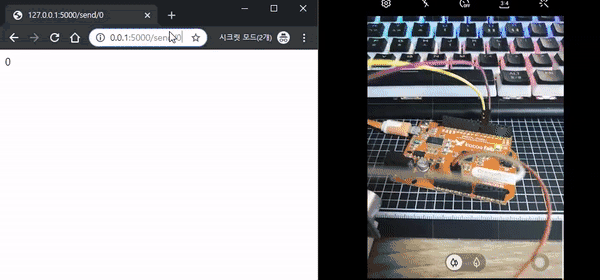
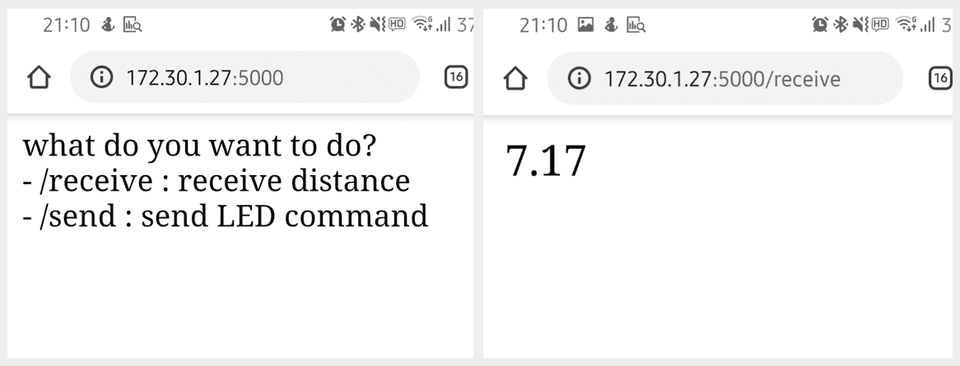
Serial communication between Arduino and PC
Web server development using Flask
Sending serial values from Arduino to web
Sending commands to Arduino from the web
How to make all this look cool
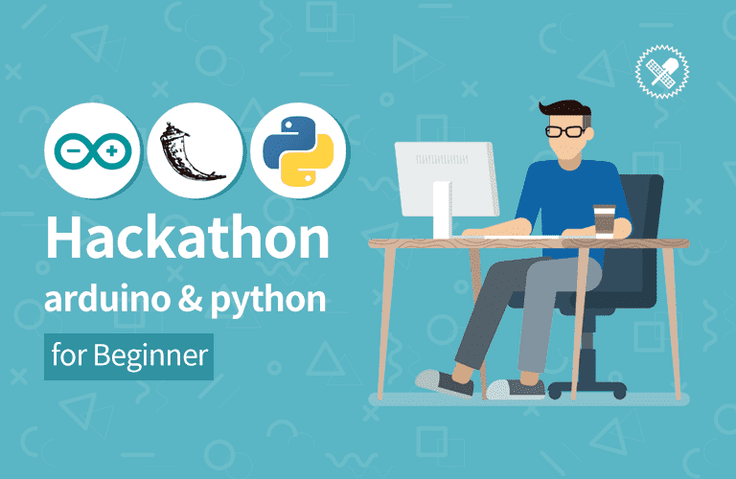
A fun hackathon and project introduction with Arduino, Python, and Flask!

Arduino and Python are recommended tools for beginners in development. However, just because they have a low barrier to entry doesn't mean they offer limited scalability and usability. Turning an LED on and off, or printing "Hello World!", are all steps toward a larger picture, and this valuable knowledge can be combined to create amazing results. To achieve these amazing results, you need to stay motivated . One of the things that fuels this excitement is the opportunity to work on your own projects and participate in competitions, which all begin with integrating what you've learned.
Among these, hackathons inspire a sense of challenge and a sense of accomplishment in developers. The results and experiences gained from all-night development serve as valuable foundations and inspiration for a developer's career. However, hackathons can be challenging for developers just starting out. They may be overwhelmed by where to begin, and even if they know how to do something, it's not easy to create a product that's good enough to complete the hackathon and earn a prize.
So, this course starts with basic tools. Using Arduino and Python, which have a low barrier to entry, it avoids the need for expensive and difficult WiFi modules or Raspberry Pis, and instead focuses on the core elements necessary for a hackathon. It connects existing and new knowledge, providing a driving force for growth.
Now, imagine yourself turning on your laptop, listening to lectures, and spending an entire night developing at a hackathon. Then, after attending these lectures, write code, practice, and dive into the hackathon culture with friends, strangers, and sometimes even alone, and push your limits.
Pasha!👊👊
You will need an Arduino, an Arduino-USB cable, a laptop (PC), and a router (WiFi router).
The lecture is based on Windows 10, but users of MAC OS or Ubuntu can also follow along without much difficulty.
You can use any sensor you have. However, we can't cover every sensor in this course, so it's recommended that you learn how to use them. This course uses an ultrasonic sensor (HC-SR04).
Depending on the type of sensor, let's prepare the breadboard and jumper cables appropriately!
Seeing it a hundred times is better than seeing it once.
Just watching and listening to lectures won't improve your skills.
The most important thing is the ability to code yourself, the desire to learn, and curiosity .
Code yourself, see errors with your own eyes, and fix them yourself. Feel the satisfaction of seeing the results.
And feel free to tweak the code to make it your own! 🙆🏻♂
<del> Lastly, if you were satisfied with the course, please recommend it to a friend.</del> 👍
Q. I'm new to Arduino or Python. Can I learn more?
A. If you know basic grammar, you can listen without any problems, but it's okay if you don't.
If you listen to the lecture slowly and Google the parts you don't know, you can listen without difficulty.
Q. Is it okay if I don't have an Arduino or sensors?
A. Arduino is required. It's recommended to have a sensor, but if not, you can send dummy values.
If you're using dummy values, I recommend using a sensor later to send meaningful values. It's much more fun!
Q. What will I learn from this course? Please summarize!
A. You will learn the basics of Arduino and Python, and the basics of creating a web server using Flask, and connect them.
And finally, you can create a REST API that receives values and sends commands via serial communication from Arduino.
Q. What should I do after taking this course?
A. It would be a good idea to study Arduino and Python further. Or, it might be fun to add various functions to the results created in the lecture!
It might be a good idea to add a WiFi module to the Arduino to enable wireless web communication, and it would also be fun to expand the Arduino network. Adding more sensors to expand functionality is also a good idea. For example, connecting a fine dust sensor to a servo motor could measure fine dust concentration and operate the servo motor to open and close a window.
Q. How does the hackathon work?
A. If you are a college student, you can participate by following the methods written on posters or notices posted at school. You can also see news about hackathons through internet advertisements or various development communities.
You can find information by searching for "2019 Hackathon" or "2020 Hackathon" on Google, or by visiting specialized platforms for gatherings and competitions like "onoffmix," "dacon.io," or "festa.io," or external activity platforms like "Campuspick," "Linkereor," or "WeBee."
Who is this course right for?
People who are new to Python or Arduino
People who want to participate in a hackathon but don't know what to do
Anyone who wants to try a cool Arduino project
People who want to have a broad perspective in project development
Anyone who is interested in developing with the Toy project
Attention all who are interested!
Need to know before starting?
Python
Arduino
All
12 lectures ∙ (2hr 24min)
All
17 reviews
4.3
17 reviews
Reviews 2
∙
Average Rating 4.0
4
This is the most basic lecture on controlling Arduino via the web. Even if you don't have any basic development knowledge, you can still take this lecture. As a major, I think the level of the lecture is low. I recommend it to non-majors.
Thank you for your valuable lecture review :D I will come back with a better lecture. ^-^ I support Changkeeeeeeee's wonderful development life! 👍
Reviews 1
∙
Average Rating 5.0
5
Thank you for the fun class.
Thank you for your valuable lecture review! 😁 I will make the next lecture more fun. :) Please take care of your health as the current situation is the current situation 😷 I support An So-myeong's wonderful development life! 👍
Reviews 1
∙
Average Rating 5.0
5
Python and Arduino that are easy to use
Thank you for your valuable lecture review!! 😁 I hope to improve my skills and learn other things as well :) I support jiwan1228's wonderful development life! 👍
Reviews 1
∙
Average Rating 4.0
4
Thanks to you, I learned a lot
Thank you for your valuable lecture review and feedback!! :D I support Seungkwon Lee's wonderful development life! 👍
Reviews 1
∙
Average Rating 4.0
4
Thanks to your easy explanation, I was able to understand it without any difficulty. However, the only regret is that I feel a little frustrated when you talk about it.
Thank you for your valuable lecture reviews and feedback!! 😁 I will try to explain it clearly in the next lecture :) I support ssy's wonderful development life! 👍
Explore other courses in the same field!
$3.30